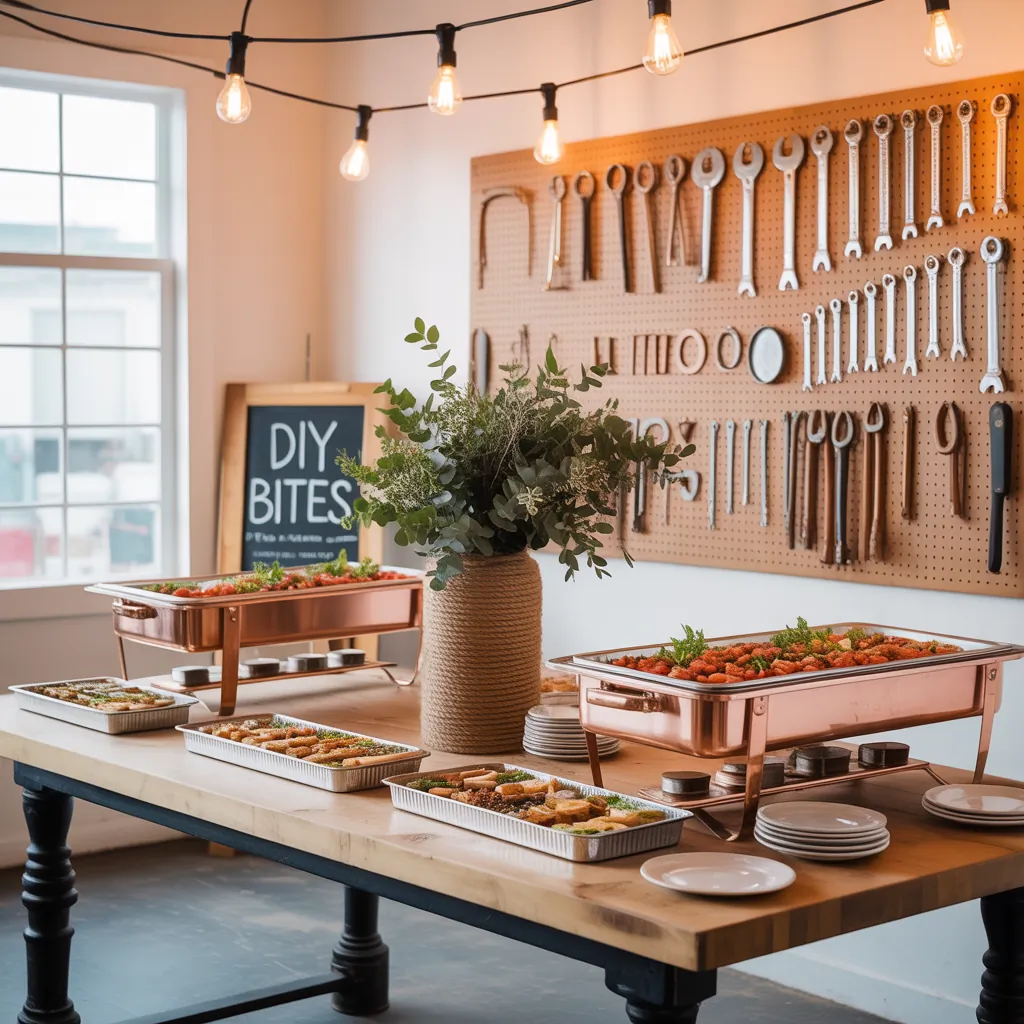
Picture this: you’re hosting a backyard graduation party, the grill is hot, friends are arriving, and the table you hurriedly set up looks flat and crowded — not the relaxed, stylish buffet you imagined. If you’ve ever felt stressed about arranging food stations or worried your setup won’t flow, these ideas for catering table setup will help you transform a chaotic surface into a polished, guest-friendly display using simple DIY upgrades and smart design.
Why a great catering table setup makes a difference
A well-planned buffet or food station does more than look pretty — it controls guest flow, enhances food safety, and makes the event feel intentional. Whether you’re staging a formal sit-down reception or a casual potluck, thoughtful layout, practical servingware, and clear signage make your catering table setup efficient and inviting.
Ideas for catering table setup: 12 practical and stylish tips
1. Plan the traffic flow (step-by-step)
Start by mapping guest movement. Place plates at the beginning, then main dishes, sides, and utensils at the end. Step-by-step:
- Measure the space and imagine a single flow line.
- Leave at least 3 feet of clearance for lines.
- Use two parallel tables for large crowds to avoid bottlenecks.
2. Create levels for visual interest
Layering height makes it easier for guests to see options. Use wooden crates, cake stands, or tiered shelving as DIY risers. Paint or cover them in fabric to match your theme.
3. DIY risers and platforms (materials + quick build)
Materials: wooden crates, 3/4″ plywood sheets, clamps, fabric or contact paper. Quick build:
- Stack crates and secure with clamps or screws.
- Cut plywood to size and place across crates for a smooth platform.
- Cover with cloth or contact paper for a finished look.
4. Use clear signage and labels
Small chalkboards, tent cards, or printable labels clarify allergens and ingredients. Position signs above or next to dishes so guests don’t have to touch multiple items to read them.
5. Focus on lighting and ambience
String lights, battery candles, or clip-on lamps draw attention and create warmth. For evening events, use LED strips under tiers to highlight signature dishes.
6. Choose servingware for speed and style
Mix reusable platters with stylish disposables for easy cleanup. Use warmed chafing dishes for hot items and insulated dispensers for beverages.
7. Theming and cohesive styling
Select a color palette, textures (like linen or burlap), and a centerpiece that reflects the event. Cohesive styling transforms basic tableware into a curated display.
8. Set up a dedicated beverage station
Separate the drinks from the food line. Use large dispensers, an ice bin, and labeled cups. A self-serve drink station reduces line congestion and keeps spills off the food table.
9. Maintain food safety and sanitation
Keep hot items above 140°F and cold below 40°F. Include hand-sanitizer stations and designate a server for high-touch items if needed. Use food-safe containers and place utensils with each dish.
10. Add texture with fabrics and table skirts
A table skirt hides storage under the table and creates a tidy appearance. Layering tablecloths and runners adds depth, while a runner in a contrasting hue directs the eye down the table.
11. Use focal points to guide sightlines
Create a focal area with a signature food display, a statement floral arrangement, or a themed backdrop. Guests naturally gravitate toward visually compelling spots.
12. Plan for cleanup and restocking
Keep extra utensils, napkins, and refill dishes on a nearby side table or behind a hidden skirt. Clear labeling of trash and recycling keeps your event tidy and organized.
DIY design inspiration and quick projects
Want simple weekend projects that make a big impact? Try these:
- Build a portable condiment caddy from reclaimed wood for condiment organization.
- Create foldable wooden risers that nest under the table for storage.
- Sew a reversible table runner to match multiple themes — one side neutral, one bold.
Step-by-step: Easy chalkboard label board
- Cut a thin piece of plywood to desired size.
- Paint with chalkboard paint (2 coats) and let dry.
- Attach small wooden stakes to the back for free-standing labels or frame it to use as a menu.
Real-world advice from hosts and caterers
Professional caterers recommend a trial run before the event — set up a full mock buffet to test spacing, plate stacking, and lighting. Also, always have one “backup” dish that’s quick to prepare in case something runs out. For outdoor events, weigh down tablecloths and use covered containers to protect against weather and bugs.
Frequently Asked Questions
A: For a buffet, plan roughly 12–18 inches of table edge per guest on the food table and allow 3 feet for lines. If guests will gather on both sides, double the food surface area or add an extra table.
A: For large events, renting chafers, beverage dispensers, and linens saves time and ensures professional-grade equipment. For smaller gatherings, DIY risers, thrifted servingware, and rented specialty items strike a balance between cost and presentation.
A: Use insulated carriers, preheated chafing dishes with Sterno, and thick towels under warm dishes. For cold food, nest bowls inside larger trays filled with ice or use insulated beverage coolers. Rotate dishes in small batches to maintain temperature.
Practical tips checklist before your event
- Measure space and mock-up layout the day before.
- Label dishes for allergens and ingredients.
- Test lighting and sign placement in low light.
- Have spare utensils, napkins, and trash receptacles accessible.
Conclusion — Ready to try these ideas for catering table setup?
With a little planning and a few DIY upgrades, you can create a catering table setup that looks intentional, improves guest flow, and keeps food safe. Pick two projects from this list — perhaps DIY risers and a beverage station — and tackle them this weekend. Your next gathering will feel more polished, relaxed, and memorable.
Want more hands-on inspiration? Browse our DIY projects and home design ideas for step-by-step tutorials, or explore kitchen upgrades that streamline food prep for entertaining. Ready to start? Gather your materials, sketch a layout, and make your catering table the star of the party.