Ever stood in front of a tired basement bar or a chipped kitchen island and thought, “This needs a refresh—but where do I start?” Painting your home bar is one of the fastest, most cost-effective DIY upgrades that delivers big visual payoff. Whether you’re updating a built-in wet bar, a freestanding bar cart, or a reclaimed pallet bar, these ideas for bar painting will help you choose colors, finishes, and techniques that suit your space and skill level.
Why paint your bar? Quick benefits and design wins
Painting a bar revitalizes the room, creates a focal point, and can protect wood or laminate surfaces from wear and spills. It’s cheaper than replacing cabinetry or countertops and gives you the freedom to experiment with bold hues, subtle neutrals, or textured finishes. Plus, a painted bar can elevate entertaining—your guests will notice the refreshed look.
Top ideas for bar painting: color palettes and finishes
Choosing the right paint color and finish is the foundation of a successful makeover. Here are reliable palettes and finishes that work for different styles:
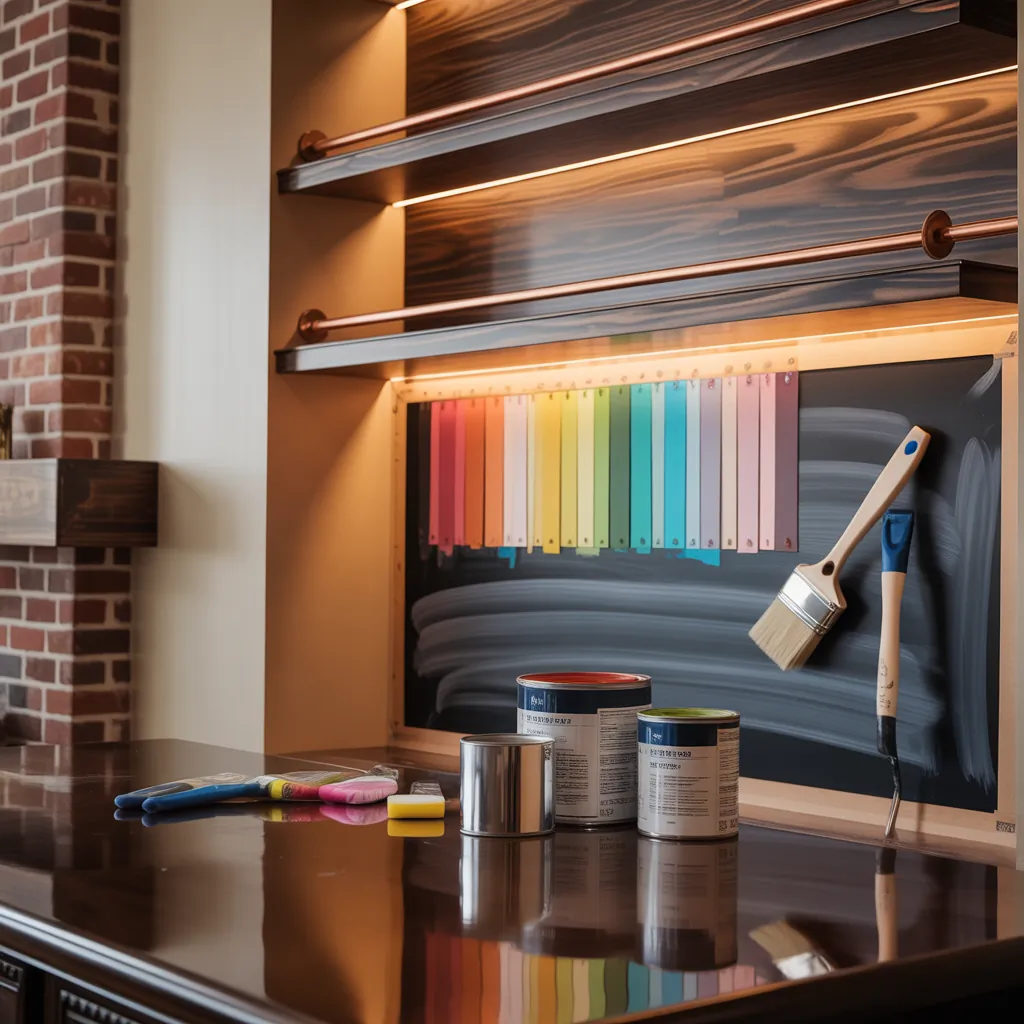
- Deep jewel tones: Emerald green, navy blue, and oxblood create a moody, upscale look. Pair with brass or copper hardware for contrast.
- Classic neutrals: Warm greys, soft taupes, or off-white keep things timeless and let glassware and bottles take center stage.
- Two-tone contrast: Paint the bar base a dark color and the countertop or trim a light shade for a modern, tailored feel.
- High-gloss lacquer: Gives a sleek, bar-like sheen that’s easy to wipe clean—ideal for modern or retro styles.
- Chalk paint and distressed finish: Great for farmhouse or shabby-chic bars. Distress edges for character.
- Textured and metallic finishes: Use metallic glaze or a sponge technique to mimic patina or concrete surfaces.
Prep work: the DIY essentials before you paint
Good paint jobs start with careful preparation. Follow these practical steps to ensure durability and a professional look:
- Clear the bar: Remove bottles, hardware, and anything detachable.
- Clean thoroughly: Use a degreaser if the surface has spill build-up or oils.
- Sand lightly: Matte or glossy surfaces benefit from scuff-sanding to promote adhesion.
- Repair damage: Fill chips and gouges with wood filler; let dry and sand smooth.
- Prime: Choose a primer suited to the surface—stain-blocking for wood, bonding primer for laminate.
- Protect surroundings: Use drop cloths and painter’s tape for clean edges.
Step-by-step bar painting ideas — two projects for different skill levels
Easy makeover: Painted bar cart (1–3 hours active time)
- Wipe down and sand lightly.
- Apply one coat of bonding primer and let dry.
- Roll thin coats of semi-gloss paint in your chosen color—two coats for full coverage.
- Add new hardware or paint existing handles a contrasting metallic tone.
- Seal with a clear polyurethane topcoat if you expect moisture exposure.
Advanced project: Built-in home bar refresh (1–3 days)
- Empty and remove doors/drawers. Label hardware and parts.
- Strip old finishes if necessary, or sand to rough up glossy surfaces.
- Apply stain-blocking primer, especially if dealing with tannin-rich woods.
- Paint base color in 2–3 thin coats, sanding lightly between coats for a smooth finish.
- Paint countertop separately; consider using porch & floor enamel or epoxy for a durable surface.
- Reinstall hardware and add finishing touches like under-shelf LED strips or a backsplash tile accent.
DIY tips for different surfaces (wood, laminate, metal, concrete)
- Wood: Use a high-quality latex or oil-based paint, depending on the old finish. Sand and prime for longevity.
- Laminate: Clean, sand lightly, and use a bonding primer. Top with a durable topcoat—epoxy if it’s a countertop.
- Metal: Remove rust with a wire brush, prime with rust-inhibiting primer, and use enamel paint for toughness.
- Concrete or stone: Use masonry paint or an epoxy coating. Seal to prevent stains and moisture penetration.
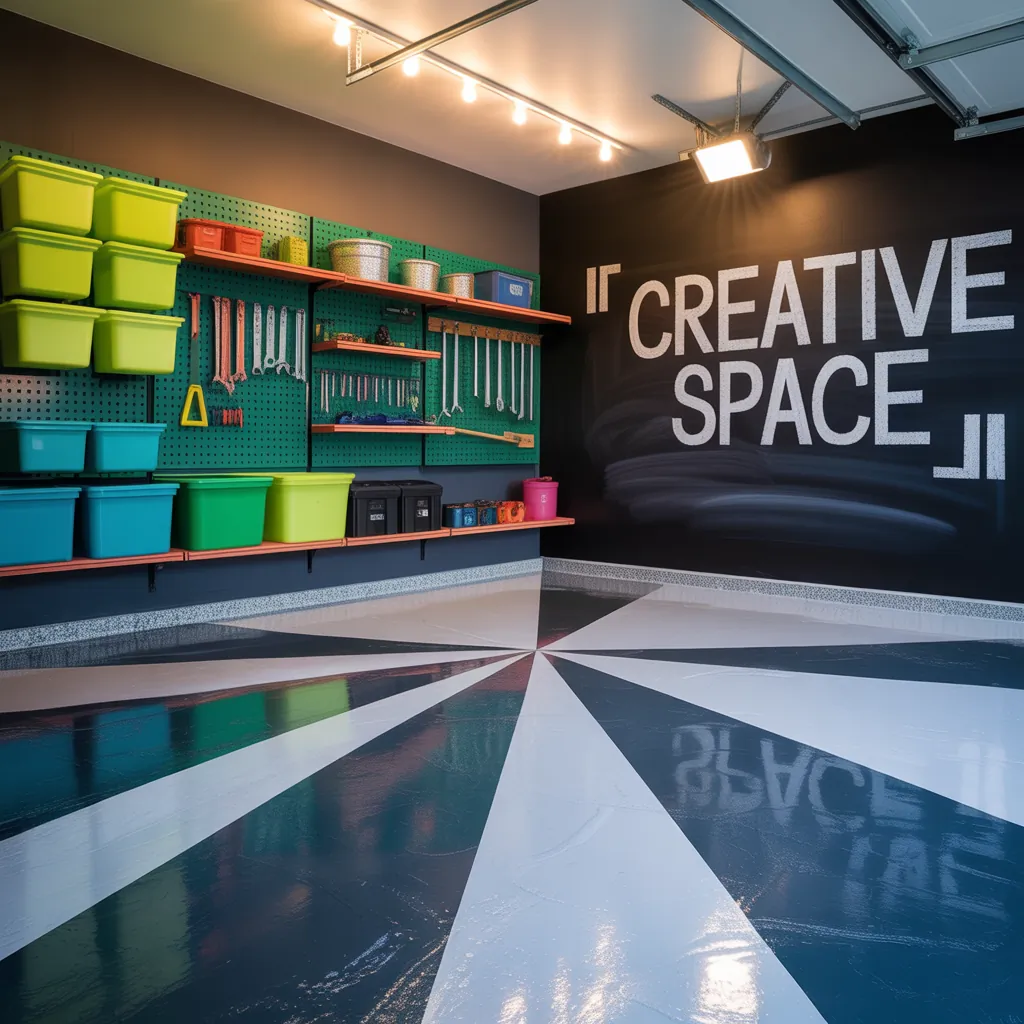
Finishing touches and styling ideas
Once your paint is dry, small details make a big difference:
- Replace worn hardware with matte black, brass, or nickel pulls for instant polish.
- Add a patterned tile backsplash or peel-and-stick tiles behind an open bar area.
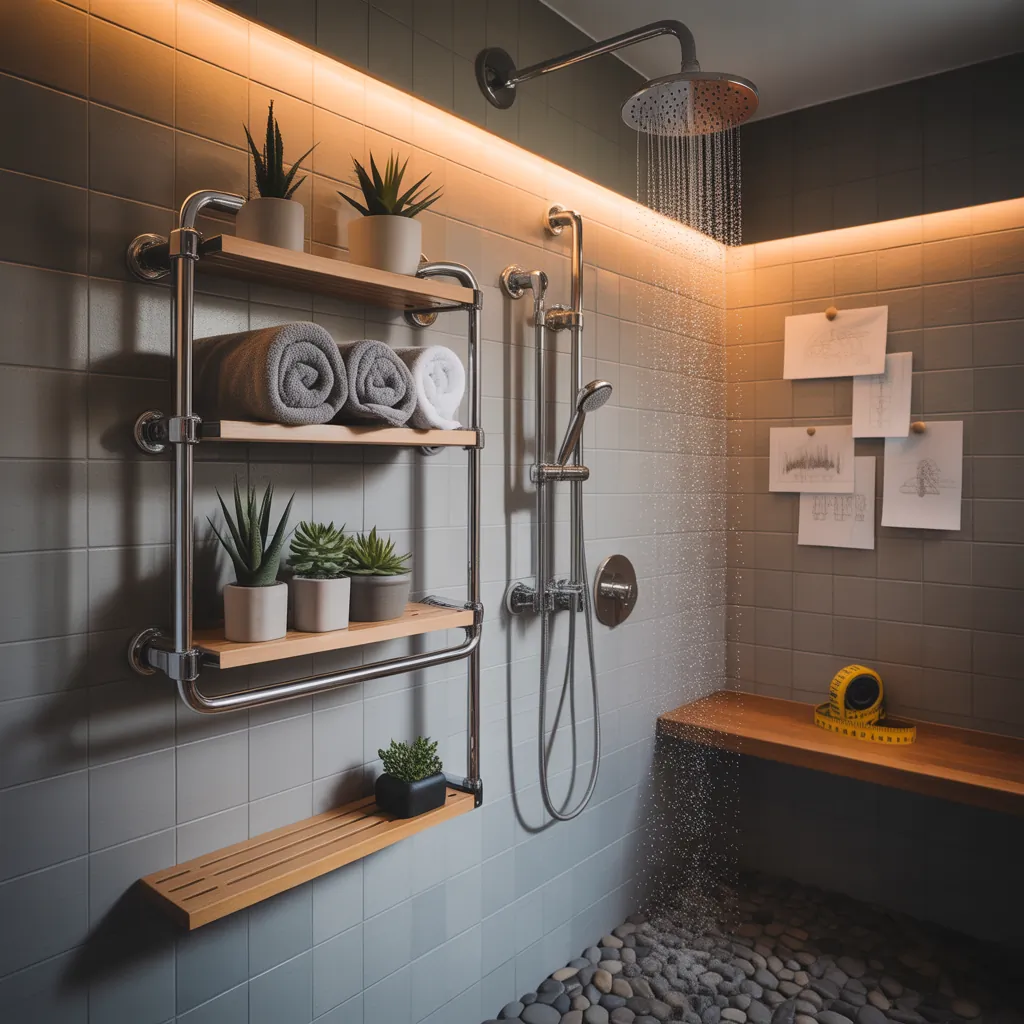
- Install under-cabinet lighting to highlight glassware and create ambiance.
- Use removable wallpaper or stencils on the bar face for graphic interest without permanent changes.
- Topcoat the bar countertop with a clear epoxy for a glossy, bar-grade finish that’s easy to clean.
Design inspiration: styles that work well with painted bars
- Mid-century modern: Walnut tones and muted colors with tapered legs and minimalist hardware.
- Coastal: Soft aqua or seafoam with white trim and rattan accents.
- Industrial: Charcoal or black paint with metal trim and exposed shelving.
- Rustic farmhouse: Chalk paint with distressed edges and reclaimed wood countertops.
Maintenance: keeping your painted bar looking great
To maintain your new finish, wipe spills immediately, avoid harsh abrasives, and touch up chips with leftover paint. For high-use countertops, periodic resealing or a fresh layer of protective varnish keeps things resilient.
Frequently Asked Questions
The best paint depends on the surface: use a bonding primer and a durable enamel or semi-gloss latex for cabinets. For countertops, consider epoxy or porch & floor enamel for extra toughness and stain resistance.
Yes. Clean the surface, sand lightly to scuff it, apply a high-quality bonding primer, and finish with a resilient topcoat. Avoid skipping the primer—adhesion is the key to preventing peeling.
With proper prep and a protective topcoat, a painted bar can last many years. High-traffic surfaces like countertops may need periodic resealing or minor touch-ups after a few years, depending on use.
Conclusion — Try these ideas for bar painting and make it yours
Whether you’re tackling a quick bar cart refresh or a full built-in bar makeover, these ideas for bar painting will help you achieve a stylish, durable result. Start with good prep, choose finishes that match your lifestyle, and don’t be afraid to test color samples before committing. Ready to get started? Browse more DIY projects, explore kitchen upgrades, or get inspiration from our home design ideas—then grab a brush and transform your bar today. Share your finished photos or questions in the comments to inspire other readers!