Ever stood in your bedroom at dusk and thought, “This space could be so much cozier and more dramatic”? You’re not alone. Whether you’re tackling a weekend DIY project or planning a full makeover, transforming a plain room into a dark, vintage sanctuary is one of the most satisfying home improvements — and it doesn’t have to drain your budget.
Why choose a dark vintage bedroom?
Dark vintage bedrooms blend moody color palettes with classic textures and antique charm, creating intimate, layered rooms that feel curated. The right balance of deep paint, warm metallics, distressed woods, and soft lighting can turn an ordinary bedroom into a cinematic retreat.
Core elements for a moody, antique-inspired space
1. Color palette: choosing the right deep tones
Select rich, muted hues like charcoal, navy, forest green, or oxblood. For a vintage look, lean toward low-sheen, slightly warm pigments. Use a darker accent wall behind the bed or paint the ceiling to intensify the cocooning effect.
2. Layered textures and fabrics
Velvet, linen, and heavy cottons add depth. Mix a velvet headboard with linen drapes and a woven throw. Add a patterned vintage rug to anchor the floor and introduce subtle color.
3. Antique and thrifted furniture
Distressed dressers, brass bedside tables, and reclaimed wood headboards bring authenticity. Hunt for pieces you can refinish or lightly distress for a cohesive look.
Ideas dark vintage bedroom: step-by-step DIY projects
Below are practical, budget-friendly projects to build your dark vintage bedroom one step at a time.
DIY Project A — Moody accent wall (2–4 hours)
- Choose a deep, warm paint (sample on the wall first).
- Prep: clean, sand rough spots, and tape trim.
- Prime if switching from very light paint.
- Roll two thin coats for even coverage; remove tape while paint is tacky.
- Add an optional faux-glaze or watered-down black glaze for subtle texture.
Tip: Use satin or eggshell finish to reflect minimal light and keep the mood cozy.
DIY Project B — Distressed dresser makeover (3–6 hours)
- Remove hardware and sand the surface lightly.
- Apply a coat of chalk paint in a dark neutral (charcoal or deep taupe).
- Sand edges to reveal base wood for a worn look.
- Seal with matte wax or clear coat; refit with vintage-style knobs (brass or ceramic).
Tip: Mix and match hardware for collected-over-time charm.
DIY Project C — Vintage gallery wall (2–3 hours)
- Collect frames in different sizes and finishes.
- Arrange on the floor until you have a balanced composition.
- Use lightweight picture-hanging hardware and hang with a level.
- Include old postcards, botanical prints, and sepia photos for authenticity.
Lighting: make the dark design livable
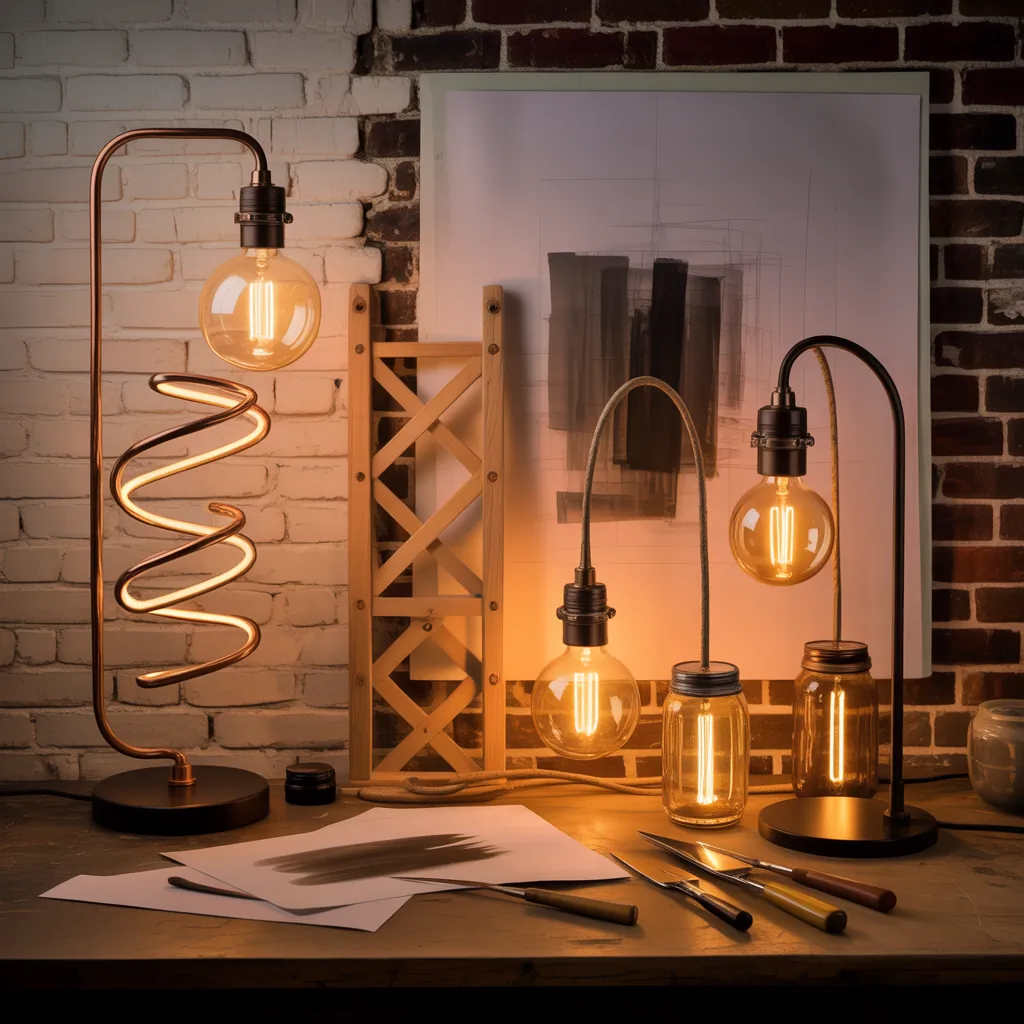
Layer lighting so the room never feels gloomy: a soft overhead pendant, bedside lamps with warm bulbs (2700K), and focused task lights for reading. Consider a vintage-style dimmer switch to easily shift from bright morning to moody evening.
Accessories & finishing touches
- Mirrors with ornate frames to bounce light and add character.
- Brass or aged-metal accents to warm up dark hues.
- Sheer curtains under heavy drapes to keep privacy without sacrificing softness.
- Multiple throw pillows in varied textures for depth and comfort.
Practical layout and storage tips
In smaller rooms, choose narrow bedside tables and floating shelves to keep floor space open. Use under-bed storage with vintage trunks or woven baskets. If the room feels too heavy, paint trim and ceilings a lighter complementary shade for contrast.
Real-world budget advice
Refurbishing existing pieces, shopping thrift stores, and tackling paint projects yourself are the fastest ways to lower costs. Allocate budget for lighting and quality bedding — these items have big visual impact. If you want help planning, check out our DIY projects page for more step-by-step guides and material lists.
Maintenance for dark vintage rooms
Dark walls show dust less but can highlight scuffs. Keep wood sealed and use felt pads under furniture. Clean fabrics according to labels; rotate cushions to keep wear even. Regularly dust brass and frame detailing to preserve the antique look.
Design inspiration: styles to mix with vintage
Consider these hybrid looks to personalize your dark vintage bedroom:
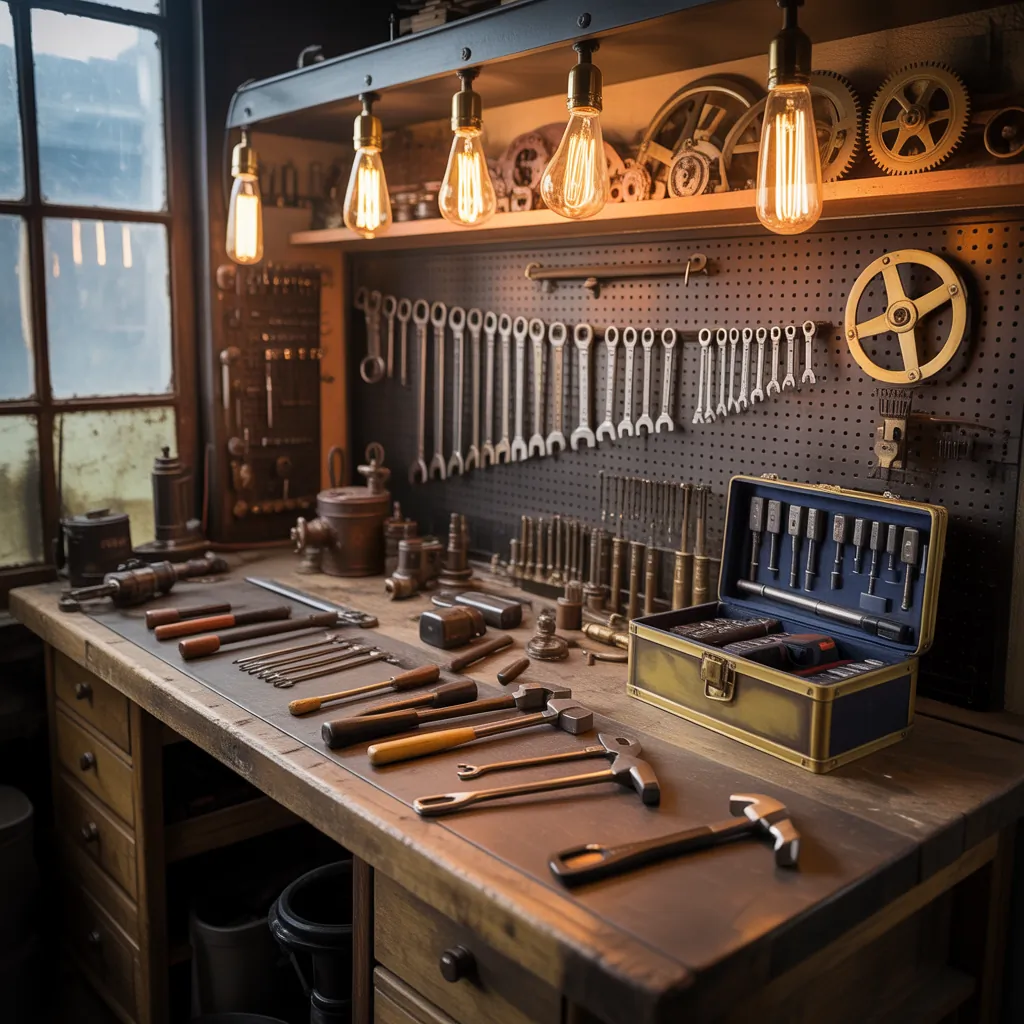
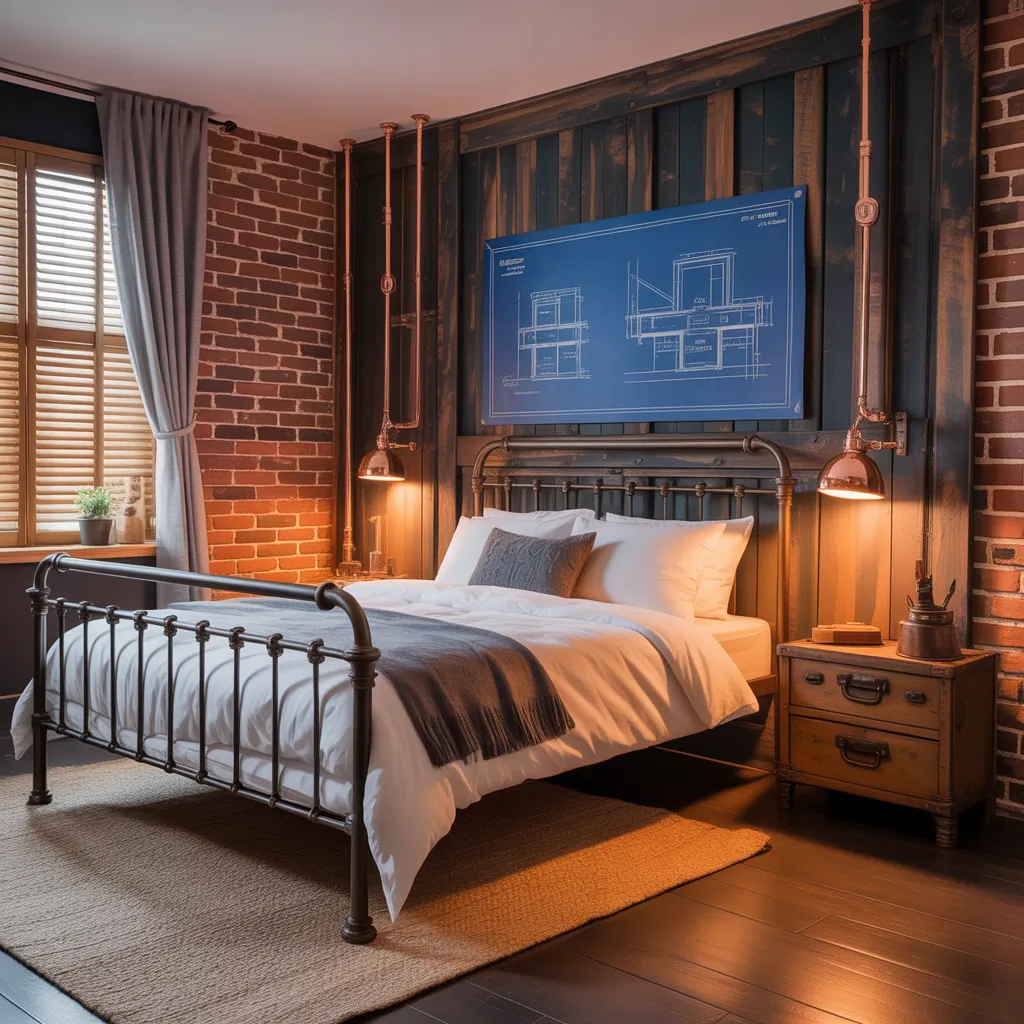
- Industrial vintage: exposed bulbs, metal frames, reclaimed wood.
- Glam vintage: velvet, mirrored surfaces, and gold accents.
- Boho vintage: layered textiles, macramé, and houseplants for softness.
Frequently Asked Questions
Yes. Use lighter trim and ceiling paint to keep the room from feeling boxed in, and choose slim furniture and vertical storage to maintain openness. Strategic mirrors and layered lighting will help the space feel larger and cozy rather than cramped.
Eggshell or low-sheen satin is ideal—these finishes hide imperfections, add depth, and keep the look refined without being glossy. For a truly authentic aged appearance, combine with subtle glazing or faux finishing techniques.
Search thrift stores, estate sales, and online marketplaces for solid wood items you can refinish. Small accessories like frames, mirrors, and lamps are often inexpensive and provide a big style boost. Upcycling and DIY distressing techniques can turn budget finds into statement pieces.
Bringing it together: your next steps
Start with one focal change — a dark accent wall or updated bedding — then layer in furniture and accessories over time. If you want more inspiration for mixing vintage with modern features throughout your home, our home design ideas and kitchen upgrades pages offer complementary projects that keep your style cohesive.
Conclusion — Try one of these ideas dark vintage bedroom projects this weekend
Creating a dark vintage bedroom is an achievable, high-impact project that blends mood, comfort, and personality. Pick one DIY from this guide, gather your materials, and give your bedroom the dramatic, timeless update it deserves. Share your before-and-after photos or ask questions in the comments — I’d love to see your transformation and help with project troubleshooting.
Call to action: Ready to start? Pick a single project, grab a paint sample, and begin. For more step-by-step inspiration and project checklists, visit our DIY projects and home design ideas pages and subscribe for weekly updates.