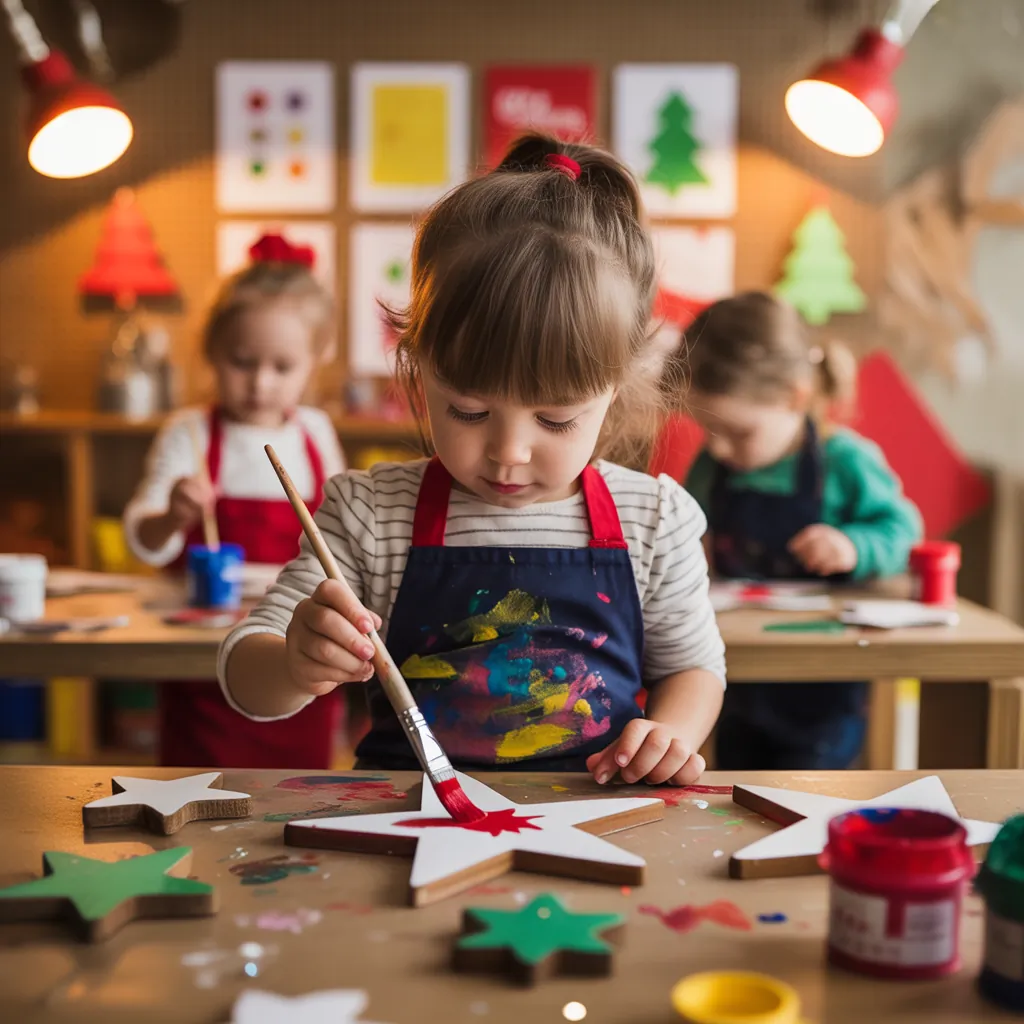
Ever found a box of fragile glass ornaments and wondered how to make a tree that survives little hands, sticky fingers, and enthusiastic classroom chaos? If you’re planning holiday décor with young children, you need easy, safe, and memorable projects that lead to beautiful keepsakes — not a scavenger hunt of shattered glass. In this guide, you’ll find practical ideas christmas ornaments preschool teachers and parents can actually finish without a meltdown, plus step-by-step tips, design inspiration, and classroom-tested advice.
Why preschool-friendly ornaments make the best holiday memories
Preschool ornament crafts are more than decorations — they’re sensory experiences and simple home improvement projects that brighten your living space. When you design ornaments for preschoolers, focus on:
- Safety: non-breakable materials and age-appropriate tools
- Ease: short steps and clear outcomes
- Creativity: open-ended options so each child can personalize
- Durability: ornaments that can be displayed year after year
Top 10 easy preschool ornament ideas (supplies & quick tips)
Here are tried-and-true projects that work at home, in daycare, or in a classroom setting.
- Salt dough handprints — Mix 1 cup salt, 2 cups flour, 1 cup water. Press a small handprint, cut with a cookie cutter, bake at 200°F for 2–3 hours, then paint.
- Felt snowmen — Pre-cut felt circles, glue-on googly eyes and tiny scarves. Use yarn loops for hanging.
- Popsicle stick reindeer — Glue sticks into a square, add googly eyes and a pom-pom nose. Safe and sturdy.
- Shatterproof globe ornaments — Clear plastic balls to fill with glitter, sequins, or a photo. Snap closed and tie a ribbon.
- Handprint wreaths — Paint small handprints on cardstock, cut and glue into a circle with a ribbon tab.
- Paper plate angels — Fold plates, add paper wings and a sticker face. Lightweight and inexpensive.
- Bubble wrap stars — Paint bubble wrap, press onto cardstock, cut star shapes, and laminate or coat with Mod Podge.
- Pom-pom trees — Stack green pom-poms on a toothpick base or hot-glue onto cardboard cones.
- Button baubles — Glue colorful buttons to pre-cut foam circles; finish with ribbon loops.
- Photo frame ornaments — Mini cardboard frames decorated with stickers and a photo of the child inside.
Materials checklist (classroom-friendly)
- Non-toxic glue sticks and white glue
- Child-safe scissors
- Tempera or washable paints
- Clear plastic ornament balls
- Cardstock, felt, pompoms, buttons
- Yarn or ribbon for hanging
- Label stickers for names and dates
Step-by-step: Handprint salt dough ornament (preschool favorite)
This classic is tactile, budget-friendly, and becomes a cherished keepsake. Follow these clear steps to ensure good results.
- Mix the dough: 1 cup salt + 2 cups flour + 1 cup warm water. Knead until smooth.
- Roll to 1/4″ thickness on a floured surface. Use cookie cutters for fun shapes.
- Press the child’s hand gently into the dough, then cut around the shape if desired.
- Make a hanging hole near the top with a straw or skewer.
- Bake on a lined tray at 200°F (95°C) for 2–3 hours, flipping once until fully dry.
- Once cool, paint with washable tempera paints. Seal with a clear craft sealer for longevity.
- Write the child’s name and year on the back with a permanent marker and add ribbon.
Design inspiration: making preschool ornaments part of your home décor
Ornaments made by little ones can look intentional and stylish with a few design tricks:
- Limit color palettes (e.g., red/white/green or metallics) to make diverse crafts cohesive.
- Group similar ornaments together in clusters on the tree to create visual balance.
- Use simple tags or small frames to display the child’s name and age as part of the ornament.
- Mix non-breakables with a few heirloom pieces higher in the tree to protect fragile items.
Classroom management tips for group ornament-making
Running a smooth craft session in preschool takes planning. These real-world tips help you get great results without chaos:
- Pre-measure and pre-cut: set up stations with all materials measured out.
- Use timers for each step so the group moves together.
- Have an “assembly line” helper system: one child paints, another adds glitter, another ties ribbons.
- Label each child’s work area and finished ornaments to prevent mix-ups.
Safety and longevity: making ornaments that last
Consider these longevity suggestions so ornaments become treasures instead of trash:
- Choose shatterproof materials like plastic globes or laminated paper for classroom trees.
- Seal painted items with a clear water-based sealer to protect colors and reduce crumbly edges.
- Avoid small parts for children under 3; instead, opt for glued-on large pompoms and felt.
ideas christmas ornaments preschool — seasonal planning and display
Plan a holiday schedule: create ornaments in early December, let them fully dry, label them, and organize a small parent pick-up or a classroom display day. Consider having a dedicated “preschool ornament” section on your main tree or on a small child-height tree so kids feel proud seeing their work on display.
Frequently Asked Questions
1. What are the safest materials for preschool ornament crafts?
Choose non-toxic, washable paints, child-safe scissors, glue sticks, felt, foam, and shatterproof plastic ornaments. Avoid small choking hazards for under-3s and hot-glue guns without supervision.
2. How can I preserve preschool ornaments long-term?
Store ornaments in labeled boxes with tissue paper between pieces. For dough ornaments, apply a clear sealer and store in a cool, dry place. Photograph delicate items and create a digital archive as a backup.
3. How do I keep craft sessions organized with a group of preschoolers?
Use stations, pre-cut materials, and timers. Assign simple roles to children and keep steps short. Having extra helpers (parents or assistants) makes a big difference.
Conclusion — Ready to craft unforgettable holiday memories?
Whether you’re a teacher prepping a classroom celebration or a parent crafting at home, these ideas christmas ornaments preschool will help you create safe, beautiful, and sentimental decorations. Start with one simple project — like salt dough handprints or clear-fill plastic globes — and scale up as you gain confidence. Want more step-by-step inspiration for family-friendly projects? Check out our DIY projects and browse home design ideas for ways to display your little artists’ work throughout the house.
Grab your supplies, pick a favorite idea, and make this holiday season a hands-on celebration. Share your finished ornaments with your community and inspire others to try these kid-friendly home upgrades — one ornament at a time.


