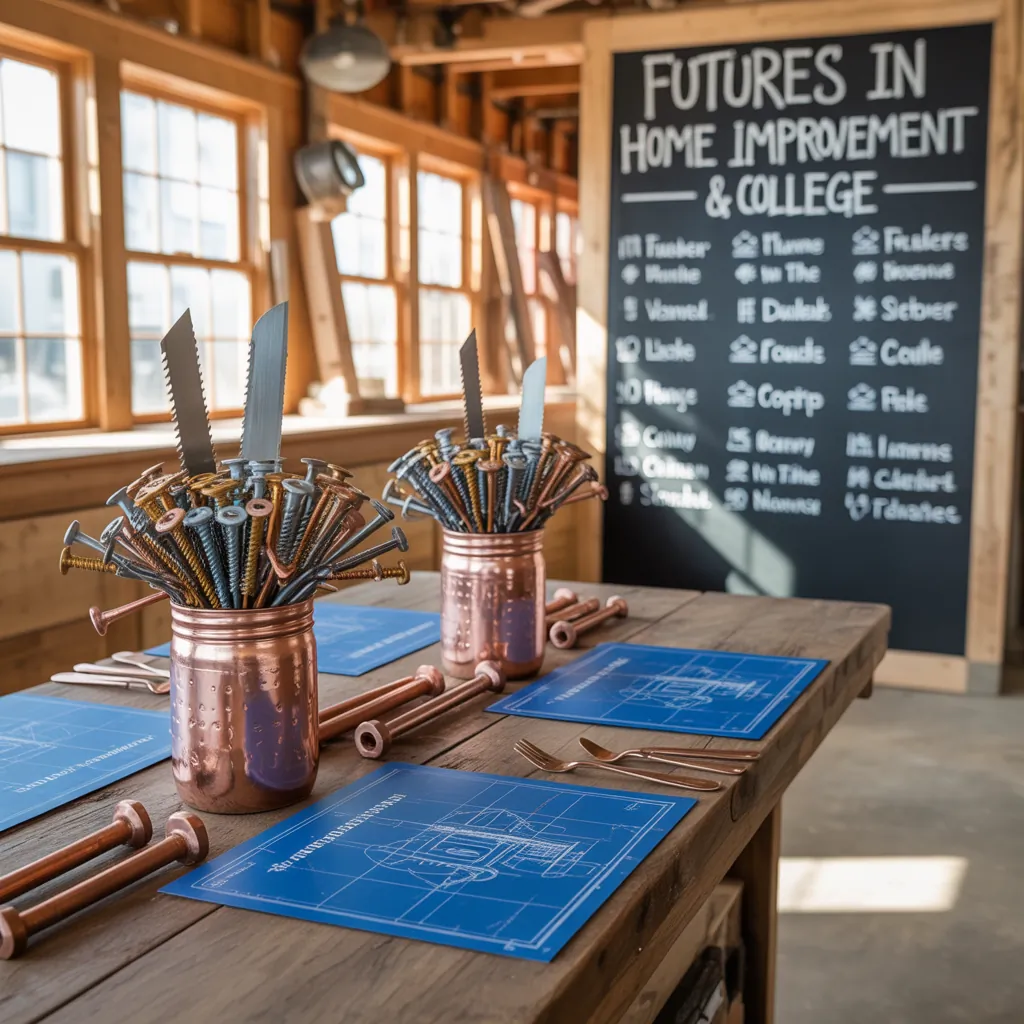
Picture this: you’re two days from your teen’s big signing day and your dining table still looks like a homework drop zone. Sound familiar? Whether you’re juggling last-minute invitations or trying to bring a college signing ceremony vibe into your living room, a striking high school signing day tablescape can transform a rushed gathering into a meaningful, photo-ready moment. In this post I’ll walk you through creative, budget-friendly, and doable high school signing day tablescape ideas that any DIYer can pull off — even if you’re short on time.
Why a standout signing day tablescape matters
Signing day is a milestone: family and friends gather to celebrate a student’s next chapter. Thoughtful senior signing day decor and a cohesive graduation party tablescape make photos pop, highlight memorabilia, and focus attention where it belongs — on the student. A well-designed table also helps guests feel welcomed and creates a flow for food, gifts, and guest signing.
High School Signing Day Tablescape Ideas: Themes to Try
Start with a theme that reflects the student’s personality and future plans. Here are easy-to-adapt concepts:
- School Colors Celebration — Use the school’s color palette in linens, napkins, and accents for an instant, cohesive look.
- Collegiate Future — Highlight the college logo, miniature pennants, and a “Next Stop” sign to celebrate the commitment.
- Memory Lane — Line the center with framed photos from freshman year through senior year and let guests add sticky notes with memories.
- Minimalist & Modern — Neutral runners, metallic accents, and a simple centerpiece keep the focus on the signature moment.
Step-by-step: Build a memorable tablescape
Materials checklist
- Table runner (fabric, paper, or burlap)
- Place settings and cloth napkins
- Centerpiece base (tray, crate, or runner)
- Photos or memorabilia (framed or clipped)
- Battery-operated candles or fairy lights
- Mini pennants, balloons, or tassel garlands
- Label cards, pens for guest signatures
- Floral foam or small vases for fresh or faux flowers
Assembly steps
- Clear and measure the table. A good rule: table runner should leave 6–8 inches of table on each end, and centerpieces should allow a 12–18 inch walking space for food or signing materials.
- Lay the runner and arrange base elements (trays, crates). Anchor with non-slip pads if needed.
- Group items in odd numbers — three small frames, five candles — to create visual interest. Vary heights using books or boxes as risers.
- Add school colors through napkins, ribbons, or pennants. Keep patterns limited to one or two to avoid visual clutter.
- Place memorabilia where it’s easy to handle. If guests will sign items, designate a clear signing station on one end.
- Test lighting and camera angles. Move candles and lights to eliminate harsh shadows for photos.
Budget-friendly DIY centerpiece ideas
Centerpieces are the focal point and don’t need to be expensive. Try these thrifty yet impactful projects:
Photo Cascade
- Print 4×6 photos of the graduate. Attach with mini clothespins to twine stretched across small wooden dowels anchored in a shallow crate.
- Surround with battery tea lights for a warm glow.
Pennant & Pom-Pom Display
- Create mini pennants from cardstock and toothpicks using the school colors.
- Arrange them in a mason jar with colored rice or beads for stability; top with a handmade tissue paper pom-pom.
Diploma Roll Bundles
- Roll decorative paper into “diplomas,” tie with ribbon in the school color, and place in a large vase or tied bundle on a tray with flowers.
Color palettes, textures, and materials that work
Choose one dominant color, one accent, and a neutral base for balance. For example:
- Dominant: School navy
- Accent: Metallic gold
- Neutral: White or kraft brown
Texture matters. Combine matte paper goods with glossy frames, soft linens, and a metallic accent for depth. If weather permits an outdoor signing, consider heavier runners or clips to keep decor in place.
Practical tips for setup and timeline
- Prep photos and printables one week ahead. Order or print a backup set in case of last-minute changes.
- Set up the day before for non-perishables; add fresh flowers and food items the morning of the event.
- Use reusable items where possible — fabric napkins, neutral runners — so elements can be repurposed for other home design ideas or celebrations.
- Label storage boxes with contents to simplify teardown and keep memorabilia organized after the party.
Real-world advice from a seasoned DIYer
Over the years I’ve learned a few rules that make everything easier:
- Stick to a three-item centerpiece rule — a group of similar elements at varying heights looks more intentional than a single giant piece.
- Test your layout with mockups using inexpensive printouts before committing to final prints or purchases.
- Keep a small toolkit on hand: double-sided tape, clear fishing line, scissors, and command strips are lifesavers for last-minute fixes.
- Consider heat-safe decor and battery candles if the celebration includes a buffet or kids running around.
Frequently Asked Questions
Start planning two to three weeks out for printing photos and ordering personalized items. Non-perishable setup can be completed a day ahead, with perishable elements added the morning of the event.
Provide a clean flat surface, acid-free pens or sharpies, a guestbook or poster board for signatures, and a small tray for pens. Keep extra markers and a guide sign so guests know what to do.
Absolutely. Neutral runners, frames, lanterns, and metallic accents can easily be repurposed for birthday parties, holiday tables, or general DIY projects. Store items together in a labeled bin for easy reuse.
Conclusion: Make your high school signing day tablescape unforgettable
A thoughtful high school signing day tablescape brings the celebration into focus and makes photos and memories last. With a clear theme, a few DIY centerpieces, and a practical setup timeline you can create a beautiful, personalized scene without breaking the bank. Ready to try one of these ideas? Start by sketching a layout, gather your materials, and if you need inspiration beyond the table—check out our kitchen upgrades and home design ideas for ways to integrate the look throughout your space. Share your finished tablescape photos or questions — I’d love to see what you create!


