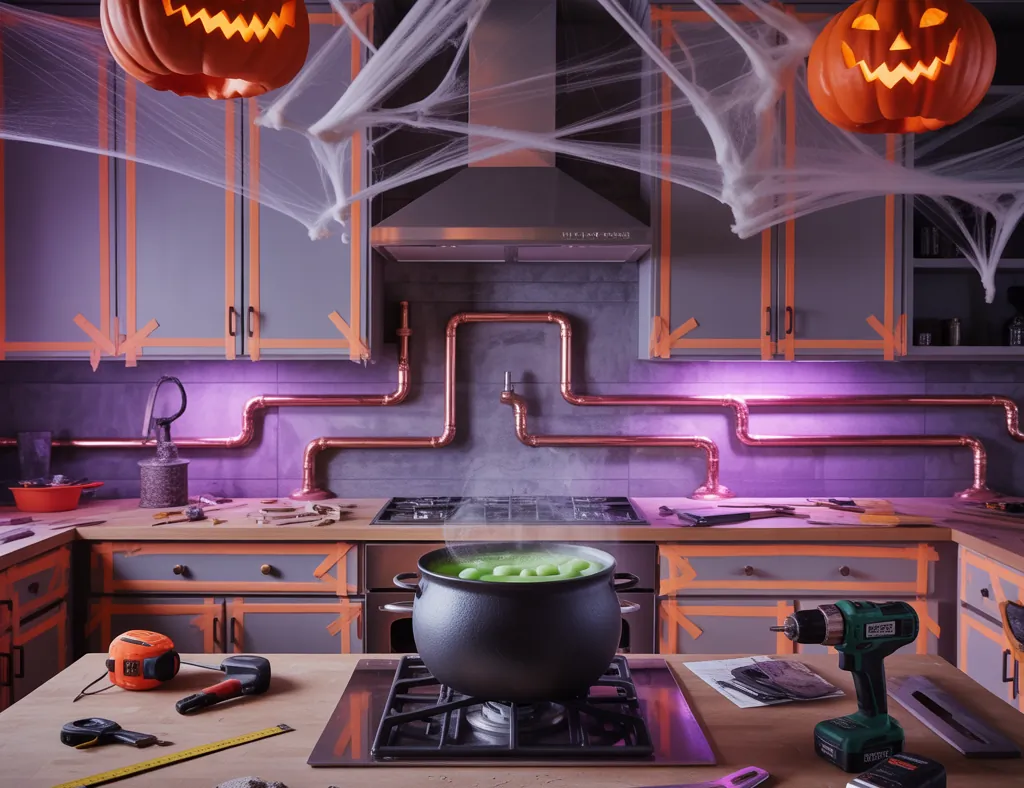
Ever find yourself scrambling the night before a Halloween gathering, wishing your kitchen felt as festive as the front porch? Whether you’re staging spooky snack platters, teaching the kids to carve mini pumpkins, or just craving a cozy fall vibe, a Halloween kitchen makeover can be quick, budget-friendly, and totally do-able with a few smart DIY steps. In this guide you’ll get practical projects, design inspiration, and real-world tips to create a memorable, family-friendly kitchen that’s both festive and functional.
Why a Halloween Kitchen Makes Entertaining Easier (and More Fun)
Decorating your kitchen for Halloween does more than add ambiance — it streamlines entertaining. A themed kitchen makes it easier to display treats, organize a candy station, and create focal points for photos. Best of all, many Halloween kitchen ideas are temporary and won’t interfere with daily cooking or cleanup.
Designing a Halloween Kitchen: Quick Makeover Ideas
Use these design-ready concepts to match your home’s style — modern, farmhouse, minimalist, or gothic chic — without committing to permanent changes.
Color Palette & Textures
- Classic: Black, orange, and white for bold contrast.
- Autumnal: Warm browns, deep greens, and pumpkin tones for a cozy look.
- Gothic glam: Matte black, gold accents, velvet or mirrored surfaces for drama.
Key Pieces to Target
- Textiles — swap in themed tea towels, placemats, or a runner.
- Hardware — temporary black pulls or ribbon wraps on cabinet knobs.
- Lighting — battery LED candles and orange fairy lights create glow without fire.
- Small countertop decor — apothecary jars, labeled “potions,” and seasonal greenery.
DIY Halloween Kitchen Projects (Step-by-Step)
Below are five projects that are easy to complete in an afternoon and won’t damage your kitchen.
1. Mason Jar Pumpkin Lanterns — Budget-Friendly Centerpiece
- Materials: small mason jars, orange spray paint or acrylic, black vinyl or permanent marker, tea lights (battery recommended), twine.
- Step 1: Clean jars and remove labels.
- Step 2: Spray paint jars orange (two light coats) or paint inside with acrylic for a stained-glass effect.
- Step 3: Use a marker or cut black vinyl faces and stick on to make jack-o’-lanterns.
- Step 4: Tie twine around the neck and add a battery tea light inside.
- Placement: Create a trio on your kitchen island or line them on a windowsill.
2. Reversible Halloween Shelf Styling
- Swap a few countertop objects for seasonal pieces: vintage pitchers filled with dried wheat, a bowl of small gourds, and a tiered tray with candy.
- Use removable hooks to hang faux bats or a small chalkboard with a spooky menu.
- Tip: Keep one shelf or corner themed for easier cleanup and storage.
3. Candy Station — Organized & Instagram-Ready
- Choose a clear corner near the kitchen entrance.
- Use glass jars labeled with spooky fonts (e.g., “Eye of Newt” for gummy eyeballs).
- Provide a scoop and small paper bags. For hygiene, set out hand sanitizer and a sign encouraging use.
Practical Tips for a Functional, Safe Halloween Kitchen
- Prioritize food safety: keep perishable treats chilled and separate props from food-contact surfaces.
- Use battery-operated candles instead of open flames to avoid accidents around ovens and curtains.
- Choose removable decorations: vinyl decals, command strips, and temporary hardware covers are renter-safe.
- Plan for cleanup: store decorations in labeled bins so next year’s setup is even faster.
Style Ideas for Different Home Types
Farmhouse Halloween Kitchen
Think natural textures and muted colors: wooden crates with mini pumpkins, burlap runners, and galvanized metal pitchers. Keep accents warm and inviting.
Modern Minimalist Halloween Kitchen
Less is more: a monochrome palette with a single orange accent (like a pumpkin or a vase), geometric spider decals, and sleek black candlesticks.
Family-Friendly Halloween Kitchen
Make decor interactive: a chalkboard for kids to draw spooky faces, a “decorate your own cupcake” station, and plastic pumpkins for safe carving alternatives.
Easy Upgrades That Make a Big Impact
- Swap cabinet knobs for temporary black or copper covers to instantly change the tone.
- Add peel-and-stick backsplash decals with subtle bat or witch hat motifs.
- Install a themed runner rug that’s washable and slip-resistant.
If you’re looking for projects that go beyond seasonal decor, explore more ideas on our DIY projects and kitchen upgrades pages for inspiration that lasts year-round. For broader inspiration, check our home design ideas section.
Frequently Asked Questions
Q1: How do I decorate a small kitchen for Halloween without making it feel cluttered?
A1: Focus on one or two focal areas — for example, the island and a windowsill. Use vertical decor like garlands or wall decals, and choose multi-functional pieces such as a themed tray that holds both decor and everyday items.
Q2: What are some child-safe Halloween kitchen decoration ideas?
A2: Use soft, nonbreakable items such as fabric pumpkins, felt garlands, and battery candles. Create hands-on stations for decorating cookies or cupcakes that use washable surfaces and plastic utensils to reduce risk.
Q3: Can I make Halloween decor that won’t damage my cabinets or walls?
A3: Yes — use removable adhesive hooks, command strips, and peel-and-stick decals. For temporary hardware changes, use magnetic covers or slip-on decorative knobs that won’t leave marks.
Wrapping Up — Make Your Halloween Kitchen Memorable
Transforming your kitchen for Halloween is a fun way to make everyday spaces festive without a major remodel. With simple, budget-friendly DIY projects, a clear plan for safety and cleanup, and a focus on one or two focal areas, your Halloween kitchen can become the heart of the party. Try the mason jar lanterns and a candy station as a start, store decorations in labeled bins, and tweak the look each year to match your style.
Ready to start your Halloween kitchen makeover? Grab a few supplies, pick one project, and invite the family to help — then share your results or explore more long-term ideas on our DIY projects and kitchen upgrades pages. Happy decorating!

