Ever stood in your living room the night before graduation, surrounded by craft supplies, wondering how to turn a stack of dollar-store items into stunning table decor? If you’re planning a graduation party and want charming, affordable centerpieces without a florist’s bill, you’re in the right place. These graduation centerpieces simple ideas will help you create memorable, photo-worthy tables with minimal time, budget, and stress.
Why choose simple graduation centerpieces?
Simple centerpieces are perfect for a graduation party because they’re fast to assemble, easy to transport, and adapt to any theme—from school colors and collegiate décor to modern minimalist looks. Whether you need last-minute DIY graduation table decor or scalable ideas for dozens of tables, simple centerpieces keep your focus on celebrating, not fussing.
Quick materials list: affordable supplies for DIY graduation centerpieces
- Clear vases, mason jars, or small buckets
- Florist foam or floral tape
- Battery-operated LED candles and string lights
- Fresh or faux flowers, eucalyptus, or greenery
- School-colored tissue paper, ribbon, and glitter cardstock
- Mini graduation caps (craft foam) or printable grad photos
- Hot glue gun, scissors, and double-sided tape
graduation centerpieces simple ideas (step-by-step tutorials)
1. Balloon Bouquet Centerpiece — fast and festive
What you need: small mylar balloons, balloon weights, curling ribbon, and an anchor vase.
- Inflate 3–5 small mylar balloons with air or helium depending on budget.
- Tie each balloon to a ribbon and secure to a small weight or wrapped candy jar.
- Place the weight inside a decorative cup or mason jar and add tissue paper to hide the base.
- Attach a card or mini grad cap to the ribbons for personalization.
Tip: Use school colors to tie the look together and keep the balloons low for conversation-friendly tables.
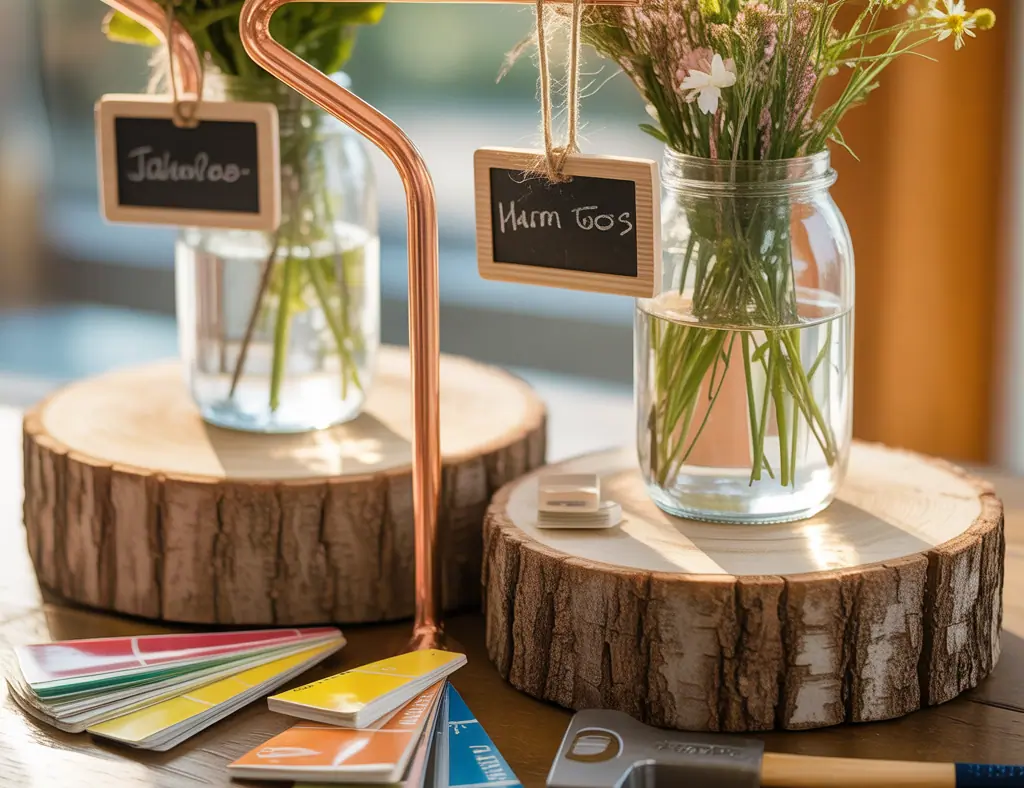
2. Mason Jar Photo Centerpiece — personal and budget-friendly
What you need: mason jars, printed photo strips, floral clippings, fairy lights.
- Wrap a few feet of battery-operated string lights around the inside of the jar.
- Roll or fold printed photos of the graduate and tuck them between the glass and lights.
- Add a small bunch of greenery or faux flowers to the jar opening.
- Tie a ribbon or a small chalkboard tag with the grad’s name around the jar.
Real-world advice: Photos make centerpieces sentimental and free—print at home or use quick print kiosks for crisp results.
3. Stack of Books + Candles — scholarly and simple
What you need: vintage or thrifted books, LED pillar candles, ribbon or a diploma scroll.
- Stack 2–3 books with complementary colors and secure with a ribbon in school colors.
- Top with a flameless candle and embellish with a paper graduation cap or a rolled diploma tied with twine.
- Place a sprig of greenery for a finished look.
Scalability tip: Book stacks are lightweight and stackable for easy storage and transport between venues.
4. Cap & Tassel Mini Centerpiece — minimalist graduation table decor
What you need: black cardstock, glitter cardstock, small Styrofoam discs, hot glue, tassels.
- Cut black cardstock into square caps and glue to small discs to form a mini mortarboard.
- Add a tassel glued at the center and insert into a candle holder or floral foam base.
- Arrange multiples on a mirror or runner for a clean-lined contemporary look.
Design note: This is an inexpensive way to highlight the theme without overdoing florals.
Design inspiration: colors, themes, and finishing touches
Choose one of these cohesive approaches:
- Classic school colors: navy and gold, black and silver, maroon and cream.
- Modern minimal: white vases, eucalyptus, and warm LED candles.
- Rustic: mason jars, twine, kraft paper place cards, and wheat stalks.
Finish with confetti or small favors at each table setting for extra personality. For outdoor parties, prefer battery-operated lights and weighted bases to handle wind.
Practical tips for planning and setup
- Prep in batches: assemble identical centerpieces in an assembly-line to save time.
- Test lighting: LED candles look different under daylight vs. evening—do a quick dress rehearsal.
- Transport smartly: pack flat items (cardstock caps, ribbons) separately and fragile pieces upright in boxes with padding.
- Budget-friendly sourcing: thrift stores, dollar stores, and craft sales are your friends—buy faux greenery if seasonal flowers are expensive.
- Time management: make centerpieces 24–48 hours before the event to keep fresh florals looking their best.
Customizing centerpieces for large parties
When you have 10+ tables, prioritize consistency. Pick one or two simple designs and vary only the finishing accents—like ribbon color or a photo—so each table looks unique but cohesive. Use templates for printable signs or name tags to speed up production and maintain a polished, professional look.
Frequently Asked Questions
Q: What are the cheapest graduation centerpiece ideas?
A: Use items you already have—books, jars, photos, and battery-operated candles. DIY paper caps, printed photos, and thrifted vases keep costs low while offering big visual impact.
Q: How far in advance can I make graduation centerpieces?
A: For floral centerpieces, assemble 24–48 hours prior and keep in a cool place. For non-perishables (paper, balloons, LED lights), you can prepare up to a week in advance and store carefully.
Q: How do I transport centerpieces to the venue without damage?
A: Use sturdy boxes with dividers for glass items, bubble wrap for fragile pieces, and pack flat or stacked for paper elements. Keep a small toolkit (glue gun, scissors, extra batteries) handy for last-minute fixes.
Conclusion — Try these graduation centerpieces simple ideas today
With a little planning and these graduation centerpieces simple ideas, you can create beautiful table decor that feels custom and thoughtful—without blowing your budget. Start with one small project (try the mason jar photo centerpiece) and scale up from there. If you loved these DIY tips, check out more projects on our DIY projects page, browse seasonal inspiration under home design ideas, or pair your party setup with easy kitchen upgrades to impress guests.
Ready to craft? Grab your materials, pick a centerpiece tutorial above, and share your before-and-after photos to inspire others. Happy crafting—and congratulations to the graduate!