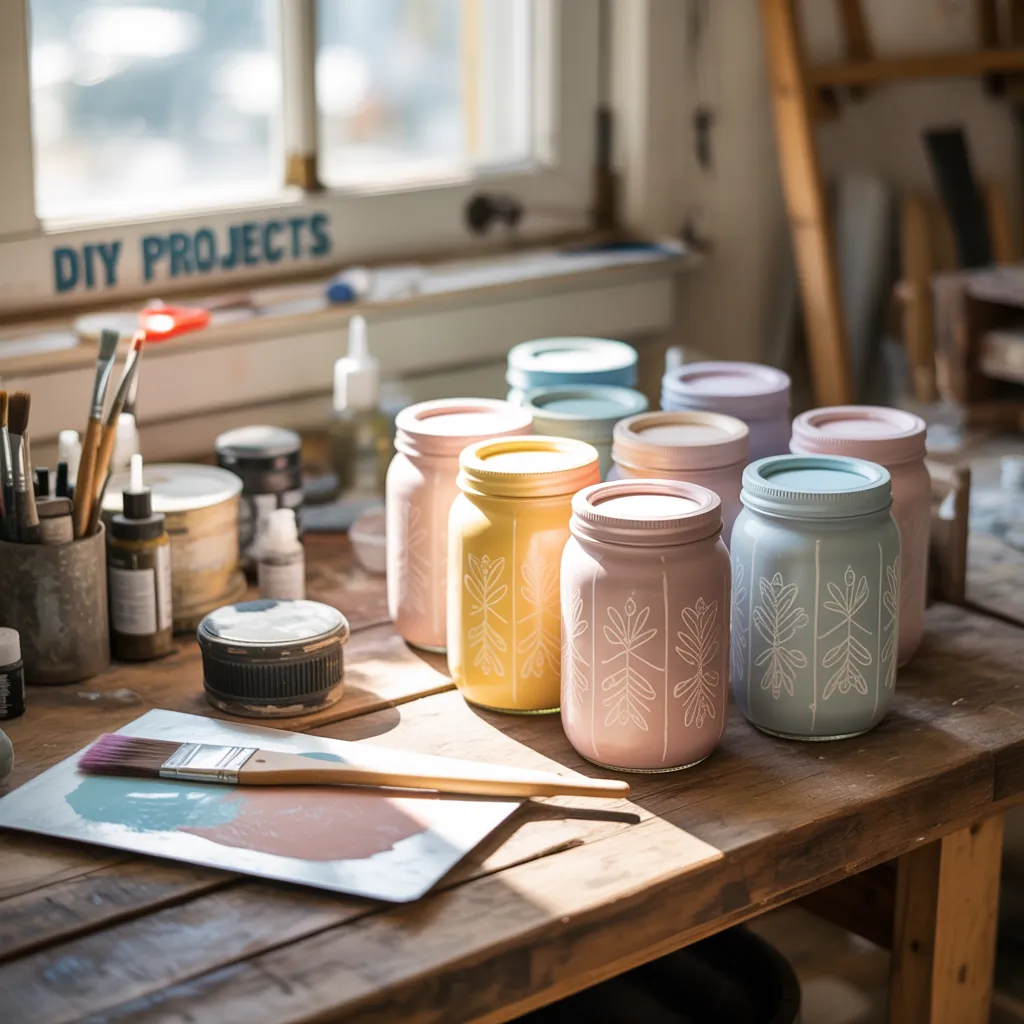
Ever finished a DIY kitchen upgrade and found yourself staring at a stack of empty mason jars wondering what to do next? Whether you want to add cozy candlelight to your dining table, create organized pantry canisters, or make inexpensive gifts, painted jars are a simple, high-impact fix. If you’ve been searching for glass jar painting ideas how to transform spare jars into beautiful home accents, this guide gives practical, step-by-step projects and design inspiration you can tackle this weekend.
Why Paint Glass Jars? The Benefits of Upcycling Jars
Painting glass jars is affordable, eco-friendly, and endlessly customizable. A few coats of paint or a bit of stenciling can convert a boring jar into a chic vase, a rustic utensil holder, or a personalized candle lantern. It’s also a perfect creative session for beginners—small surfaces mean quick results and big satisfaction.
Materials You’ll Need
- Clean glass jars or mason jars (recycled jam jars work great)
- Rubbing alcohol or degreaser
- Sandpaper (220–400 grit) for better adhesion
- Glass primer or all-surface primer
- Acrylic enamel paint, chalk paint, or spray paint made for glass
- Paintbrushes, foam brushes, or a sponge
- Painter’s tape, stencils, stickers, or vinyl cut-outs
- Clear sealer (spray or brush-on) for durability
- Optional: Mod Podge, glitter, metallic leaf, glass etching cream
Quick Prep: How to Get Paint to Stick to Glass
Proper preparation prevents flaking and gives a professional finish. Follow these steps before you paint:
- Wash jars thoroughly with warm soapy water and remove labels—soak in hot water if needed.
- Wipe with rubbing alcohol to remove oils and residues.
- Lightly sand the surface where paint will go to create tooth for adhesion.
- Apply a thin layer of glass primer if you’re using acrylics or brush-on paints; spray paints designed for glass may not require primer—check the label.
15 Glass Jar Painting Ideas How To: Projects for Every Skill Level
1. Opaque Chalk-Painted Jars (Rustic Look)
Apply two thin coats of chalk paint, sanding lightly between coats for a distressed farmhouse look. Seal with a matte clear coat. Perfect for utensil jars or bathroom storage.
2. Ombre Painted Jars
Using foam brushes, blend two or three shades from dark at the base to lighter at the top. Work quickly while paint is wet for a smooth gradient. Seal with glossy spray for a modern finish.
3. Stenciled Herb Jars for the Window Sill
- Paint the jar a base color and let dry.
- Position a stencil and dab contrasting paint through it with a sponge.
- Label with chalk marker for a farmhouse herb garden.
4. Glitter Dip Vases
Brush Mod Podge on the lower half, sprinkle fine glitter, tap off excess, and seal with a spray sealer. Great for party centerpieces.
5. Metallic Leaf Accent Jars
Apply adhesive sizing, press metallic leaf onto areas, then burnish and seal. Use small metallic patches for upscale accents.
6. Marbled Jars with Nail Polish
Fill a container with water, drip nail polish, swirl, and dip the jar. This creates unique marbled patterns—protect with sealer for longevity.
7. Frosted Glass via Etching or Spray
Use glass etching cream for permanent frosting or frosted spray for a temporary look—ideal for candleholders to diffuse light.
8. Rustic Twine and Paint Combo
Paint the jar, then wrap twine around the neck or base and glue in place for a coastal or country vibe.
9. Chalkboard Label Jars
Paint a rectangular chalkboard paint panel on the jar for reusable labels—great for pantry organization and gift jars.
10. Stained-Glass Effect with Glass Paints
Use translucent glass paints to mimic stained glass. Outline shapes with a relief paint for a Tiffany-like effect.
11. Holiday-Themed Painted Jars
Use seasonal colors, glitter, and decals to create ornaments, luminaries, or hostess gifts—swap colors for different holidays.
12. Patterned Stamped Jars
Use foam stamps or carved potatoes with acrylic paint to create repeating patterns—an easy way to get a designer look.
13. Double-Sided Transparent Jars for Candles
Paint the inside surface with transparent glass stains to protect the finish from candle heat and create vibrant color effects.
14. Decoupage Napkin Jars
Apply patterned napkin pieces with Mod Podge for layered, textured designs—make sure to seal thoroughly.
15. Sculptural Paint Techniques
Use thick texture paste or 3D paint to create raised designs, which can be antiqued with a dry brush of metallic paint on top.
Step-by-Step: How to Paint a Mason Jar (Basic Method)
- Clean and dry the jar thoroughly.
- Sand the area to be painted and wipe with alcohol.
- Apply primer and let dry per product instructions.
- Paint with thin, even coats—allow each coat to dry before the next.
- Add details (stencils, glitter, decals).
- Seal with clear spray sealer or brush-on varnish.
Practical Tips & Real-World Advice
- Work in a well-ventilated area and protect your workspace with newspaper or a drop cloth.
- Thin, multiple coats beat one thick coat every time—fewer drips, smoother finish.
- For items that will hold food, use food-safe paints or keep the painted surface external only.
- If reusing jars in humid spaces (bathroom, outdoor), choose exterior-grade sealer for durability.
- Test paints on a scrap jar first to check adhesion and color once dry.
Design Inspiration: Where to Use Painted Jars in Your Home
- Kitchen: utensil holders, pantry jars labeled with chalkboard paint—great for kitchen upgrades.
- Bathroom: cotton ball jars, toothbrush holders, or reed diffuser containers.
- Living room and dining: candle lanterns, flower vases, or table centerpieces.
- Garden and patio: mini planters for succulents and herbs.
- Gift ideas: personalized jar candles, hot cocoa mix jars, or spa-ascii sets—handmade gifts are always appreciated.
Frequently Asked Questions
Acrylic enamel and specially formulated glass paints work best. Chalk paint adheres well when primed and creates a matte finish. For outdoor use, choose spray paints and sealers specifically labeled for exterior durability.
Most hand-painted jars aren’t truly dishwasher safe. For better longevity, cure the paint per manufacturer instructions (some paints suggest heat curing), and apply a dishwasher-safe clear sealer. Still, handwashing is recommended for painted surfaces.
Yes—painting the inside can protect the finish from candles and create vivid transparent colors. Use paints designed for glass interiors and ensure jars are fully dry and cured before use.
Conclusion: Try These Glass Jar Painting Ideas How To Transform Your Space
Glass jar painting ideas how to upcycle jars into beautiful, functional decor are within reach—even for beginners. With basic supplies, a little preparation, and the step-by-step projects above, you can create personalized pieces for every room. Ready to get started? Gather your jars and try one of the projects today—then browse more DIY projects or explore home design ideas for more inspiration. Share your finished jars or ask for tips in the comments—let’s make your home more creative and organized, one painted jar at a time.