Have you ever brought home a chipped, character-filled piece from a thrift store or inherited an old family dresser and wondered, “How can I make this work in my modern living room?” If so, you’re not alone — turning a tired relic into a statement piece is one of the most satisfying home improvement wins. In this post you’ll find practical furniture ideas vintage homeowners and DIYers can actually do, from budget-friendly makeovers to simple reupholstery and repurposing projects.
Why Choose Vintage Furniture Ideas?
Vintage and antique-inspired furniture offers unique craftsmanship, sustainable appeal, and personality that mass-produced pieces can’t match. Whether you’re aiming for shabby chic furniture, mid-century modern vintage, or farmhouse charm, vintage finds can be adapted to any design style. They’re also great for eco-conscious decorating because upcycling keeps pieces out of the landfill.
How to Start: Sourcing and Planning Your Vintage Makeover
Where to find vintage pieces
- Thrift stores and charity shops
- Estate sales and auctions
- Local flea markets and antique fairs
- Online marketplaces and community boards
What to look for when buying
- Solid frames (no major structural cracks in wood)
- Original hardware you can restore or replace
- Good bones: even if finish and upholstery need work, strong construction pays off
- Dimensions that fit your space—measure doorways and intended placement
Top Furniture Ideas Vintage DIY Projects (Step-by-Step)
1. Upcycled Dresser Makeover
Give an old dresser new life with paint, new hardware, and a distressing technique for a vintage vibe.
Tools & materials
- Sandpaper (120 and 220 grit), tack cloth
- Primer and chalk paint or acrylic furniture paint
- Clear wax or polyurethane
- New drawer pulls or restored original hardware
- Optional: wood filler, painter’s tape
Step-by-step
- Remove drawers and hardware. Clean surface with a degreaser.
- Fill any deep gouges with wood filler, sand smooth.
- Apply primer if the piece has a glossy finish or is a dark stain.
- Paint two thin coats of chalk paint in your chosen vintage shade (muted teal, warm cream, or dusty rose are classics).
- Lightly distress edges with 120-grit sandpaper for a worn, antique look.
- Seal with clear wax for a soft sheen or water-based polyurethane for durability.
- Replace hardware with brass or ceramic knobs to complete the vintage aesthetic.
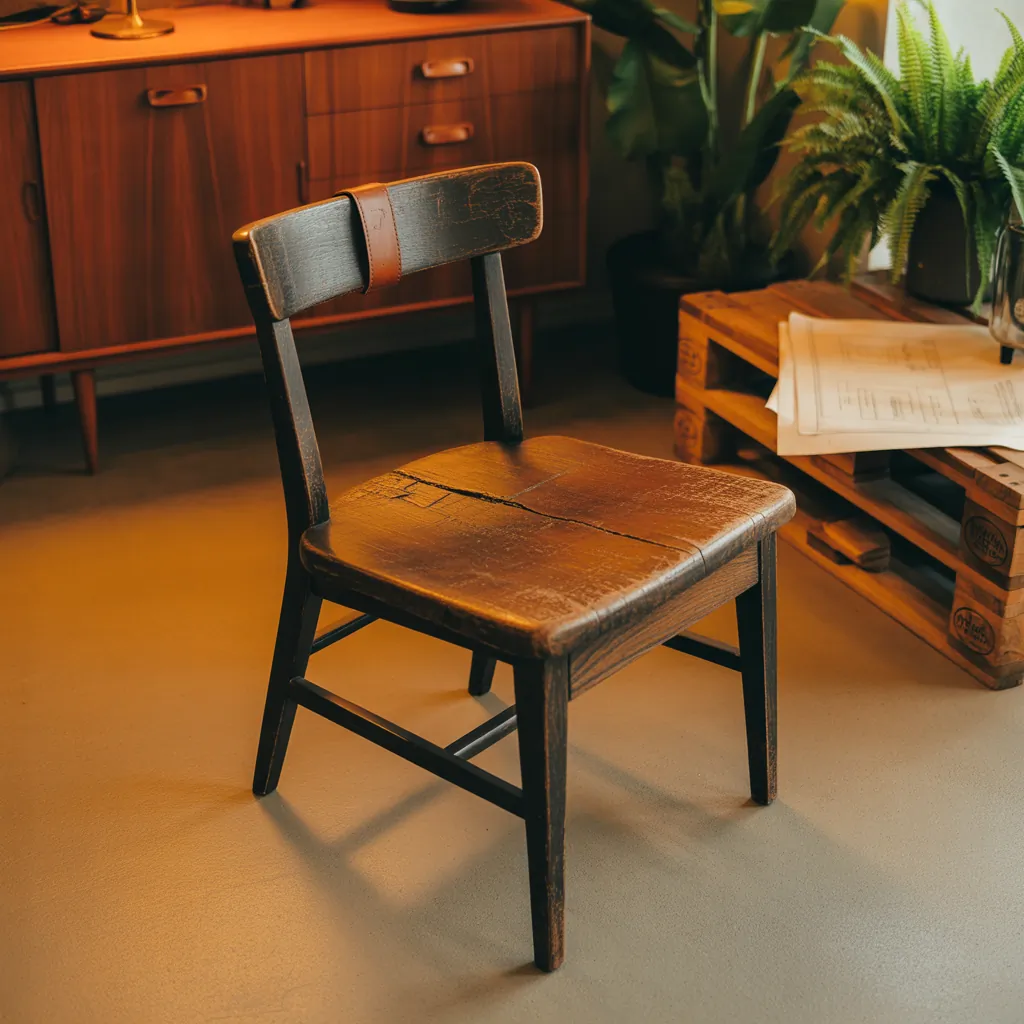
2. Reupholster a Dining Chair
Old chairs often have solid frames but outdated fabric. A simple reupholstery transforms them quickly.
Tools & materials
- Staple gun, upholstery fabric, foam or batting
- Flathead screwdriver, pliers
- Scissors, measuring tape
Step-by-step
- Remove seat from frame and take off old fabric.
- Replace foam if flattened; wrap in batting for a smooth finish.
- Cut new fabric, leaving a few extra inches for stapling underneath.
- Pull fabric taut and staple on the underside, starting from the center of each side.
- Trim excess fabric and reattach the seat. Choose vintage-inspired prints like florals, ticking stripes, or retro geometrics.
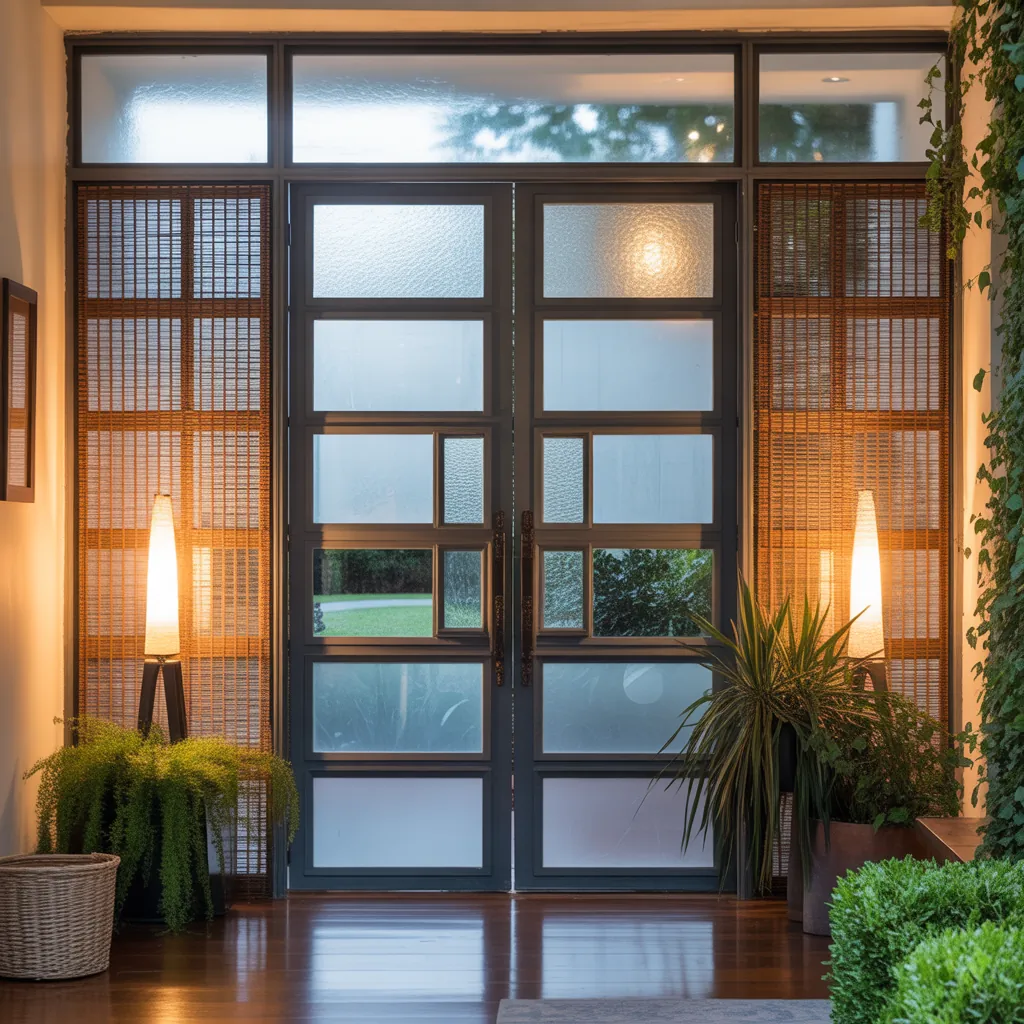
3. Repurpose a Vintage Door into a Coffee Table
Large wooden doors or shutters become dramatic tabletops with minimal carpentry.
Tools & materials
- Legs or hairpin table legs, paint or stain, sandpaper, screws, drill
Step-by-step
- Sand the door flat and remove any loose paint.
- Paint or stain to match your room — a weathered stain enhances the vintage look.
- Attach four sturdy legs to the underside, ensuring even height and stable placement.
- Seal with a clear coat if the table will hold drinks and dishes.
Design Inspiration: How to Style Vintage Pieces in Modern Spaces
Mixing vintage with contemporary pieces creates layered, lived-in rooms. Try a vintage console in a sleek entryway, a mid-century credenza under your flat-screen, or a tufted sofa paired with industrial lighting. Consider color palettes that bridge eras — muted earth tones, soft pastels, or high-contrast black-and-white can all complement antique-inspired furniture.
Room-by-room suggestions
- Living room: Use a vintage coffee table and modern sofa to balance comfort and character.
- Bedroom: Update an heirloom vanity with fresh paint and new hardware for an instant focal point.
- Kitchen: Incorporate a refurbished vintage hutch as open storage — perfect for displaying dishware (see our kitchen upgrades ideas).
Practical Tips for Success
- Test paints and finishes on hidden areas first.
- Invest in a good brush or foam roller to avoid brush marks.
- When mixing old and new, repeat a color or material across the room to tie styles together.
- Protect high-touch vintage surfaces with wax or poly to preserve patina while ensuring usability.
- If you’re new to furniture DIY, start small: try a stool or side table before tackling a large piece.
Budget-Friendly Strategies
Keep costs low by focusing on cosmetic updates: paint, hardware, and new upholstery swatches can dramatically change a look. Swap knobs instead of replacing an entire dresser, and hunt for secondhand textiles for cushions. Upcycling is one of the best low-cost home design ideas that delivers high visual impact with minimal investment.
Furniture Ideas Vintage: Maintenance and Longevity
To keep vintage pieces functional and beautiful, dust regularly, avoid direct sunlight on fabrics to prevent fading, and re-wax wood surfaces every 6–12 months. For structural issues like loose joints, use wood glue and clamps, or consult a furniture restorer for complex repairs.
Frequently Asked Questions
Yes — vintage furniture often has higher-quality construction than modern mass-produced pieces. A makeover preserves character while making items fit contemporary needs. It’s sustainable and can be cost-effective if you shop smart.
Use a combination of gentle sanding and a chemical paint stripper designed for wood, working in a well-ventilated space with gloves and eye protection. Test a small area first and avoid aggressive stripping if you want to keep patina; gentle sanding followed by a finish change may suffice.
Absolutely. Many vintage pieces can be repurposed — remove drawers to create open storage, cut tops to fit sinks, and reinforce weight-bearing areas. Just measure carefully and account for plumbing and moisture exposure when putting vintage wood in a bathroom.
Conclusion: Try One Furniture Ideas Vintage Project This Weekend
Whether you’re rescuing a thrifted side table or reupholstering a beloved chair, furniture ideas vintage projects are rewarding, budget-friendly, and full of personality. Start with one small makeover, follow the step-by-step tips above, and see how a vintage piece can transform your space. For more project inspiration and step-by-step guides, check out our DIY projects and home design ideas pages. Ready to get started? Pick a piece, gather your tools, and create something timeless today.
Call to action: Share a photo of your vintage makeover or describe your next project in the comments — I’d love to help you plan it!


