Ever stood on your front steps and thought, “This porch is fine, but it doesn’t feel like home”? Whether you’re prepping to sell, craving curb appeal, or just want a cozy entry for morning coffee, upgrading the entrance with stone is one of the most dramatic and durable improvements you can make. In this article you’ll find practical, budget-savvy front porch entrance stone ideas plus step-by-step DIY tips that make the project approachable—even if you’ve never laid a paver.
Why choose stone for your front porch?
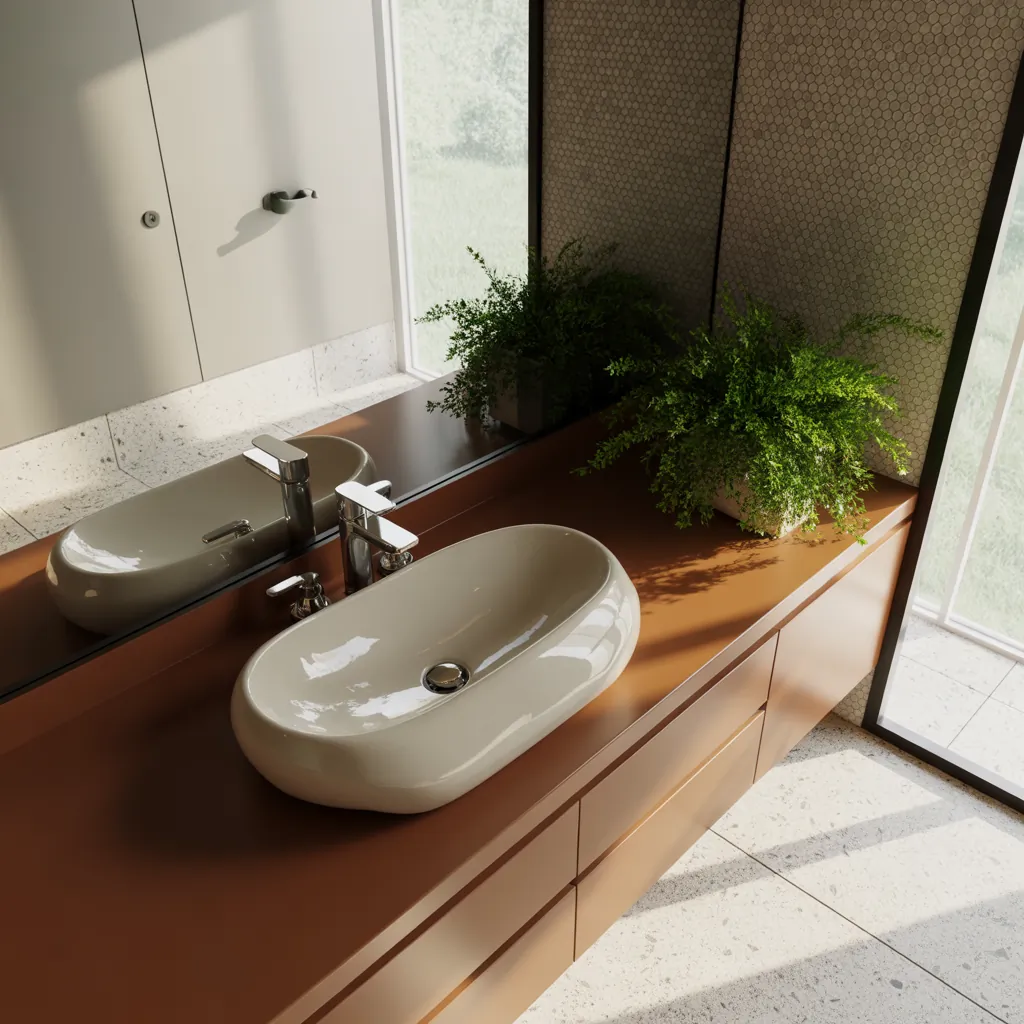
Stone offers timeless beauty, low maintenance, and strong resale value. Natural stone—like flagstone, bluestone, or slate—brings organic texture and unique color variations, while manufactured stone veneer or concrete pavers can mimic that look on a tighter budget. Stone also handles foot traffic and weather better than wood or plain concrete when installed correctly.
Top front porch entrance stone ideas
Below are high-impact design concepts you can adapt to your home’s style and budget.
1. Natural flagstone porch and step combination
Flagstone creates an irregular, rustic look that’s great for craftsman and cottage homes. Use larger pieces on the porch surface and smaller pieces for the risers or step treads. Mix in contrasting grout or decomposed granite for a walkable, non-slip finish.
2. Stone veneer facelift for porch columns and facade
If you like the look of full stone but don’t want the weight or cost, stone veneer on porch columns and the lower facade adds instant character. Veneer is lighter and easier to install, giving a masonry look with simpler DIY steps.
3. Paver patterns for a modern entryway
Pavers are perfect for clean lines and crisp designs. Try herringbone, basketweave, or soldier course borders for a contemporary feel. Combine with a concrete perimeter for durability.
4. Mixed materials: wood + stone accents
Warm wood steps with stone risers or a stone pathway leading to a wooden deck porch create a balanced, inviting entrance. This mixed-material look softens stone’s hardness while keeping visual interest.
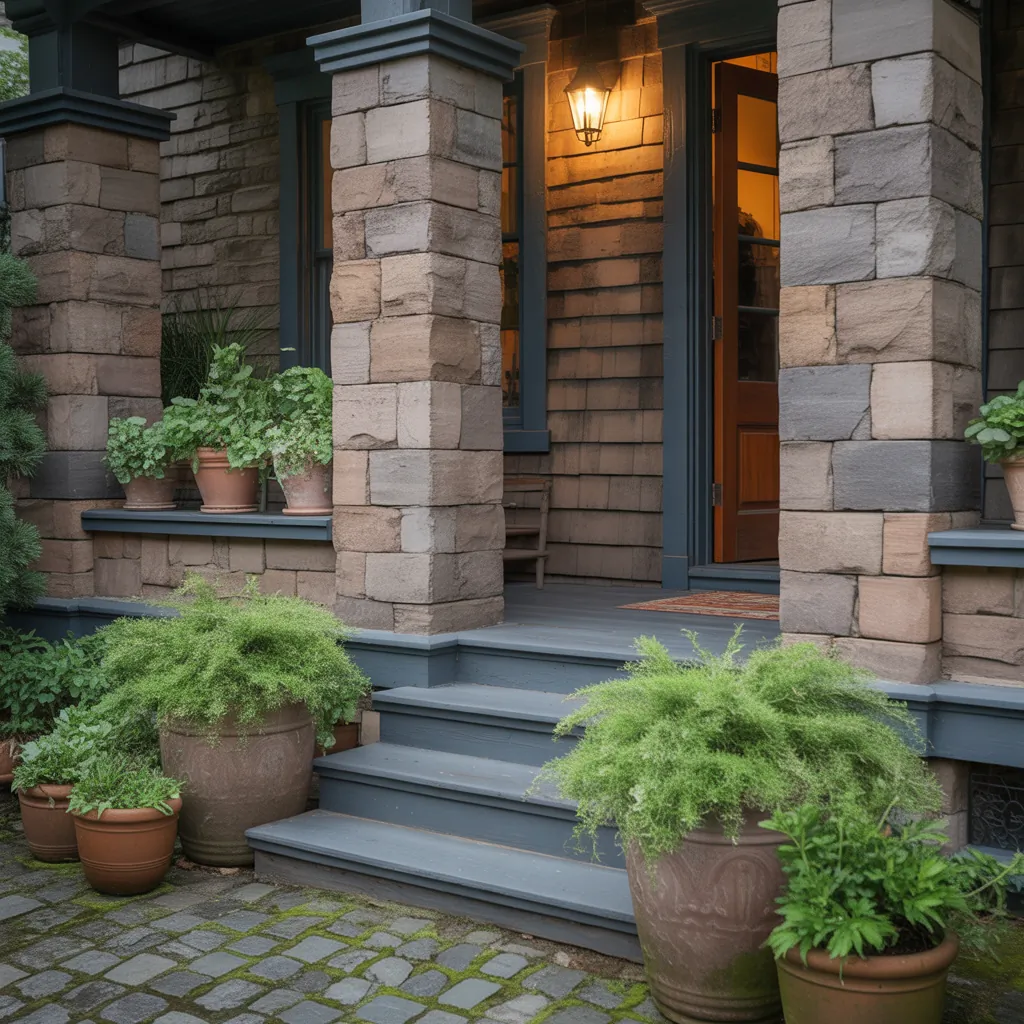
5. Stone pillars and low garden walls for a grand approach
Add stone pillars to flank your walkway or stairs, or build low stone garden walls with integrated lighting. These features create a cohesive stamped style that ties landscaping and architecture together.
DIY: How to install a stone front porch entrance (step-by-step)
Here’s a straightforward process for a small porch or step project. If you’re tackling a larger structural rebuild, consult a pro.
- Plan and measure: Sketch the area, measure length/width/depth, and calculate stone and base material quantities. Account for a 4–6″ compacted base under pavers or 2–3″ mortar bed for veneer.
- Choose materials: Pick natural stone, pavers, or veneer. Consider frost resistance if you live in a cold climate.
- Prepare the base: Excavate to depth, install landscape fabric if desired, then add crushed stone or gravel and compact in layers for a stable footing.
- Lay a dry-fit: Place stones without adhesive to arrange pattern and minimize cutting.
- Install bedding or mortar: For pavers, use a sand bed; for veneer or steps, use a mortar bed or thin-set recommended for your stone type.
- Place stones and level: Start at the lowest point and work up; use a rubber mallet to seat stones and a long level to ensure evenness.
- Grout or joint fill: Use polymeric sand for pavers or grout for flagstone. For a natural look, fill joints with decomposed granite or pea gravel.
- Seal and finish: Apply a breathable stone sealer to protect from stains and freeze-thaw cycles. Add finishing touches like stair nosing, anti-slip tape, or light fixtures.
Design tips, lighting, and maintenance
Practical design tips
- Pick tones that complement your home’s exterior—warm tans for brick, cool grays for siding.
- Scale matters: large slabs suit wide porches; small pavers work better for narrow entries.
- Use a border or soldier course to frame the porch and create a finished look.
Lighting and landscaping
Stone looks best when paired with soft lighting. Install low-voltage path lights, step lights, or LED strips under stair treads to highlight texture and improve safety. Add planters or low boxwood hedges to soften edges and frame the entryway.
Maintenance and weatherproofing
Seal porous stone every 1–3 years to reduce staining. For cold climates, use de-icing salts formulated for stone to avoid surface damage. Keep joints clean and reapply joint filler as needed to prevent shifting.
Budgeting and when to hire a pro
Costs vary widely: a small DIY stone step refresh could be a few hundred dollars, while a full porch rebuild using natural stone might run several thousand. Hire a mason or contractor for structural work, complex steps, or if foundational drainage needs correction. For straightforward veneer or paver installations, many homeowners successfully complete the job over a weekend with basic tools.
Frequently Asked Questions
Costs depend on materials and scope. Expect $10–$30 per square foot for basic pavers or veneer and $20–$60+ per square foot for high-end natural stone including installation. DIY reduces labor costs but requires time and proper tools.
Yes—stone veneer can be installed over concrete or wood-clad surfaces if the substrate is stable and properly prepared. Pavers can be laid over a compacted base on top of existing concrete in some cases, but check for drainage and level issues first.
Choose dense, non-porous stones with good slip resistance. Bluestone, granite, slate, and certain types of flagstone are excellent choices. Avoid highly porous stone in freeze-thaw climates unless sealed and installed with proper drainage.
Conclusion: Make your front porch a welcoming statement
Stone can instantly elevate curb appeal, add durability, and create a memorable entry. Whether you try simple stone veneer accents, a full paver redesign, or one of these front porch entrance stone ideas as a weekend DIY, planning and proper base work are the keys to success. Ready to start? Browse our DIY projects for tool checklists and swing by home design ideas for more inspiration—then pick a small area to test materials and technique. Once you see the transformation, you’ll be motivated to keep going.
Call to action: Got a photo of your current porch? Share it in the comments or start a project journal—your next weekend project could become the new favorite spot in your home.