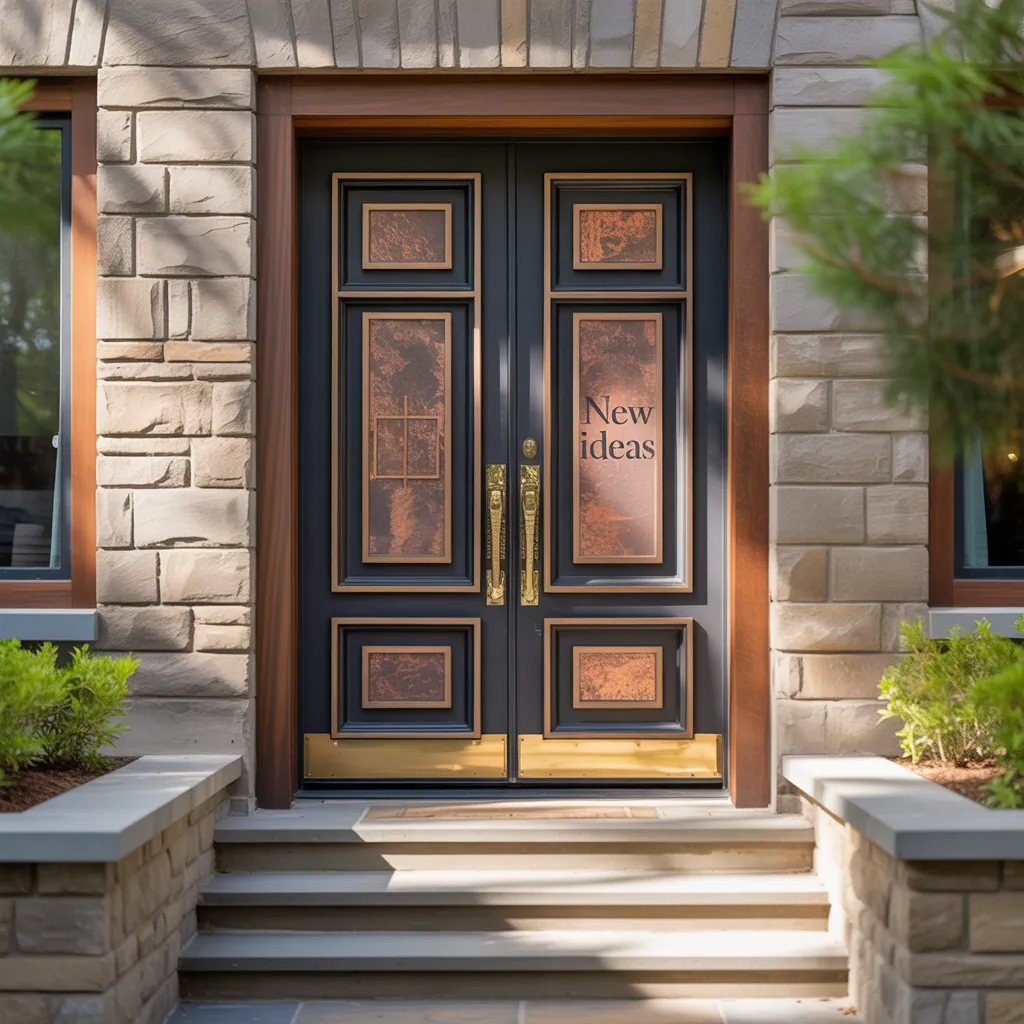
You’ve painted the siding, pressure-washed the porch, and swapped the mailbox—but your front entrance still feels flat. If you’re staring at a bland door and wondering how to add character without a full replacement, front door inset ideas new can be the exact lift your home needs. Whether you’re a weekend DIYer or hiring a pro, smart insets can dramatically boost curb appeal, security, and even energy efficiency.
Why update your door inset? The low-cost curb appeal win
Updating the door inset—the recessed panel, glass, or decorative inlay—lets you change the entire personality of the front entrance without ripping out the entire door. It’s lower cost than a new door, faster than a full remodel, and offers huge returns in visual impact. Plus, modern door inset solutions can add insulation and light where you want it.
Front door inset ideas new: Top design directions
Below are fresh, practical ideas to consider, grouped by style and complexity.
1. Glass inset with privacy options
- Frosted or rain glass: brings in soft light while preserving privacy.
- Textured patterns: vintage vibes or contemporary minimalism—textured glass adds visual interest.
- Removable interior storm glass: for added insulation in cold months.
2. Decorative metal or laser-cut panels
- Powder-coated steel or aluminum inlays create a modern, durable look.
- Backlit metal patterns add drama at night and become a focal point.
3. Wood inlay or bevelled paneling
- Contrast stain or painted borders highlight traditional or craftsman styles.
- Reclaimed wood inset gives a rustic, eco-friendly statement.
4. Tile or mosaic insets for a bold statement
- Small-format tiles around a door glass inset can frame the view and resist weather.
- Use porcelain tiles for durability and low maintenance.
5. Painted recessed panels and molding
- Simple trim applied to create geometric panels—paint in a contrasting or complementary hue.
- Two-tone finishes (gloss inset, satin frame) add sophistication with minimal cost.
Practical DIY tips: How to update a door inset step-by-step
Here’s a general workflow you can adapt to most inset projects. Always confirm door material (solid wood, steel, fiberglass) before starting.
- Measure and plan: Note inset dimensions, door thickness, and hinge/lock positions. Sketch your design and select materials.
- Remove the door: For most inset work it’s safer on a workbench. Label hinge locations and use shims so re-hanging is easier.
- Remove old inset: Carefully chisel or unscrew the existing panel or glass. Wear eye protection and gloves.
- Prepare the opening: Sand edges, clean debris, and treat any rot on wood doors. Apply wood filler and sand smooth if necessary.
- Fit the new inset: Dry-fit before gluing or sealing. For glass or metal, use gasket or rubber trim to prevent rattling.
- Seal and finish: Use exterior-grade caulk, primer, and paint or stain. For glass, use quality glazing compound and consider interior storm panels for added insulation.
- Re-hang and test: Check lock alignment, weatherstripping, and how the door closes. Add threshold or sweep if needed.
Materials, tools, and budget expectations
Typical items you might need: jigsaw or router for custom cuts, screwdriver set, glazing points, exterior paint or stain, weatherproof caulk, and appropriate fasteners. Budget ranges widely:
- Simple painted panel: $20–$150 (materials only)
- Glass inset (prefab): $150–$400
- Custom metal or tile inset: $300–$1,200+
If you’re replacing structural insets or tempered glass, factor in professional installation to meet building codes and safety standards.
Design tips and real-world advice
Match scale and proportion
A large, ornate inset on a narrow cottage door can look out of place. Aim for proportion—wider doors handle bolder insets, while slim doors benefit from vertical glass strips or narrow panels.
Consider security and insulation
Choose laminated or tempered glass and install robust locks. If you live in a cold climate, consider insulated inserts or interior storm panels to reduce heat loss.
Coordinate with hardware and porch elements
Finish inset metalwork and door hardware in matching tones—matte black, brushed nickel, or oil-rubbed bronze—to create a cohesive look. Don’t forget the porch light and house numbers as finishing touches.
Easy weekend projects to try
- Painted inset with new trim—replace the trim, caulk, prime, and paint for a fresh look in a day.
- Frosted glass film—apply adhesive film to an existing glass panel for privacy and style.
- DIY wood overlay—cut and glue a decorative panel or slats for a shaker-style inset upgrade.
Where to find inspiration
Browse local showrooms, reclaimed material yards, or DIY galleries for ideas. You’ll find many inventive solutions that can be scaled to your budget—from minimal Scandinavian insets to bold Mediterranean tiles. When in doubt, create a mood board with paint chips, door hardware samples, and photos.
Frequently Asked Questions
Q: Can I add a glass inset to a steel or fiberglass door?
A: Yes—many steel and fiberglass doors accept pre-cut glass units or retrofit kits. Ensure the insert matches the door thickness and that you use the proper gasketing and sealants. For security, choose tempered or laminated glass and confirm compatibility with existing lock and hinge placements.
Q: How long does a DIY door inset project take?
A: Simple projects like painting or applying trim can be completed over a weekend. More involved jobs—cutting openings, installing glass, or finishing custom metalwork—can take several days to a week, depending on drying times for paint and sealants.
Q: Do inset upgrades require permits?
A: Most cosmetic changes don’t require permits. However, if you alter structural elements, change the door rough opening, or impact egress/fire ratings, check local building codes and obtain permits if necessary.
Final thoughts: Ready to try front door inset ideas new?
Refreshing your entry with front door inset ideas new is one of the highest-impact, budget-friendly upgrades you can do. Start small with paint or a frosted film, then scale up to glass, metal, or tile inlays as your confidence grows. If you want step-by-step project guides and tool lists, check out our DIY projects page. For broader home refresh inspiration, visit our home design ideas and kitchen upgrades sections.
Ready to transform your front entrance? Choose one inset idea, plan the materials, and tackle it this weekend—then share your before and after photos to inspire others.
For more on how to enhance your home’s curb appeal, check out What to Look for in a New Air Conditioner