You’re repainting the guest room, refinishing a thrifted side table, and suddenly realize the backyard ceremony will need little tokens for guests — and you want them to match your home’s DIY aesthetic. Making your own wedding favors is a perfect way to use the same tools, paint, and creative energy you’ve been pouring into home improvement projects. Whether you plan a backyard wedding or simply want favors that feel handmade, these practical, stylish favors ideas wedding couples can craft at home will save money and add personal charm.
Why choose DIY wedding favors?
DIY wedding favors make memorable takeaways and allow you to coordinate favors with your overall home design and wedding theme. They are budget-friendly, customizable, and offer a satisfying parallel to other home projects like small remodels or decor updates. Plus, creating favors at home is an opportunity to involve friends and family and make a weekend of it.
Three tried-and-true DIY favor projects (with step-by-step instructions)
1. Mini preserves or honey jars — rustic edible favors
Mini jars of jam, marmalade, or local honey are timeless and practical. They work great for rustic, farmhouse, or garden-themed weddings and can be made in your kitchen on a budget.
- Materials: 2–4 oz mason jars, lids, screw bands, printed labels, twine, preserves or honey (homemade or purchased small-batch).
- Steps:
- Tips: Prep jars a month in advance, store in a cool, dark place, and test one jar for seal integrity. Use your kitchen counter as a packing station — see our kitchen upgrades page for ideas to make the space more production-friendly.
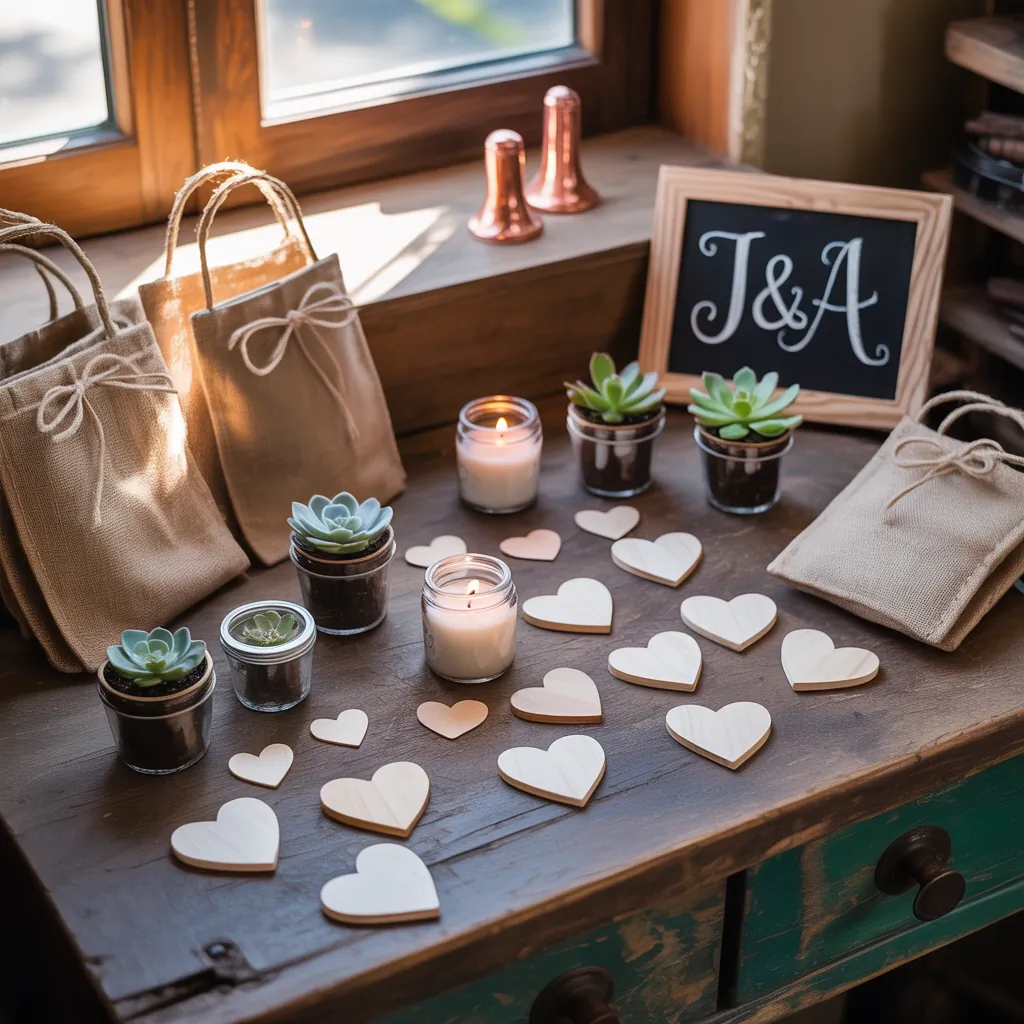
2. Mini succulents in painted pots — low-maintenance green favors
Succulents are a stylish, long-lasting option that match modern and boho wedding aesthetics. Making personalized pots adds a home-craft touch.
- Materials: Small terracotta pots, acrylic paint or chalk paint, sealant, potting soil, baby succulents, labels or mini cards.
- Steps:
- Tips: Paint pots in batches — while one set dries, work on potting the next set. Use trays and a drop cloth to protect your work surfaces when painting indoors.
3. Scented soy candles or handmade soap — luxury favors without the price tag
Hand-poured candles and cold-process or melt-and-pour soaps feel high-end and are surprisingly doable at home with minimal equipment.
- Materials: Soy wax flakes, wicks, small tins or jars (for candles); soap base, fragrances, molds (for soaps); essential oils, labels, packaging.
- Steps for candles:
- Steps for soaps:
- Tips: Test one batch first to dial in scent strength and set-up a ventilated area for making soaps and candles.
Design, packaging, and display ideas to match your home aesthetic
How you present favors matters as much as the favor itself. Think about your home’s style — farmhouse, modern, vintage — and use containers and labels that reflect it. Some display ideas:
- Use a vintage dresser or painted console table (a small home makeover project) as a favor station.
- Create tiered displays with cake stands and wooden crates for variation in height.
- Group favors by type on labeled trays and include small signage explaining ingredients or care instructions.
Scaling production — practical tips for efficiency
When you’re making dozens of favors, efficiency matters. Batch tasks: paint all pots, then seal; fill all jars in one session; label all items at once. Use assembly-line techniques with friends and family. Create a checklist and timeline: 6–8 weeks before — order materials; 3–4 weeks — start crafting in batches; 1 week — final labeling and packaging.
Budgeting and timeline for DIY favors
Set a per-favor budget early. Buying materials in bulk reduces costs, and repurposing jars or decor from home can cut expense. Allow extra days in your timeline for curing (candles/soaps) and for any unexpected drying or shipping delays if you’re ordering special labels or supplies.
Setting up favors at home or at the reception
Plan how guests will take favors: boxed on each place setting, a grab-and-go station, or a hostess who hands them out. If hosting at home, coordinate favors with other home design elements — use coordinated linens, matching signage, and complementary centerpieces. For destination venues, pack favors in stackable boxes that travel easily.
Frequently Asked Questions
A: It depends on the favor. Non-perishable items like succulents or painted pots can be prepared 1–2 weeks ahead. Candles and soaps often need 1–2 weeks to cure properly. Edible favors like preserves should be canned and stored several weeks in advance—start prepping 4–6 weeks before the wedding for comfort.
A: Small succulents, mint or herb sachets, single-serve honey or jam jars, or miniature cookie packs all feel thoughtful without breaking the bank. Personalize labels and packaging to elevate simple items.
A: Absolutely. Pick a simple project such as buying bulk honey jars and designing a neat label, or assembling purchased small candles with a custom tag. Team up with friends for assembly or consider semi-DIY options like ordering plain items and adding a personal sticker or ribbon.
Conclusion — try these favors ideas wedding and bring your DIY spirit to the big day
Creating your own favors ideas wedding-style is a rewarding extension of the DIY approach you use around the house. From edible jars to succulents and handmade candles, these projects let you match favors to your home’s aesthetic and save money while making something personal. Ready to start? Gather materials, set a realistic timeline, and invite a few friends to help. For more project inspiration, check our DIY projects page, get kitchen-friendly packing tips on kitchen upgrades, or browse styling ideas on our home design ideas page.
Call to action: Pick one favor idea above and try a single prototype this weekend — share a photo, tweak the design, and scale up when you love the result. Your guests will appreciate the personal touch, and you’ll enjoy bringing your home improvement skills to the celebration.