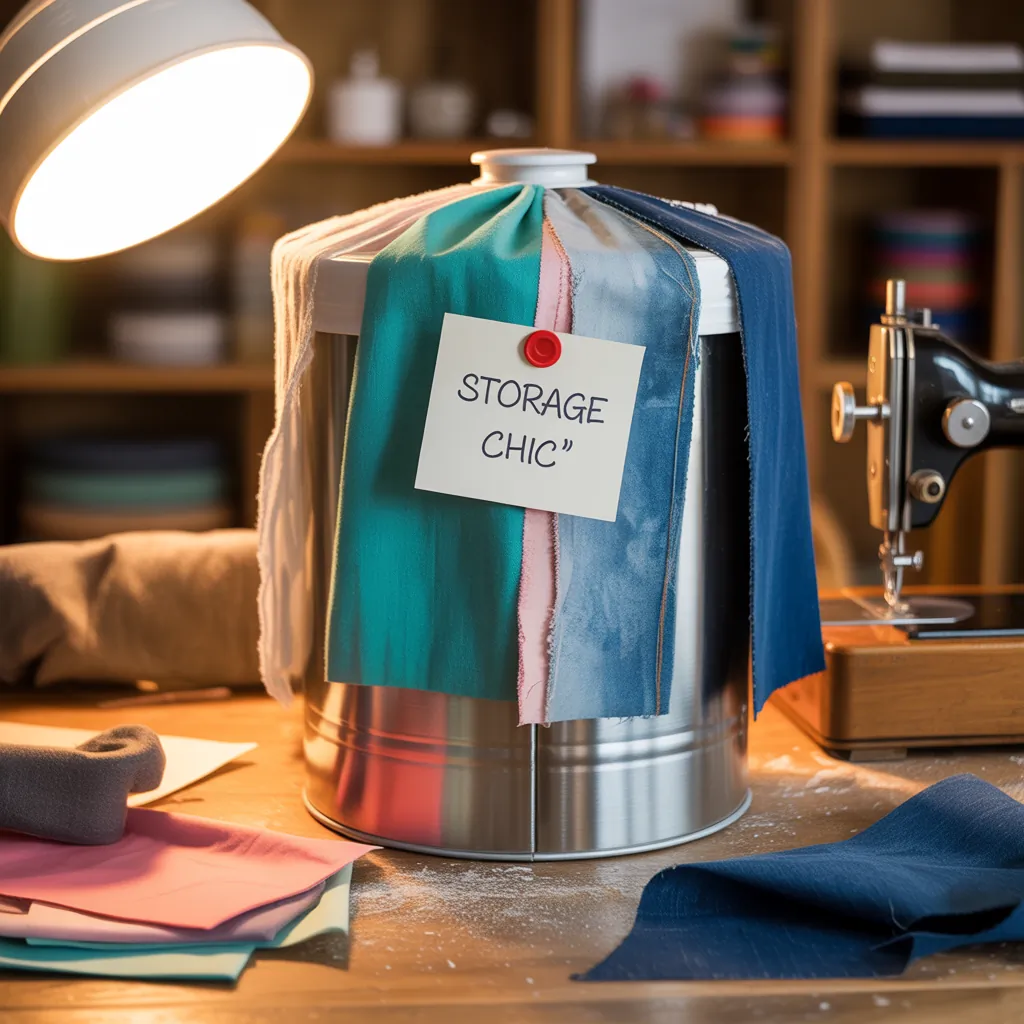
Ever stared at a plastic diaper pail and wondered how to make it fit your nursery aesthetic while solving the smell-and-scrap problem? If you’re knee-deep in a weekend makeover—repainting the nursery, swapping out mismatched storage, and dreaming of a cohesive look—diaper pail cloth ideas can transform an ugly necessity into a pretty, practical piece. This guide walks you through real-world DIY projects, step-by-step instructions, and design inspiration so your diaper solution is both functional and beautiful.
Why choose cloth solutions for your diaper pail?
Switching to cloth liners, covers, and wraps for diaper pails is more than a style choice. Cloth options offer washable convenience, customizable fits, and eco-friendliness. They help contain odors when paired with the right materials, protect pails from stains, and allow you to change the look as your nursery evolves.
Quick overview: cloth diaper pail options
- Reusable cloth liners (waterproof or cotton with waterproof backing)
- Decorative slipcovers that hide a plastic pail
- Fabric wraps that secure with elastic or ties
- DIY basket conversions using fabric-stitched liners
Essential materials and tools
Materials
- Waterproof PUL fabric or polyester laminated fabric for odor and moisture protection
- Cotton or quilting fabric for the outer layer (choose nursery-safe prints)
- Elastic or drawstring cord for secure closures
- Sew-on velcro or snaps for removable covers
- Optional: activated charcoal sachets, baking soda packet, or odor-control inserts
Tools
- Sewing machine (or fabric glue for no-sew options)
- Scissors, measuring tape, pins
- Serger (optional) or zig-zag stitch for finishing seams
Step-by-step DIY guide: Make a washable diaper pail liner
This simple liner fits most pails and is easy to wash—perfect for cloth diapering households and families who want less plastic waste.
Step 1: Measure your pail
Measure the inside circumference and height from bottom to rim. Add 1″ seam allowance and 2″ extra height for an elastic casing.
Step 2: Cut your fabric
Cut a rectangle: (circumference + 1″) x (height + 2″). For the base, cut a circle matching the internal diameter plus 1″ seam allowance.
Step 3: Sew the sides and base
- Sew the short edges of the rectangle together to form a tube.
- Pin the base circle to one open end; sew around with a straight stitch, then finish the seam.
- Fold the top edge down 1″ to create a casing for elastic; stitch leaving a small opening to feed the elastic.
- Insert elastic, secure, and stitch the opening closed.
Step 4: Add odor control (optional)
Sew a small pocket inside the liner to hold activated charcoal sachets or a replaceable baking soda packet to help trap smells between washes.
No-sew alternative
Use waterproof tear-away fabric adhesive and pre-cut elastic bands. Wrap fabric around the pail, secure with adhesive, and fold a quick hem for the elastic casing.
Design inspiration: match your nursery or hide the pail
Think beyond function. Use these ideas to integrate the diaper pail into your nursery design:
- Neutral linen-look fabric wrapped around a plastic pail for a Scandinavian vibe.
- Bold prints or funky animal motifs for a playful nursery accent.
- Rattan basket with a removable waterproof liner for a boho look (great for quick trips to the laundry room).
- Monochrome covers with leather loop handles to match modern furniture.
Practical tips for odor control and maintenance
- Use PUL or a waterproof layer to keep moisture from seeping into the pail.
- Wash liners weekly on hot with a baby-safe detergent; air-dry or tumble low.
- Keep a small container of baking soda or charcoal sachets inside the liner pocket between washes.
- Empty pail daily if you use disposable diapers, or every 2–3 days for cloth diapers when stored damp.
Creative upgrades and finishing touches
Want to step up the project? Try these enhancements:
- Magnetic snap closures that attach to the pail rim for a tailored fit.
- Custom embroidery with the baby’s name or simple motifs for gifted liners.
- Double-layer liners—inner waterproof layer and outer decorative shell that peels off to wash less often.
DIY-friendly alternatives: not into sewing?
Not everyone has a sewing machine. Here are fast, low-skill options:
- Buy pre-made waterproof storage bags and repurpose them as liners.
- Use large cloth shower caps as elasticized liners for quick containment.
- Create a slip-on cover from a fitted crib sheet for a no-sew aesthetic.
Diaper pail cloth ideas for small spaces and apartment living
If space is tight, choose compact, foldable solutions:
- Collapsible fabric bins with waterproof liners that tuck under a changing table.
- Hanging fabric bags that attach inside a closet door to reduce floor clutter.
- Stackable baskets with a removable liner to slide into a cubby shelf.
Frequently Asked Questions
Q: Can I use regular cotton for a diaper pail liner?
A: You can use cotton for an outer decorative layer, but always pair it with a waterproof inner layer like PUL to prevent leaks and reduce odors. Pure cotton alone will absorb moisture and may cause staining or mildew.
Q: How often should I wash cloth pail liners?
A: For cloth diapers, wash liners every 2–3 days. For disposable-diaper homes using cloth liners, a weekly wash with hot water and baby-safe detergent is typically sufficient. Always let liners fully dry before reuse.
Q: Will a cloth liner make odor worse?
A: Not if it’s designed correctly. Use waterproof inner materials, add an odor-control pocket (charcoal or baking soda), and maintain a regular wash schedule. Proper ventilation and emptying the pail frequently will prevent smells from building up.
Conclusion — Make your diaper pail part of the nursery design
Diaper pail cloth ideas open up a world of functional creativity: washable liners, stylish covers, and space-saving solutions let you create a nursery that’s organized and attractive. Whether you sew a custom liner, repurpose a basket, or craft a no-sew cover, these projects are approachable weekend DIYs that pay off every day. Ready to try one? Start with a simple washable liner and share your results—then explore more DIY projects to complete your nursery look.
For more project inspiration, check out our pages on DIY projects and home design ideas to bring coordinated, practical style to every room.
Call to action: Pick one diaper pail cloth idea from this guide and tackle it this weekend—snap a photo of your finished liner or cover and keep building your DIY skillset one small project at a time.


