Ever been elbow-deep in paint fixing a nursery shelf and suddenly realized the baby shower is three days away—and you still haven’t planned the dessert table? You’re not alone. Between touching up trim and organizing the guest list, the sweets display can feel like a big, last-minute project. The good news: with a few simple DIY tricks, smart planning, and repurposed items from around the house, you can create a gorgeous dessert table that looks professionally styled without the price tag or panic.
Start with a Plan: Theme, Size, and Timeline
Before you grab frosting or balloons, make a short plan. Decide on a theme (gender-neutral, woodland, pastel, nautical), measure the table space, and set a timeline for what to prepare day-by-day. This upfront work prevents last-minute scrambling and helps you shop smart.
- Choose a theme and color palette (limit to 2–3 main colors).
- Set a guest-count and plan dessert quantities accordingly (1–2 sweet items per guest plus a show-stopping cake).
- Create a 3-day timeline: bake or buy sweets two days before, assemble and decorate the day before, freshest items on the event day.
Long-tail planning tips
For an easy DIY dessert table for baby shower success, list out all items—backdrop, risers, labels, trays—and cross off what you already have. This saves time and keeps costs down.
Dessert Table Ideas Baby Shower: The Complete Setup Checklist
Here’s a practical checklist to help you visualize the finished dessert station:
- Backdrop (fabric, paper, or foliage)
- Main sweets: cake, cupcakes, cookies
- Secondary sweets: cake pops, mini tarts, macarons, candy jars
- Savory bite (optional) to balance sweetness
- Risers and stands for height variation
- Signage and labels for allergens
- Lighting and small props
DIY Backdrop & Centerpiece Ideas
A beautiful backdrop instantly elevates a sweets table and is one of the easiest places to DIY.
Balloon and Garland Backdrop (Quick)
- Materials: balloons in your palette, low-tack tape, fishing line or string, command hooks.
- Steps: inflate balloons to varied sizes, attach to fishing line or directly to the wall with low-tack tape, layer smaller balloons over larger ones for texture. Add a simple paper banner or a monogram cutout.
Paper Rosette or Fringe Curtain Backdrop (Budget-Friendly)
- Materials: crepe paper, scissors, foam board or dowel rod.
- Steps: cut and layer fringe strips across a long strip of ribbon, hang from a dowel or tape directly to a wall. Add rosettes made from cardstock for focal points.
Floral and Greenery Backdrop (Elegant)
- Repurpose faux garlands or gather greenery from your backyard, attach to a foam board or arch, and weave in small lights for evening showers.
Display & Styling: Height, Flow, and Function
How you arrange sweets is as important as what you serve. Think in thirds: left, center, right—use height variation for visual interest.
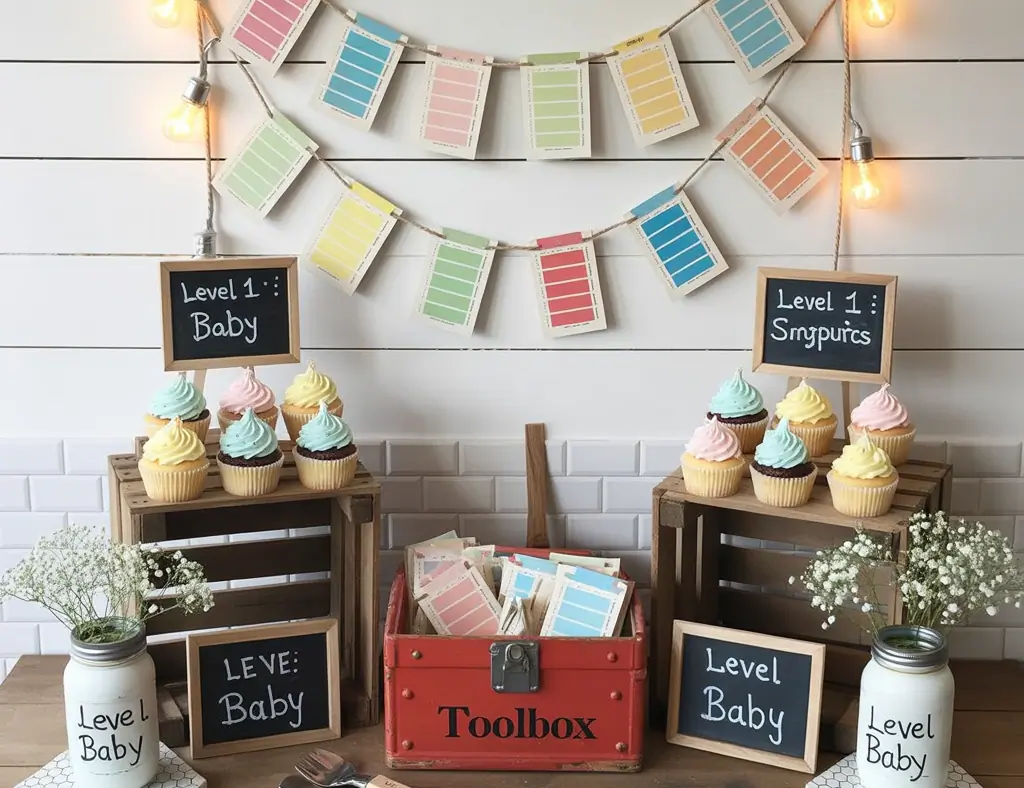
- Use cake stands, books wrapped in craft paper, wooden crates, and tiered trays to create levels.
- Place the statement cake center-stage. Group smaller sweets in odd-numbered clusters (3, 5, 7) for balance.
- Keep utensils, napkins, and takeaway boxes to one side to avoid crowding around food.
Real-world tips for traffic flow and food safety
Position the dessert table away from high-traffic doors and near a trash receptacle. For perishable items, plan refrigeration: bring out chilled items right before guests arrive, and keep ice or coolers nearby if the event is outdoors.
Practical DIY Props and Labels
Small details make the display feel intentional. Use printable tent cards or hand-write labels on kraft paper. Tiny clothespins clipped to twine work great for labels and photos.
- DIY food labels: punch a hole in cardstock, thread twine, and tie to jars or stands.
- Reusable props: paint thrifted frames or mirrors to match the theme and use as signage.
- Lighting: battery-operated fairy lights under translucent trays or draped around the backdrop warm the scene.
Menu Ideas: Popular & Allergy-Friendly Choices
Mix textures and sizes so guests can sample several items. Offer at least one gluten-free or vegan option to be inclusive.
- Show-stopper: single-tier or small two-tier cake decorated to match the theme.
- Handheld sweets: cupcakes, mini donuts, cake pops, cookies.
- Bite-sized: macarons, mini tarts, brownie bites.
- Candy jars: color-coordinated candies with scoops.
- Label allergens clearly (gluten, nuts, dairy).
Easy recipes and shortcuts
Buy pre-made sugar cookies or macarons and add custom icing or toppers for a professional look. Use boxed cake mixes and elevate them with homemade frosting or a decorative topper.
Budget-Friendly Hacks and Repurposing Ideas
Thrifting and repurposing makes a dessert table unique and inexpensive.
- Borrow cake stands and platters from friends instead of buying new ones.
- Wrap books in kraft paper to act as hidden risers.
- Use mason jars as dessert cups or candy holders.
- Repurpose a window frame or shutter as a backdrop for a rustic theme.
Checklist for the Day Of
- Set up backdrop and tablecloth first.
- Arrange risers and stands by height.
- Place the cake on its stand, then fill in with smaller items.
- Add labels and lighting last.
- Do a final safety check for hot or perishable items.
Frequently Asked Questions
1. How many desserts should I plan per guest for a baby shower?
Plan for 1.5–2 dessert servings per guest. Offer a variety of small, bite-sized sweets (cupcakes, cookies, cake pops) so guests can sample more than one item.
2. What are some easy, budget-friendly dessert table ideas for a baby shower?
Use store-bought sweets dressed up with DIY toppers, repurpose household items as risers, and create a simple paper or balloon backdrop. Focus on color-coordination and simple labels for a polished look without high cost.
3. How can I make my dessert table allergy-friendly?
Include at least one gluten-free and one dairy-free option. Clearly label all items with potential allergens (nuts, eggs, dairy, gluten). Consider separate serving utensils for allergen-free items to avoid cross-contact.
Conclusion: Create a Memorable Dessert Table Without the Stress
With a little planning and straightforward DIY, your dessert table can be a focal point of the baby shower rather than a source of last-minute stress. Use these dessert table ideas baby shower tips—backdrop, layered displays, budget hacks, and thoughtful menu planning—to build a beautiful sweets display that matches your home styling and skill level. Ready to get hands-on? Check out more DIY projects for inspired party decor, explore smart kitchen upgrades to make prep easier, or browse our home design ideas for more styling tips. Share a photo of your finished table and inspire others to DIY with confidence.