Trying to plan a beautiful pasni celebration but feeling overwhelmed by limited space, a tight budget, or the pressure to honor tradition? You’re not alone. Imagine standing in your living room the week before the ceremony—blank walls, a small dining table, and a curious baby—wondering how to transform that ordinary space into a warm, festive stage for your little one’s big day. With a few smart DIY techniques, thoughtful styling, and a bit of cultural flair, you can create unforgettable pasni decorations that look professional without breaking the bank.
Introduction: Why Thoughtful Pasni Decor Matters
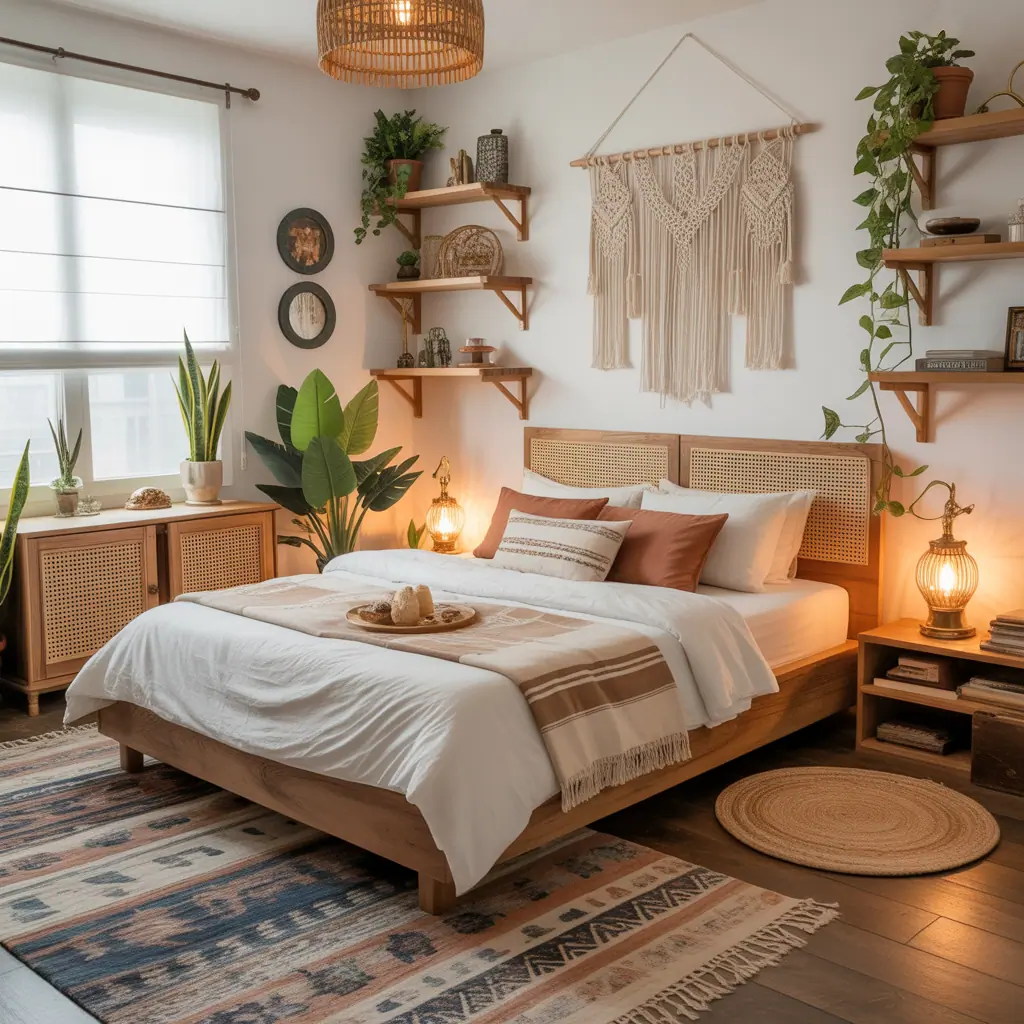
The pasni (rice-feeding ceremony) is a milestone filled with blessings, photos, and family rituals. Good decoration sets the mood, frames the photos, and makes guests feel welcomed. Whether you prefer a traditional look with marigold garlands and brass accents or a modern pastel theme, this guide offers practical, step-by-step decoration ideas pasni hosts can actually execute at home.
Quick Planning Checklist Before You Start
- Confirm guest count and the ceremony timeline.
- Measure your venue (living room, backyard, or community hall).
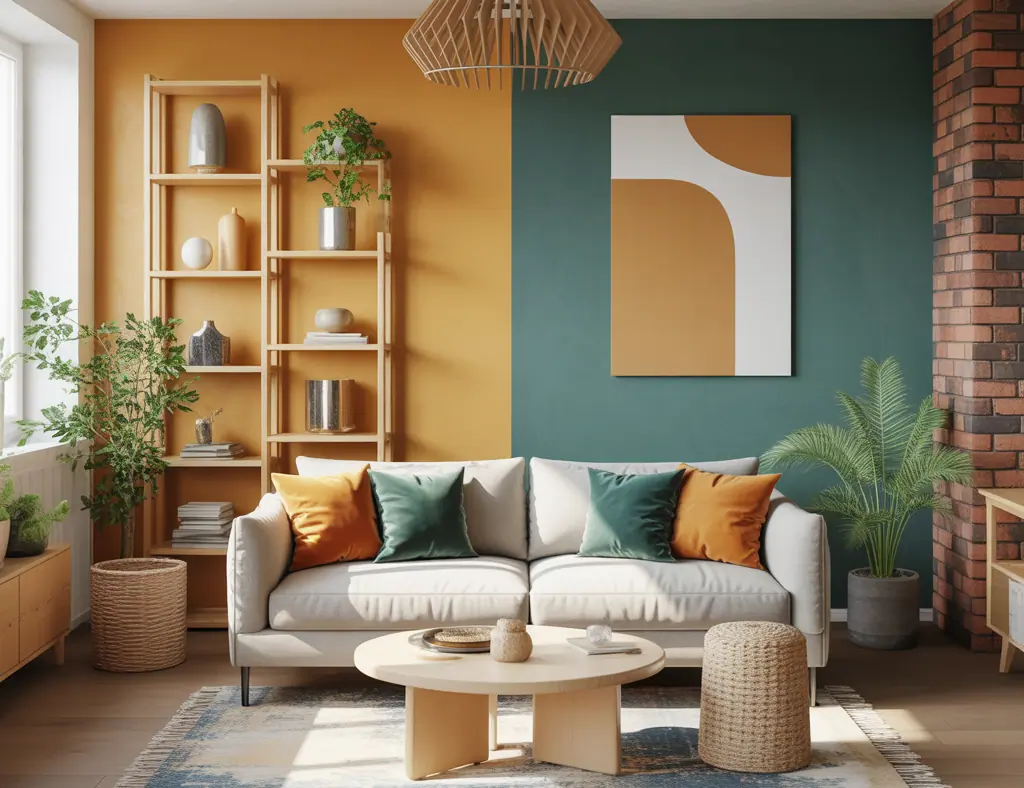
- Choose a color palette: classic saffron & red, pastel peach & mint, or neutral gold & white.
- Decide on focal points: a backdrop for photos, the baby’s seating area, and the food table.
- Budget and shopping list (fabric, flowers, balloons, lights, DIY supplies).
Design Inspiration: Traditional vs. Modern Pasni Decor
Traditional Pasni Decorations
Use vibrant marigold garlands, brass bowls and lamps, hand-woven fabrics, and rangoli or alpana patterns at the entrance. Incorporate family heirlooms and symbolic items like the baby’s first bowl and spoon displayed on a decorated tray.
Modern Pasni Styling
Soft pastel drapes, a floral hoop backdrop, eucalyptus and pastel roses, and subtle fairy lights give a contemporary twist. Combine minimalism with a few cultural accents (a small brass lamp or red tika) to respect tradition while keeping the look fresh.
DIY Decoration Ideas Pasni: Step-by-Step Projects
1. Easy Fabric Backdrop (2 hours)
- Materials: lightweight fabric panels (3–4), tension rod or PVC frame, floral garland, string lights.
- Step 1: Measure the width of the area and secure a tension rod or assemble a PVC frame.
- Step 2: Drape the fabric panels overlapping by a few inches for fullness. Pin or clamp at the top.
- Step 3: Add a floral garland or faux greenery across the top and weave in string lights for evening glow.
- Tip: Use fabric in your chosen palette to tie the whole event together.
2. Marigold & Balloon Arch (3–4 hours)
- Materials: balloon kit, balloon pump, fishing line, fresh or faux marigolds, glue gun.
- Step 1: Inflate balloons in varying sizes and attach them to a strip or fishing line to form an arch base.
- Step 2: Secure the arch to stable anchors (chairs, stands) and weave marigold garlands into gaps.
- Step 3: Add a personalized banner or a small nameplate for the baby.
- Tip: Use biodegradable balloons and fresh flowers for a sustainable option.
3. Centerpiece: Brass Bowl with Floral Floating Candles (30 minutes)
- Fill brass or glass bowls with water, float marigold petals and a tea light or floating candle.
- Surround with small diy-wrapped sweets or betel leaves for an authentic touch.
- Place on a mirrored base to amplify the glow in evening ceremonies.
Practical Tips & Real-World Advice
Budget-Friendly Hacks
- Reuse household items: scarves make great table runners; bangles can be napkin rings.
- Buy seasonal flowers or use high-quality faux flowers to save money and time.
- Shop in bulk for materials (fabric and balloons) and repurpose leftovers for future events.
Timeline & Setup Strategy
- 3–7 days before: finalize guest list, buy non-perishables, create banners and signs.
- 1–2 days before: assemble large decor (backdrop, arches) and prep food staging areas.
- Day of: add fresh flowers, light candles, and do final safety checks (secure cords, avoid choking hazards for children).
Photography & Flow
Design the decor with photo ops in mind. Position the baby’s seating facing good natural light and leave at least 4–6 feet for family photos. Keep high-traffic areas clear so the ceremony flows smoothly from rituals to refreshments.
Decoration Ideas Pasni: Seating, Food Table & Kid-Friendly Zones
Seating
Arrange comfortable seats for elders near the ceremonial area. Use floor cushions with low tables for intimate family photos. Add decorative covers and simple cushions to match the theme.
Food Table Styling
- Use tiered trays for sweets and a separate station for typical pasni dishes.
- Label dishes with small cards, and style the table with matching fabric and brass utensils.
- Keep the baby’s ceremonial plate set displayed but separate to avoid accidental spills.
Kid-Friendly Zone
Create a small play area with soft mats, age-appropriate toys, and supervision—this keeps younger guests entertained and protects delicate decor items.
Eco-Friendly & Cultural Considerations
Choose reusable or compostable items where possible. If using flower petals for rituals, collect and compost afterward. Respect religious and cultural practices by consulting elders on symbolic items and placement.
Frequently Asked Questions
Q1: What are simple DIY pasni decoration ideas on a budget?
A1: Focus on a strong backdrop, reusable fabric drapes, a DIY balloon or marigold arch, and small table centerpieces using brass bowls with floating flowers. Reuse household textiles and borrow extra chairs or stands to cut costs.
Q2: How early should I start decorating for a pasni ceremony?
A2: Start planning 1–2 weeks ahead. Assemble large structures like backdrops 1–2 days before and add fresh flowers and candles on the day of the event to ensure everything looks fresh.
Q3: Can I mix traditional and modern themes for a pasni celebration?
A3: Yes—mixing works beautifully. Use modern pastel fabrics and minimalist lighting, then add traditional touches like a brass lamp, marigold accents, or a small rangoli at the entrance to honor the ceremony’s heritage.
Conclusion: Make Your Pasni Memorable — Start Decorating Today
Decoration ideas pasni don’t have to be complicated or expensive. With a clear plan, a few DIY projects, and thoughtful cultural touches, you can create a warm and beautiful pasni ceremony that family and friends will remember. Ready to transform your space? Try one of the step-by-step projects above this weekend, and don’t forget to share your photos and ideas. For more inspiration, check out our pages on DIY projects, home design ideas, and kitchen upgrades.
Was this helpful? Leave a comment with your pasni theme, and subscribe for more easy, budget-friendly celebration decor guides.