Have you ever started a simple hallway refresh and paused, wondering how to make that blank wall truly meaningful? Maybe you wanted a gallery wall that tells a story, not just hangs pictures. A creative memorial wall is a beautiful, personal way to transform ordinary space into a lasting tribute — whether you’re celebrating a loved one, preserving family memories, or creating a peaceful remembrance corner in your home.
Why Choose a Creative Memorial Wall?
Designing a memorial wall blends home improvement with emotional expression. It turns a decor project into a healing process, offering a focal point that evokes memories, stories, and comfort. A thoughtfully arranged remembrance wall can double as:
- A visual timeline of a life with photos, mementos, and dates
- A quiet reflection space with plaques, candles, and plants
- An interactive family memory wall where items rotate and evolve
Long-tail searchers often look for ideas such as “personalized memorial wall ideas” or “photo tribute wall for home” — and these approaches fit a range of styles from minimalist to mixed-media tribute walls.
Planning Your Tribute: Location, Theme, and Materials
Choose the right wall and layout
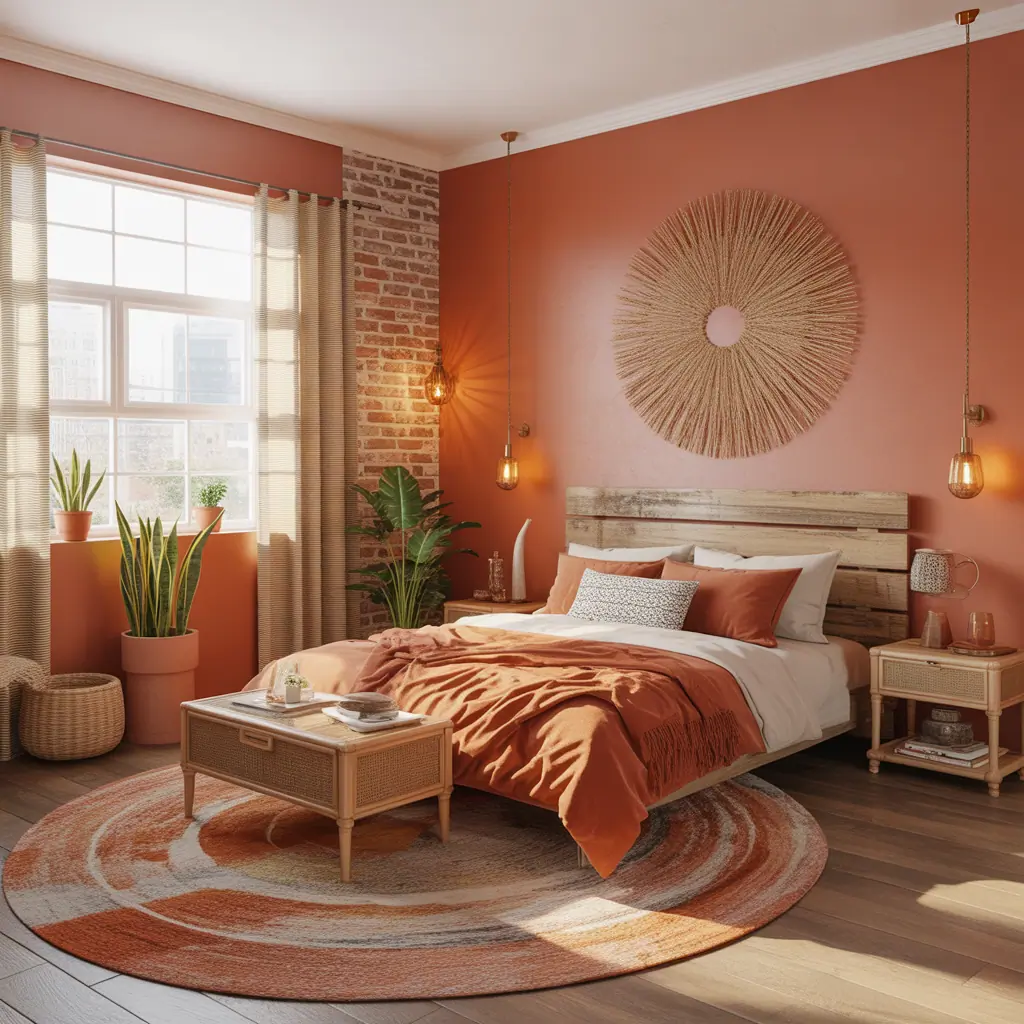
- Pick a visible but respectful spot: a hallway, landing, living room corner, or a dedicated den space.
- Decide on layout: grid gallery, chronological timeline, cluster of mixed frames, or a single focal plaque with supporting pieces.
- Consider scale: large framed photos need more wall area; a collection of small items works well in narrow corridors.
Select materials that last
Material choices affect both look and longevity. Consider these options:
- Archival photo prints and UV-protective glass to prevent fading.
- Shadow boxes for three-dimensional keepsakes like medals, jewelry, or fabric.
- Laser-cut wood plaques, metal nameplates, or ceramic tiles for durable outdoor or indoor memorial garden wall installations.
- Floating shelves to display candles, vases, or small framed notes.
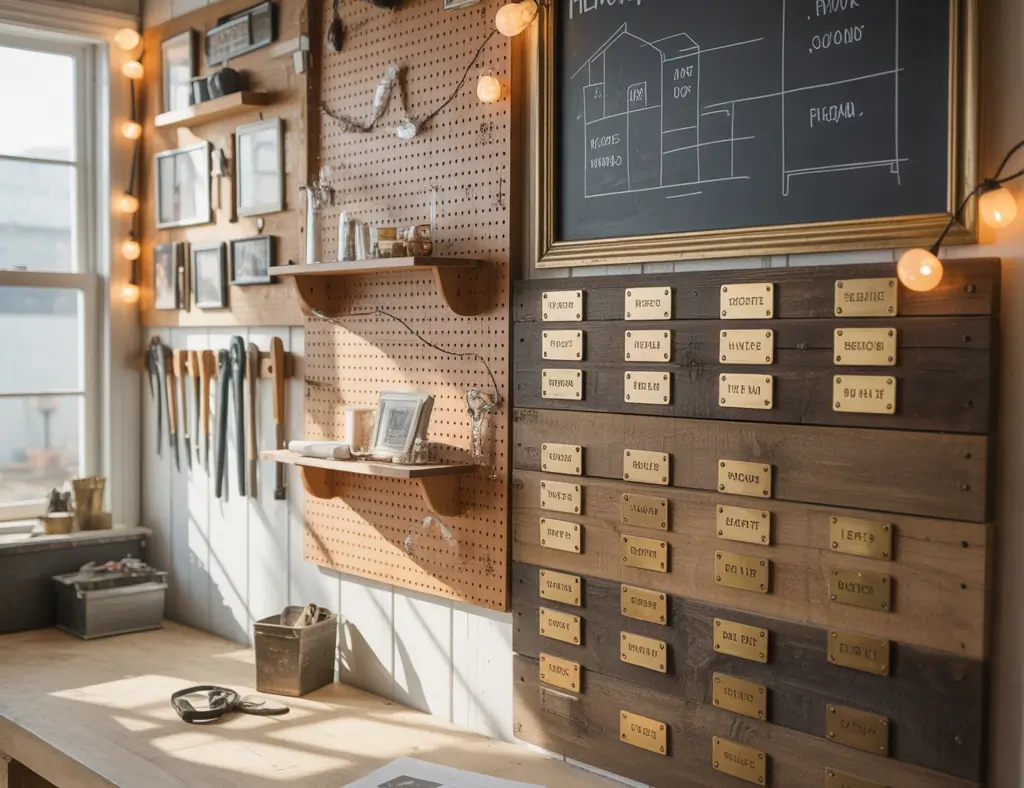
DIY Step-by-Step: Build a Beautiful Remembrance Wall
Below is a practical, stepwise approach you can adapt for a simple or elaborate tribute.
- Gather items: photos, letters, keepsakes, plaques, quotes, and any heirlooms you want to include.
- Plan the layout: lay everything on the floor or use paper templates taped to the wall to test arrangements.
- Prepare the wall: patch holes, apply a fresh coat of paint or an accent color (muted tones often work best for memorial displays).
- Frame and protect: use archival mats and UV glass for photos; label items on the back with dates and descriptions.
- Secure mounting: use picture rails, French cleats, or heavy-duty anchors for heavy pieces; Command strips are an option for renters and lightweight items.
- Add lighting: install small picture lights, LED strips, or spotlighting to enhance mood and visibility.
- Finalize styling: add plants, candles, or soft textiles to soften the display and create a contemplative atmosphere.
Quick project for beginners
Use three photos (young, middle, later life) in simple identical frames, a printed quote, and a small floating shelf with a candle. This takes an afternoon and creates a balanced, respectful tribute.
Advanced project: mixed-media tribute wall
Combine framed photos, shadow boxes with keepsakes, a laser-etched wooden plaque with their handwriting, and a small display area for rotating mementos. Incorporate textured background panels (reclaimed wood or shiplap) for depth.
Design Inspiration and Styling Tips
- Color palette: choose soft neutrals or a single accent color to maintain a calm, cohesive look.
- Lighting matters: soft, warm LEDs emulate candlelight without the fire risk; picture lights spotlight important pieces.
- Mix frame styles: combine one or two statement frames with varied smaller frames for a curated, intentional feeling.
- Integrate nature: small potted plants or a vertical memorial garden wall with plaques make the space feel alive and restorative.
- Personal touches: include handwriting reproduction, favorite quotes, or a map marking special places.
Real-World Advice: Durability, Sensitivity, and Practicalities
- Preserve photos: scan originals and print on archival paper; store originals safely in a box to avoid damage.
- Electrical safety: hire a pro if adding hardwired lighting or outlets near the display.
- Mounting heavy items: always use the proper anchors or find studs; test weight limits before final placement.
- Emotional collaboration: involve family members when appropriate — choosing items together can be beautifully healing.
- Rotation plan: consider a seasonal or anniversary rotation of items so the wall continues to evolve.
Frequently Asked Questions
1. How can I create a meaningful memorial wall on a tight budget?
Start with printed photos and thrift-store frames painted to match. Use printable templates for quotes and free or low-cost shadow boxes for keepsakes. DIY reclaimed wood backing can add impact without high cost. Prioritize archival prints for the most important images to protect them long-term.
2. Can a memorial wall be placed outdoors or in a garden?
Yes. For an outdoor memorial garden wall, use weatherproof materials like metal plaques, treated wood, ceramic tiles, or sealed resin frames. Ensure proper anchoring, and choose fade-resistant inks or engravings for longevity. Consider protective overhangs to keep rain off the display.
3. How do I hang fragile heirlooms or heavy plaques safely?
Use enclosed shadow boxes for fragile items and French cleats or heavy-duty wall anchors rated for the weight for heavy plaques. If you’re unsure about load-bearing, consult a professional installer to avoid damage to the wall or items.
Conclusion: Start Your Creative Memorial Wall Today
Building a creative memorial wall is a meaningful home improvement that combines DIY skill with heartfelt design. Whether you choose a simple photo tribute or an elaborate mixed-media remembrance wall, the process can bring comfort and keep memories alive. Ready to start? Gather a few keepsakes, sketch a layout, and try a small test arrangement this weekend. For more inspiration and practical how-tos, explore our DIY projects page or browse home styling tips in our home design ideas and kitchen upgrades sections. Share your wall, and let it become a lasting, beautiful part of your home.