Ever stood in your living room holding a shoebox full of photos and wondering how to meaningfully display them without creating a cluttered shelf? Or faced the emotional challenge of wanting a tasteful tribute to someone you love but unsure how to start? A creative memorial wall can transform a jumble of keepsakes into a beautiful, personal focal point that supports healing and sparks conversation.
Why Choose a Creative Memorial Wall?
Creating a remembrance wall or memorial display at home helps you celebrate a life while integrating memories into your daily space. Unlike a single framed photo, a thoughtfully designed tribute wall becomes a living collage — combining photos, keepsakes, plaques, and even lighting to tell a story. It’s ideal for commemorating family members, friends, or pets in a way that’s both respectful and visually appealing.
Planning Your Memorial Wall: Practical Steps
Before you buy frames or start drilling, take a moment to plan. This avoids haphazard results and ensures the final display matches your home’s aesthetic.
1. Choose the Location
- High-traffic spaces like hallways, stairs, or above a mantel create natural places for remembrance.
- Consider private spaces (a bedroom nook or reading corner) if you prefer a quieter tribute.
- Measure the wall area and note electrical outlets if you plan to add LED strips or picture lights.
2. Pick a Theme and Palette
Select a cohesive color palette and theme: vintage sepia photos, modern black-and-white portraits, or a mixed-media wall with textiles and small shelves. The palette should complement your room’s decor—soft neutrals for a calming tribute or bold contrasts for a striking gallery.
3. Gather Items and Materials
- Photos (digital prints, vintage photos, or polaroids)
- Frames in coordinating sizes and finishes
- Shadow boxes for three-dimensional items (watches, letters, medals)
- Floating shelves, picture ledges, and hooks
- Wall anchors and picture-hanging hardware (use anchors for heavy items)
- Optional: vinyl lettering, plaques, LED strip lights, faux greenery
Create a Layout: Templates and Tips
Designing the layout on the floor first is a game-changer. Arrange frames and items on the floor or use craft paper templates taped to the wall to visualize spacing and alignment. Consider these layout ideas:
- Grid layout for a clean, uniform look
- Salon-style gallery for an eclectic, layered effect
- Timeline wall that follows a chronological story
- Floating-shelf mix that allows rotating items and small plants
Step-by-Step: Building Your Memorial Wall
Follow these steps for a smooth build:
- Clean and prep the wall: patch holes, paint if needed, and let dry.
- Transfer your floor layout to the wall using craft paper templates or a pencil grid.
- Start with the largest central piece and work outward to maintain balance.
- Use a level and proper anchors—studs for heavy frames, drywall anchors for medium weight.
- Add shadow boxes and shelves for keepsakes, and place smaller frames last.
- Install subtle lighting (battery LED puck lights or strip lights) to highlight key items.
Design Inspiration: Creative Memorial Wall Ideas
Here are real-world design concepts you can adapt:
Memory Lane Timeline
Arrange photos chronologically with captions or small plaques indicating dates and milestones. Use a thin string or painted line as a visual guide to connect images.
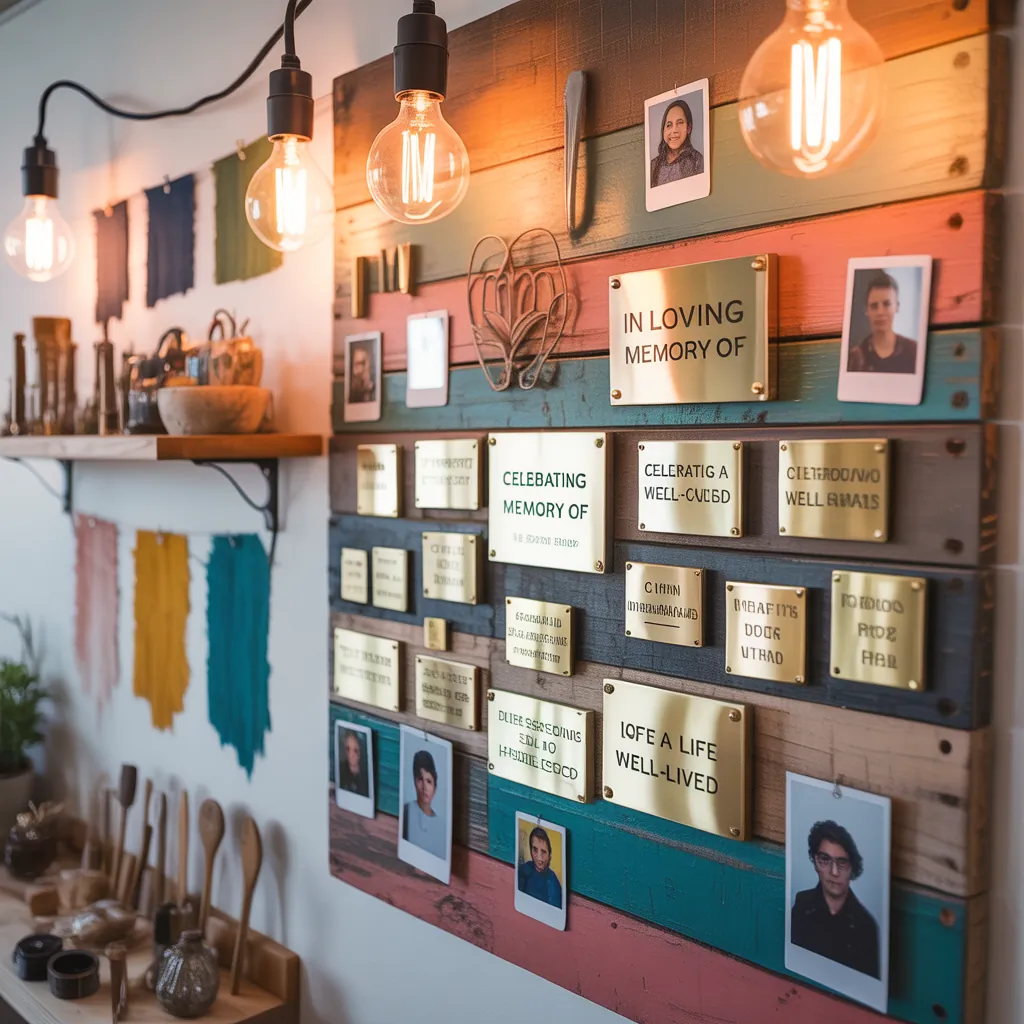
Mixed Media Tribute Wall
Combine framed photos with textiles (a piece of a favorite sweater), handwritten notes in shadow boxes, and a small shelf for keepsakes. This layered approach creates depth and tactile interest.
Minimalist Honor Display
Choose 3–5 monochrome frames on a soft-colored wall, each with a brief quote or epitaph. Add a single potted plant nearby for life-affirming contrast.
Pet Memorial Corner
A smaller version for a pet can include a framed portrait, a paw print, a collar in a shadow box, and a small plaque with dates and a loving message.
DIY Safety and Maintenance Tips
- Always use appropriate wall anchors for the weight you’re hanging—consult weight ratings on hardware.
- Avoid direct sunlight on photographs; consider UV-protective glass for treasured prints.
- Use removable hanging strips for lighter items to avoid unnecessary holes.
- Rotate photos periodically to refresh the display and prevent fading.
Emotional Considerations: Making It Meaningful
Creating a memorial wall is as emotional as it is aesthetic. Involve family members in selecting items and stories to include; this can be healing and ensures the tribute reflects multiple perspectives. Allow the wall to evolve—memories change over time, and so can your display.
Creative Memorial Wall: Styling and Final Touches
Styling makes the difference between a wall of objects and a cohesive tribute. Consider these final touches:
- Add soft lighting for evening reflection—dimmable LEDs work well.
- Place a bench or reading chair nearby to create a quiet place for reflection.
- Use matching mats inside frames to unify mixed photo sizes.
- Include a small vase of fresh flowers or a plant to keep the space feeling alive.
Frequently Asked Questions
Use a narrow vertical section of wall, a hallway, or the space above a console table. Opt for slim frames and a few meaningful keepsakes on a single picture ledge to create impact without needing a large area.
Acid-free photo mats, UV-protective glass, sturdy frames, and quality anchors are key. For three-dimensional keepsakes, sealed shadow boxes protect items from dust and damage.
Absolutely. Personal items like medals, letters, clothing swatches, and small heirlooms add powerful context. Mix framed photos with shadow boxes and shelves to create a layered, museum-like feel.
Conclusion: Start Your Creative Memorial Wall Today
Transforming memories into a thoughtfully designed memorial wall is a meaningful DIY project that honors loved ones while enhancing your home’s design. Whether you choose a minimalist tribute or an eclectic gallery of keepsakes, the process can be both therapeutic and beautiful. Ready to plan your remembrance wall? Gather your favorite photos, pick a wall, and try one of the step-by-step layouts above. For more hands-on inspiration, check out our other DIY projects and home design ideas to match styles and techniques to your space.
Share your memorial wall photos or questions in the comments below — and take the next step toward a heartfelt, lasting tribute in your home.