It’s late November, the mantle looks empty, and the kids just asked if you can “make snow” inside the house. Rather than a last-minute store run, grabbing a stack of paper and scissors can transform your living room in an hour. From simple kid-friendly designs to intricate heirloom-style cutouts, these ideas on how to cut snowflakes will help you create charming winter decorations that fit any skill level.
Why paper snowflakes are the best quick winter project
Paper snowflakes are affordable, fast, and endlessly customizable. They’re perfect for family craft nights, school projects, or seasonal staging in your home. Plus, they double as stencils for window art, templates for wooden ornaments, or layered decor for wreaths and garlands. Below you’ll find practical tips, step-by-step guides, and design inspiration for every method of cutting snowflakes.
Tools and materials: choose the right supplies
Picking the proper materials makes cutting snowflakes easier and results cleaner. Here’s what to have on hand:
- Paper options: copy paper, construction paper, origami paper, metallic cardstock, or tissue paper for delicate designs.
- Cutting tools: sharp scissors (small detail scissors or embroidery scissors), precision craft knife, cutting mat, and a ruler.
- Extras: bone folder or flat ruler for crisp folds, pencil for tracing, small hole punch for dots, glitter or spray adhesive for embellishments.
- For repeatable designs: printable templates, cardboard stencils, or a cutting machine (Cricut/Silhouette) for complex patterns.
Basic folding and cutting technique (perfect for beginners)
Follow these simple steps to make a classic paper snowflake:
- Start with a square: cut a rectangle sheet of paper into a square by folding one corner to the opposite edge and trimming the excess.
- Fold for symmetry: fold the square diagonally to make a triangle. Fold that triangle in half, and then fold into thirds (this creates six-point symmetry). Trim the top to create a straight edge.
- Draw or imagine shapes: lightly sketch small triangles, diamonds, or teardrops along the folded edges.
- Cut carefully: use sharp scissors to cut shapes out. Avoid cutting all the way through at the base—leave some structure so the snowflake holds together.
- Unfold slowly: reveal the symmetrical snowflake and press flat with a bone folder or an iron on low (paper safe) if needed.
Tips for cleaner cuts
- Use small, sharp scissors for intricate inner cuts.
- Cut from the closed edge outward—this helps maintain symmetry and prevents tearing.
- If using a craft knife, work on a self-healing cutting mat and keep fingers clear of the blade.
- Thicker papers need gentler, longer cuts to avoid jagged edges.
Advanced ideas on how to cut snowflakes (for stylish, professional results)
If you want snowflakes that look like boutique decorations, try these advanced approaches:
- Layered snowflakes: cut several sizes and stack them with a small foam dot between layers for depth. Use alternating papers—white, vellum, metallic—for contrast.
- Negative-space designs: plan cuts that emphasize the background shape; great for stenciling on windows or walls.
- Use a cutting machine: upload intricate vector files to a Cricut or Silhouette to cut delicate lace-like snowflakes from cardstock or vinyl.
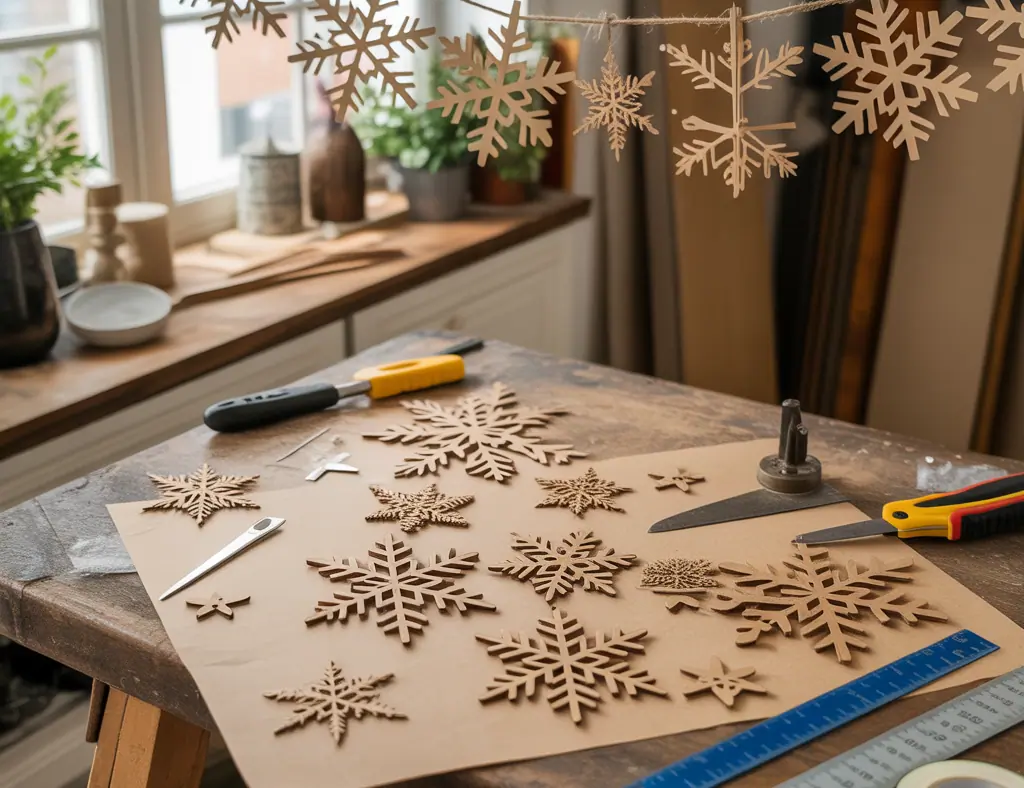
- Transfer to wood or felt: use paper cutouts as templates to trace and cut snowflakes from thin plywood or felt for durable ornaments.
Creative finishes and styling ideas
- Backlight snowflakes in windows for a frosted-glass effect.
- Spray a light mist of adhesive and dust with glitter or flocking for a snowy shimmer.
- Attach snowflakes to clear fishing line at staggered lengths to create a winter mobile.
- Glue to a wreath base for a winter-themed wreath, or scatter small flakes on a table runner for a festive centerpiece.
Kid-friendly snowflake cutting projects
Make this a family activity with simple projects kids can handle:
- Large tissue paper snowflakes: easier to fold and cut, and they look great backlit.
- Pre-drawn templates: draw bold shapes on folded paper so younger children can cut along the lines.
- Paper doily snowflakes: fold and layer doilies for instant ornate snowflakes without intricate cutting.
- Sticker embellishments: use small stickers or dot stickers instead of tiny cuts for safety and speed.
How to display your snowflakes
Once you have a stack of cut snowflakes, make them part of your seasonal decor:
- Window gallery: tape or use removable adhesive putty for an instant snowstorm on glass.
- Garlands: string multiple snowflakes on twine or ribbon and hang across mantels or entryways.
- Table accents: lay several in varying sizes down the center of a dining table for a minimalist, festive look.
- Ornaments: fold in half, glue a small tab, and add a loop for hanging on branches or doorknobs.
Safety and storage tips
Keep craft time safe and your creations fresh for next year:
- Use child-safe scissors for young crafters and supervise use of craft knives.
- Store flat snowflakes in a large envelope or between sheets of cardboard to prevent creasing.
- Avoid direct sunlight on metallic papers to reduce fading, and keep delicate tissue snowflakes in a sealed container.
Frequently Asked Questions
1. What paper is best for cutting snowflakes?
Lightweight copy paper is ideal for beginners because it folds cleanly and cuts easily. For sturdier snowflakes that hold shape, use cardstock or metallic paper. Tissue paper creates large, translucent snowflakes perfect for backlighting.
2. How do I make snowflakes with perfect symmetry?
Fold your paper carefully into a triangle and then into thirds (for six-point snowflakes) or quarters (for eight-point). Draw guide shapes near the folded edges and cut small, consistent shapes—symmetry comes from precise folding and even cuts.
3. Can I reuse paper snowflake templates?
Yes. Glue a paper snowflake to cardstock to create a durable template, or cut a template from acetate or thin plastic for tracing and repeated use. Templates are handy when you want multiple identical snowflakes for garlands or displays.
Conclusion — try these ideas on how to cut snowflakes today
Whether you want a quick craft to keep kids busy or a polished set of window stencils for seasonal staging, these ideas on how to cut snowflakes give you techniques for every outcome. Start with simple scissors and paper, experiment with layers and textures, and graduate to stencils or electronic cutters for detailed results. Ready to make your home feel cozy and festive? Grab your paper stack and try one new pattern tonight — then share your finished looks and explore more DIY projects or seasonal design tips on our home design ideas page.