Ever stand on your front porch holding the same tired orange pumpkin you bought last year and wonder how to make it look like you actually planned something? Whether your kids want spooky faces, your neighbors expect a showstopping display, or you’re looking for a weekend DIY that upgrades your curb appeal, these creative Halloween pumpkin ideas will help you skip the cliché and create polished, practical decorations that fit your home.
Why choose creative Halloween pumpkin ideas this year?
Pumpkins are low-cost, seasonal canvases for decorating your home. With a little planning, you can make no-carve pumpkin decorations that last longer, painted pumpkins that match your decor, or carved masterpieces that glow safely at night. Below are step-by-step projects, design inspiration, and real-world tips to make your Halloween display both beautiful and manageable.
Creative Halloween Pumpkin Ideas
Here are 9 inventive, easy-to-follow pumpkin projects — from no-carve crafts to advanced carving techniques. Each idea includes materials, steps, and quick tips so you can pick one that suits your skill level and time.
1. Metallic Painted Pumpkins (modern and chic)
- Materials: spray primer, metallic spray paint (gold, copper, bronze), clear matte sealant, newspaper.
- Steps:
- Clean and dry the pumpkin.
- Prime with spray primer in a well-ventilated area.
- Apply 2 light coats of metallic spray paint, allowing drying time between coats.
- Finish with a matte sealant to prevent chipping and protect from rain.
- Tip: Group mixed metallics on a wooden crate or hay bale for a designer front-porch arrangement.
2. No-Carve Decoupage Pumpkins (family-friendly)
- Materials: craft napkins or patterned paper, Mod Podge, foam brush, scissors, clear sealer.
- Steps:
- Cut paper into manageable pieces.
- Brush a thin layer of Mod Podge on the pumpkin, apply paper, then smooth out bubbles.
- Seal with 1–2 coats of Mod Podge or clear spray sealer.
- Tip: Use fall-themed napkins for centerpieces or metallic paper for a glam display.
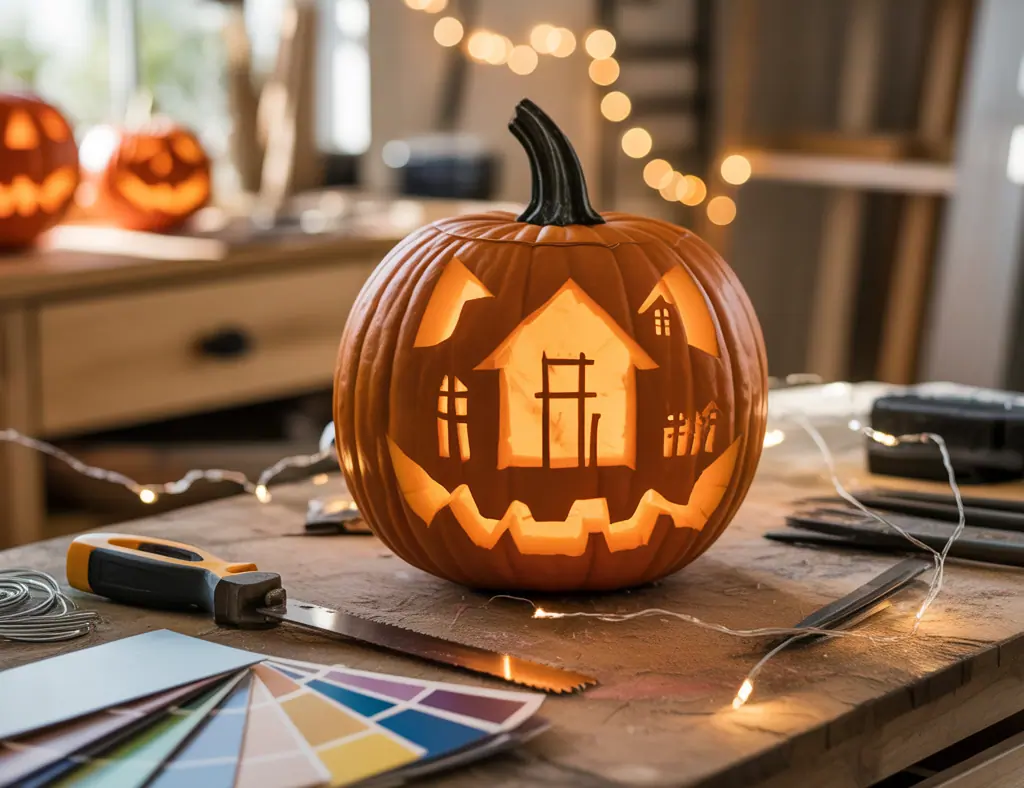
3. Geometric Carving (modern jack-o’-lantern)
- Materials: carving kit, drill with hole bits (optional), stencil tape, marker, LED candle.
- Steps:
- Sketch geometric shapes (triangles, diamonds) with a marker or use stencil tape.
- Carefully carve using a fine saw blade or drill to create patterns.
- Light with battery-operated LEDs for safe evening glow.
- Tip: Remove pumpkin insides immediately and refrigerate the seeds for roasting.
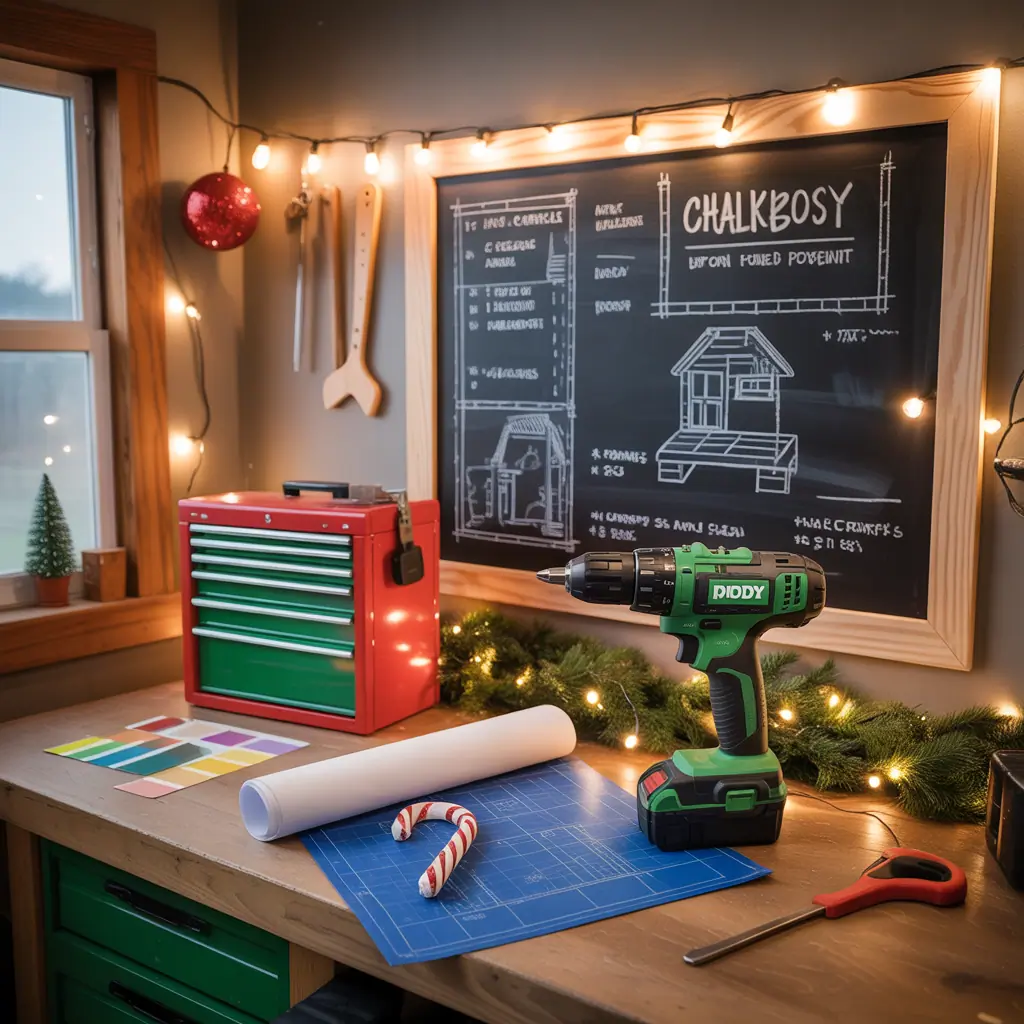
4. Chalkboard Pumpkins (changeable messages)
- Materials: chalkboard paint, sponge brush, chalk.
- Steps:
- Paint pumpkins with 2 coats of chalkboard paint, allowing full drying time.
- Write messages, names, or spooky phrases with chalk. Wipe clean to reuse.
- Tip: Great for labeling Halloween party seating or for a family to vote on costume ideas.
5. Succulent Planter Pumpkins (long-lasting centerpiece)
- Materials: small succulents, potting soil, knife, drill for drainage (optional), hot glue (optional).
- Steps:
- Cut the top off and scoop out pumpkin flesh.
- Add potting soil and plant succulents; use hot glue to secure lightweight plants if needed.
- Keep in a cool, shaded spot on your porch; water sparingly.
- Tip: Use faux succulents for an outdoor display that lasts through all of fall.
6. Glitter Ombré Pumpkins (sparkle without mess)
- Materials: spray adhesive, fine glitter, newspaper, clear sealant.
- Steps:
- Spray adhesive on the lower half of the pumpkin and sprinkle glitter. Gradually reduce glitter toward the top to create an ombré effect.
- Seal with a clear coat to prevent flaking.
- Tip: Use a tray when working with glitter for easy cleanup.
7. Stamped Typography Pumpkins (personalized and easy)
- Materials: alphabet stamps, craft paint, foam roller, painter’s tape.
- Steps:
- Position letters with painter’s tape as stencils or use stamps directly.
- Roll paint lightly for crisp letters. Allow to dry and add a protective sealant.
- Tip: Spell family names, spooky words, or welcome messages for your porch.
8. Layered Pumpkin Topiary (wow-factor display)
- Materials: three sizes of pumpkins, wooden dowel or rebar, drill, base planter.
- Steps:
- Drill a hole through each pumpkin center vertically. Stack on the dowel anchored in a heavy pot or concrete-filled planter.
- Decorate each pumpkin differently for contrast (paint, carving, ribbons).
- Tip: Use lightweight foam pumpkins for tall stacks to reduce weight and risk of collapse.
Practical DIY Tips and Design Inspiration
Follow these real-world tips to make your pumpkin projects more durable, safer, and visually cohesive with your home design:
- Preservation: For carved pumpkins, rub the cut edges with petroleum jelly or spray with bleach solution (1 tbsp bleach per quart of water) to slow mold. For painted/no-carve pumpkins, a clear matte sealer helps protect colors from rain and sun.
- Lighting: Use LED candles and battery-operated string lights to avoid fire hazards and extend viewing time. Warm LEDs mimic candle glow without heat.
- Color palette: Pick 2–3 colors that complement your home — think muted pastels for a farmhouse look, metallics for modern homes, or classic orange/black for spooky charm.
- Display: Vary height using crates, plant stands, and hay bales. Add natural elements like cornstalks and mums for a layered arrangement.
- Storage: Keep reusable or painted pumpkins in a cool, dry place. Clean off dirt and let fully dry before storing in breathable containers to prevent mildew.
Safety and Cost-Saving Hacks
Carving knives can be dangerous — use the right tools and supervise kids. Consider no-carve projects if you want child-friendly activities. To save money, buy pumpkins from farm stands late in season when prices drop, or use faux pumpkins for displays you’ll reuse annually.
Frequently Asked Questions
1. What are some easy no-carve pumpkin ideas for beginners?
Try painting, decoupage with patterned napkins, stamping words with craft paint, or using washi tape for quick graphic designs. These techniques are safe, kid-friendly, and last longer outdoors than carved pumpkins.
2. How can I make carved pumpkins last longer?
After carving, remove all pulp and seeds, apply petroleum jelly to cut edges, and refrigerate overnight if possible. Display with battery-operated LEDs and spray weekly with a diluted bleach solution to slow mold growth.
3. Are painted pumpkins weatherproof?
Painted pumpkins can be weather-resistant if you use exterior-grade paint and finish with a clear matte or glossy sealer. However, real pumpkins will eventually degrade; for long-term outdoor displays, consider faux pumpkins with the same finish.
Conclusion — Try one of these creative Halloween pumpkin ideas this weekend
Whether you choose a simple painted design or build a dramatic pumpkin topiary, these creative Halloween pumpkin ideas will refresh your seasonal décor and give you a satisfying DIY weekend project. Pick a style that matches your home, gather a few supplies, and get started — and if you want more project ideas, check out our pages on DIY projects and home design ideas. Share your finished pumpkins, experiment with colors and lighting, and make this Halloween the best-decorated one on the block.
Ready to get started? Grab a pumpkin, invite a friend or family member, and turn your porch into a festive showcase. If you’d like ideas tailored to your home style, I can help — tell me your style (modern, farmhouse, cottage) and I’ll suggest designs and materials.