Have you ever stood in front of a bare living room wall and thought, “I want this space to feel like home—but I don’t know where to start”? Maybe you have shoeboxes of prints, a phone full of candid shots, or just moved into a new house with blank walls begging for personality. A thoughtfully designed family photo collage can instantly warm a room, tell your story, and be a satisfying weekend DIY project.
Why a photo collage changes the feel of your home
Photo displays do more than show pictures—they create focal points, spark conversation, and showcase your family’s personality. Whether you want a minimalist gallery wall or a colorful, eclectic display, the right family photo collage helps balance scale, color, and texture in a room. It’s one of the most cost-effective home design upgrades you can make, and it’s incredibly flexible for any style or budget.
Collage ideas family photo: 7 creative layouts to try
Below are practical layouts and themes to jumpstart your design. Each idea includes tips so you can adapt it to your space and materials.
1. Classic Grid
Perfect for symmetry lovers: choose 6–9 same-sized frames for a clean, modern look. Use identical mats and frames for cohesion.
- Tip: Measure total width and mark center points to keep spacing even.
- Materials: matching frames, level, painter’s tape for templates.
2. Salon or Gallery Wall
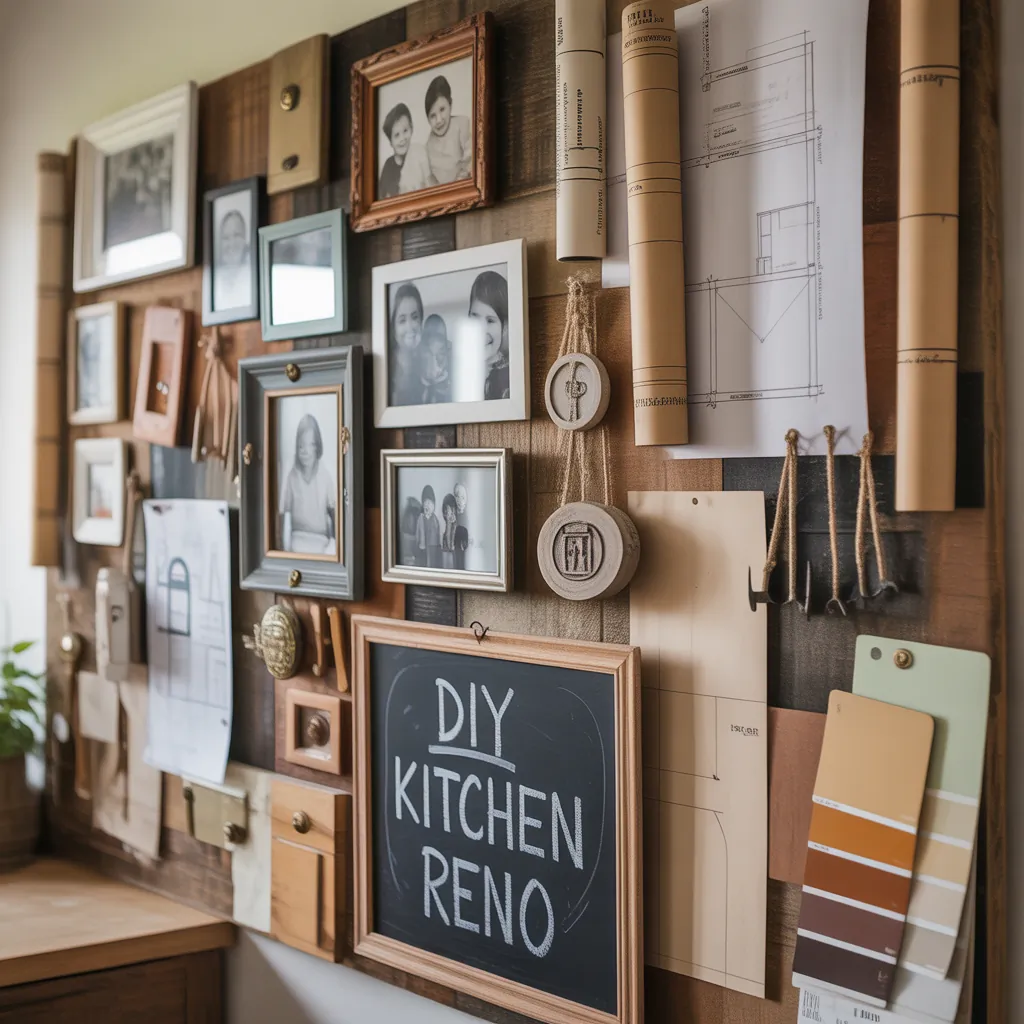
Mix frames, art, and small objects for an organic, collected-over-time aesthetic. This works well above staircases or large sofas.
- Tip: Lay everything on the floor first or use kraft paper templates on the wall to preview arrangement.
- Design note: Balance large and small pieces, and repeat a frame color to tie it all together.
3. Heart or Shape Collage
Arrange photos into a heart, circle, or letter. Great for a nursery, hallway, or entryway focal point.
- Tip: Start from the center and work outward to keep the shape consistent.
- Materials: varied photo sizes, command strips for easy removal.
4. Single Statement Frame with Mini Collage Inside
Use an oversized frame or shadowbox and create a mini collage inside. This provides a bold anchor while keeping the composition tidy.
5. Ledge or Picture Rail Display
Use shelves to lean frames—easy to swap photos seasonally without rehanging hardware. It’s ideal for renters or those who love frequent updates.
6. Color-Blocked Collage
Choose a dominant color palette—black & white, pastels, or warm tones—and coordinate prints and mats to reinforce it.
7. Mixed Media Memory Board
Combine photos with postcards, children’s drawings, or small memorabilia for a tactile and deeply personal display.
Step-by-step: How to make a family photo collage
- Collect and curate: Choose 12–20 favorites. Edit ruthlessly for story and variety (close-ups, candid moments, group shots).
- Decide on a layout: Sketch on paper, arrange on the floor, or use kraft-paper templates on the wall.
- Print and prepare: Use high-quality prints or canvases. Consider consistent mats to unify mixed photo sizes.
- Frame and label: Select frames that match your decor. Add small labels or dates on the back or mat if you want archival notes.
- Hanging: Use picture hanging strips for lightweight frames, or anchors and screws for heavier pieces. Use a level and measure spacing—2–4 inches between frames is a good rule.
- Finishing touches: Add a plant, wall sconce, or mirror to balance the display and create depth.
Design tips and real-world advice
- Budget-friendly sourcing: Visit thrift stores for frames and repaint them for a cohesive look. Affordable printing services often beat printer ink costs.
- Smartphone photos: Don’t underestimate phone images—crop and enhance for great wall art. Export at high resolution for printing.
- Cohesion hacks: Use a consistent mat color, repeat frame finishes, or convert images to black & white for unity.
- Preservation: For precious prints, use UV-protective glass or rotate seasonal copies to prevent fading.
- Scale appropriately: A large sofa needs a substantial collage; measure two-thirds the width of furniture as a starting point.
Tools and materials checklist
- Frames (various sizes as needed)
- Printer or print service
- Double-sided hanging strips, nails, anchors, level, measuring tape
- Kraft paper and pencil for templates
- Optional: shadowboxes, ledges, mats, spray paint for frames
Frequently Asked Questions
Mix sizes but anchor the arrangement with one or two larger pieces to provide balance. Use mats to increase small photos, or cluster smaller images around a central larger frame to avoid visual clutter.
Use UV-protective glass, avoid direct sunlight, and consider archival-quality paper and inks. Rotate sensitive prints seasonally, and store backups digitally to reprint if needed.
Absolutely. Thrift frames, DIY-painted mats, and home-printed photos work well. Use ledges or command strips to avoid buying hardware, and prioritize one focal wall rather than covering an entire room.
Design inspiration: where to place your collage
Popular spots include above the mantel, over the dining table, a hallway runner wall, staircase walls, or entryways—anywhere you want to greet guests with personality. For kitchen-adjacent spaces, a compact collage can pair nicely with other home improvements like cabinet styling or small kitchen upgrades.
If you enjoy hands-on projects, you’ll find more ideas and tutorials on our DIY projects and inspirational layouts on our home design ideas pages.
Conclusion
Whether you’re tackling a weekend refresh or a full living room update, a family photo collage is a high-impact, low-cost way to personalize your home. Try one of these collage ideas family photo layouts to bring warmth and story to your walls—start with a small test wall, gather your favorite photos, and enjoy the process. Ready to get hands-on? Choose a layout, print your favorite shots, and make a memory wall this weekend.
Want more step-by-step projects and layout templates? Explore our DIY projects section and get inspired to upgrade your space.


