You set out to repaint your living room on a Saturday and somehow it’s midnight and the trim still isn’t done. Sound familiar? If you’ve ever wished you could cut project time in half without cutting corners, it’s time to learn how to “clock it” — a simple approach to timing, planning, and executing DIY and home improvement tasks so they finish on schedule and look great.
Why You Should Clock It Before You Start
Clocking a project means estimating, measuring, and tracking the time each task will take — then using that data to improve efficiency. Whether you’re tackling a kitchen refresh, installing new shelving, or refinishing a floor, timing your work gives you realistic expectations, helps you budget labor, and reduces stress.
Benefits of timing your renovations
- Accurate schedule planning: Know which jobs you can finish in a weekend.
- Better budgeting: Labor time equals money saved, even for DIYers.
- Higher quality: Timeboxing prevents rushed finishes and sloppy details.
- Improved teamwork: When helpers know the timeline, everyone coordinates better.
Practical Ways to Clock It — Step-by-Step Time Management for DIY
Use these easy steps to clock it on any home improvement task and turn guesswork into results.
- Break the job into tasks. Split your project into clear steps: prep, demolition, build, paint, trim, cleanup. Smaller tasks are easier to estimate and track.
- Estimate each task. Use past experience or rough rules of thumb (e.g., prime coat: 1 hour per wall; sanding: 30–60 minutes per cabinet door). Add 20–30% buffer for unexpected issues.
- Set a start and end time. Be realistic about when you’ll work — evenings may mean half the daytime productivity.
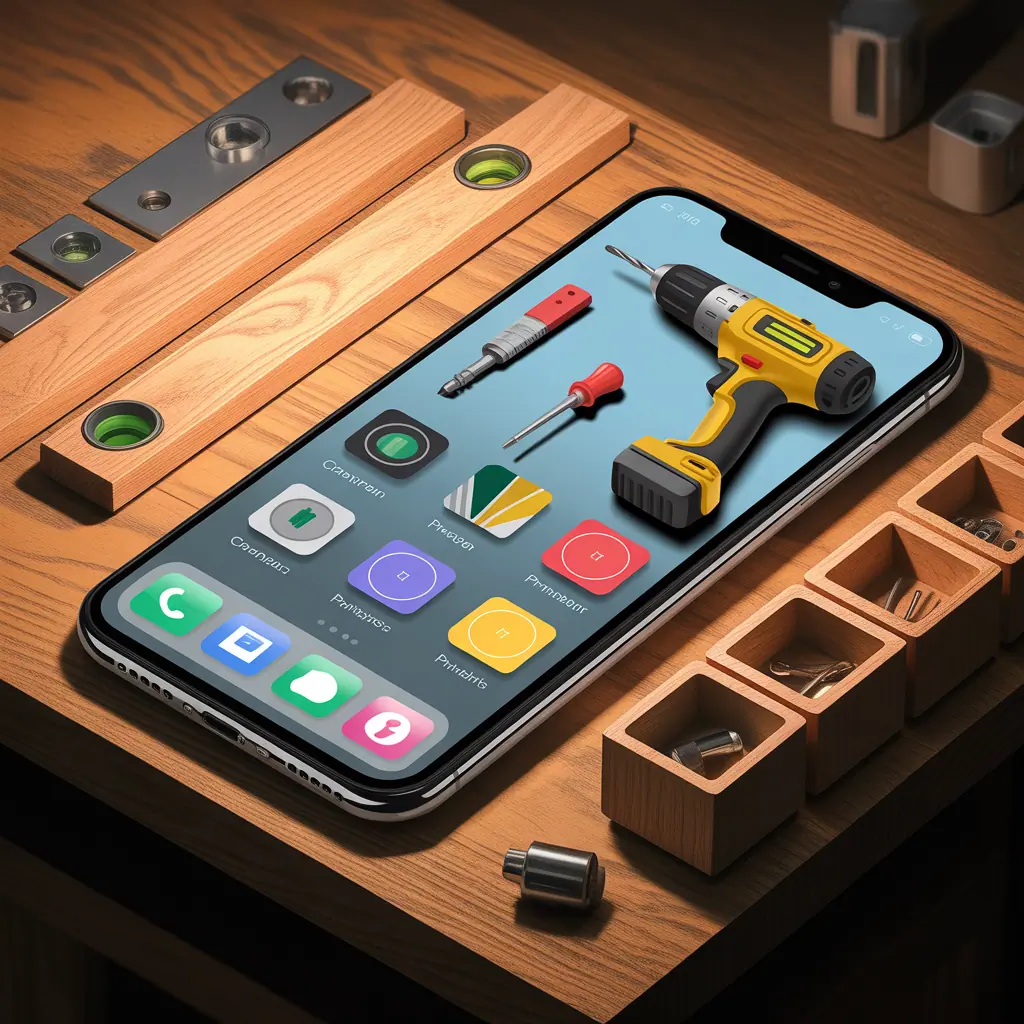
- Use a timer or time-tracking tool. A kitchen timer, smartphone stopwatch, or simple spreadsheet is enough to log how long tasks actually take.
- Record and review. After each work session, note deviations and causes (surface prep took longer, supplies ran out). Use that feedback to adjust future estimates.
- Iterate and improve. Each project you clock improves your future planning accuracy — you’ll learn how long paint coats dry in your climate, how fast a sander removes finish, and which steps can be combined.
Tools and techniques to help you clock it
- Pomodoro method: 25-minute focused work intervals with 5-minute breaks to boost concentration.
- Simple spreadsheet: Track task, estimated time, actual time, and notes.
- Mobile timer apps and voice memos: Quick logging while you work.
- Checklist printouts: Check off tasks and jot time beside each step for a tangible log.
Design Inspiration: Clock-Based Decor and Focal Points
Clock it can also mean literally adding a clock as a design element. A well-placed wall clock becomes a functional focal point — especially in kitchens, entryways, and living rooms.
- Oversized statement clock: Choose one with bold numerals for a farmhouse or industrial look.
- Gallery wall integration: Mix a mid-century clock with framed prints for layered interest.
- DIY reclaimed-wood clock: Use a round jig saw cut and bold hands for a custom piece.
Installation tip: Measure the eye line and surrounding negative space before drilling. Hanging a clock too high or off-center disrupts visual balance — measure, mark, and then hang to make sure it reads as intentional décor.
Real-World Tips to Improve Efficiency and Quality
Clocking time is only part of the equation — the other part is working smarter. These practical tips will help you shave hours off projects while improving results.
- Prep properly. Spending 15–30 minutes more on surface prep can save hours of sanding and rework later.
- Use the right tools. A quality brush, roller, or power sander speeds work and gives a better finish.
- Work in parallel when possible. While paint dries, assemble hardware or cut trim for the next step.
- Bundle similar tasks. Do all cutting, sanding, or washing in one block to reduce setup time.
- Keep a project kit. Maintain a box of commonly used supplies — sandpaper, painter’s tape, caulk, extra screws — so you don’t stop mid-task to shop.
If you’re planning a remodel for the heart of your home, check out ideas for kitchen upgrades that can be phased and timed to fit weekends and evenings. For general inspiration, see our home design ideas to pair timing strategies with looks you love. Want small weekend wins? Browse our DIY projects to pick quick, clockable tasks.
Quick Project Examples: Clock It in Action
Weekend Paint Refresh (Clock It Plan)
- Prep walls (1.5 hrs)
- Primer coat (1 hr + 2–3 hrs drying)
- First paint coat (1.5 hrs)
- Second coat & trim touch-ups (2 hrs)
- Final cleanup (30 mins)
Total estimated active time: ~7.5 hours over a weekend. Buffer: 2 hours for unforeseen delays.
Shelf Installation (Clock It Plan)
- Measure & mark (15 mins)
- Find studs & level (15 mins)
- Drill anchors & mount brackets (30–45 mins)
- Install shelf boards & styling (20–30 mins)
Total: ~1.5–2 hours — perfect for a lunchtime project if you clock it tightly.
Frequently Asked Questions
What does “clock it” mean in a DIY context?
In DIY and home improvement, “clock it” usually means timing tasks — estimating how long each step will take and tracking actual times to improve planning and efficiency.
How accurate should my time estimates be?
Start with rough estimates and add a 20–30% buffer. Accuracy improves with experience; logging each project will help you refine future estimates.
Can timing projects reduce overall costs?
Yes. Better time estimates help you manage labor (even if you’re doing the work yourself), avoid costly last-minute purchases, and reduce rework — all of which save money.
Conclusion — Ready to Clock It and Get More Done?
When you learn to clock it — break tasks down, estimate realistically, and track your progress — DIY projects stop being overwhelming and start being predictable, enjoyable, and efficient. Try timing a small project this weekend: note estimates, use a simple timer, and compare results. You’ll be surprised how quickly your planning skills (and finish quality) improve. Explore our DIY projects and kitchen upgrades pages for ideas to practice clocking, then share your results — start timing, start improving, and make your next home upgrade the best one yet.