Ever stood in front of a plain, echoing hallway or a kitchen backsplash and thought, “I wish this space felt more personal”? If you love DIY home upgrades but want something beyond paint and framed prints, clay relief sculpture creative ideas can give your walls unique texture, depth, and a handmade story. In this post I’ll walk you through inspiring project ideas, practical steps, and real-world tips so you can create clay bas-relief wall art that suits your home and skill level.
Why choose clay relief for your home?
Clay relief — also called bas-relief or low-relief sculpture — sits between two-dimensional art and full sculpture. It’s an ideal medium for homeowners because it:
- Adds tactile texture and shadow to walls, giving rooms more visual interest.
- Is highly customizable — motifs, sizes, and finishes can match your decor.
- Works with both air-dry and kiln-fired clay, meaning projects can be done at different budgets and skill levels.
- Makes striking focal points: entryways, over mantels, headboards, or even tailored kitchen backsplashes.
Materials and tools you’ll need
Most small home projects can be completed with inexpensive tools. Here’s a starter list:
- Clay: air-dry clay for beginners, polymer clay for small pieces, or stoneware/earthenware if you have kiln access.
- Basic tools: rolling pin, clay knife, loop tools, modeling tools, texture stamps, and a smoothing sponge.
- Bases and supports: plywood or MDF backing, canvas panels, or pre-cut tile blanks.
- Adhesives & finishes: PVA glue for mounting, construction adhesive for heavy panels, clear acrylic sealer, and grout if creating tile mosaics.
- Protective gear: dust mask (when sanding), gloves, and drop cloth.
Clay relief sculpture creative ideas to try
Below are practical design concepts that scale from quick weekend crafts to more involved home upgrades.
1. Botanical bas-relief panel (beginner-friendly)
- Why: Organic patterns are forgiving and create a calming focal point.
- How: Press leaves or use carved clay tools to build raised leaf veins on a flat clay slab. Let dry, sand lightly, seal, and mount on a wooden panel.
2. Geometric textured tiles (modern accent wall)
- Why: Repeating shapes add a contemporary rhythm and can be grout-fitted like ceramic tiles.
- How: Cut uniform clay squares, carve geometric patterns, dry or fire, then fix to a substrate for a bold statement wall.
3. Personalized family plaque or memory tile
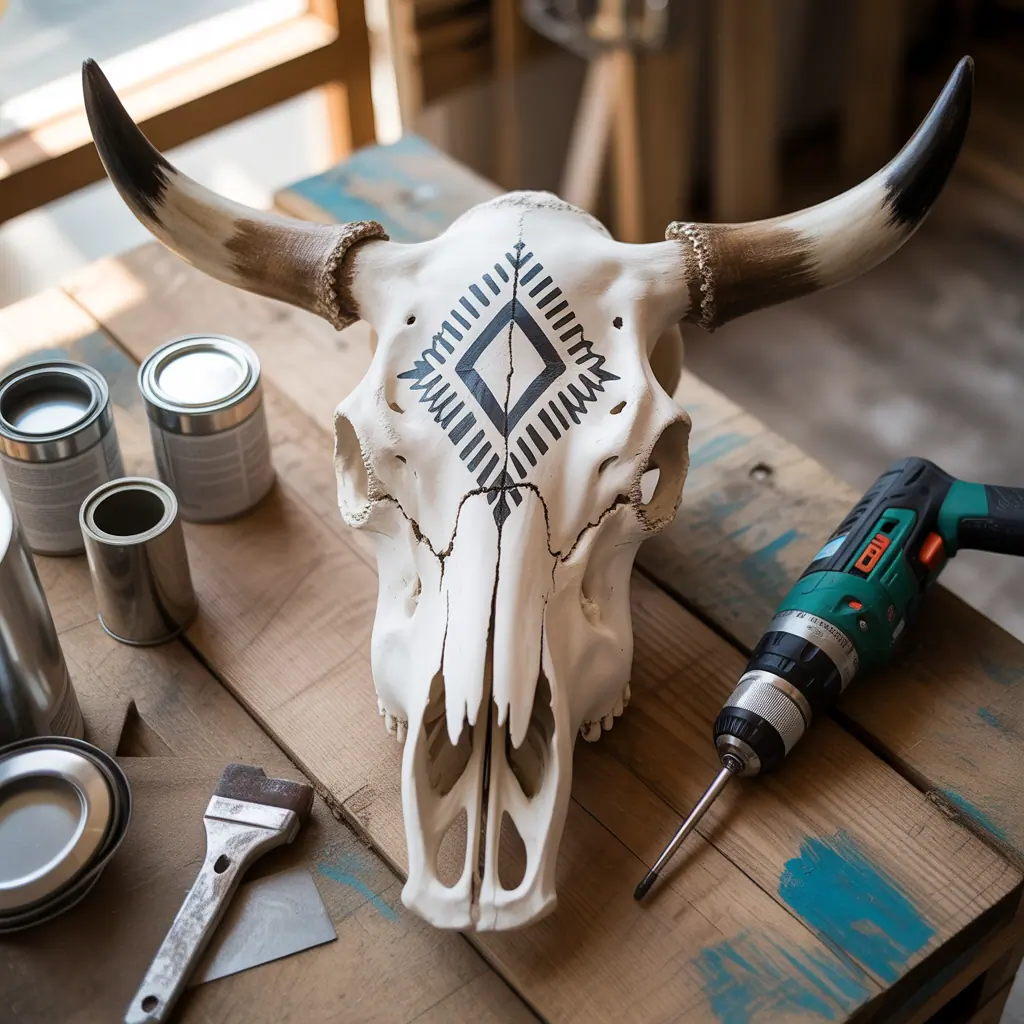
- Why: Capture handprints, names, or dates for sentimental wall art or a meaningful gift.
- How: Press hands or small objects into a slab, carve borders, and add color washes or patina once cured.
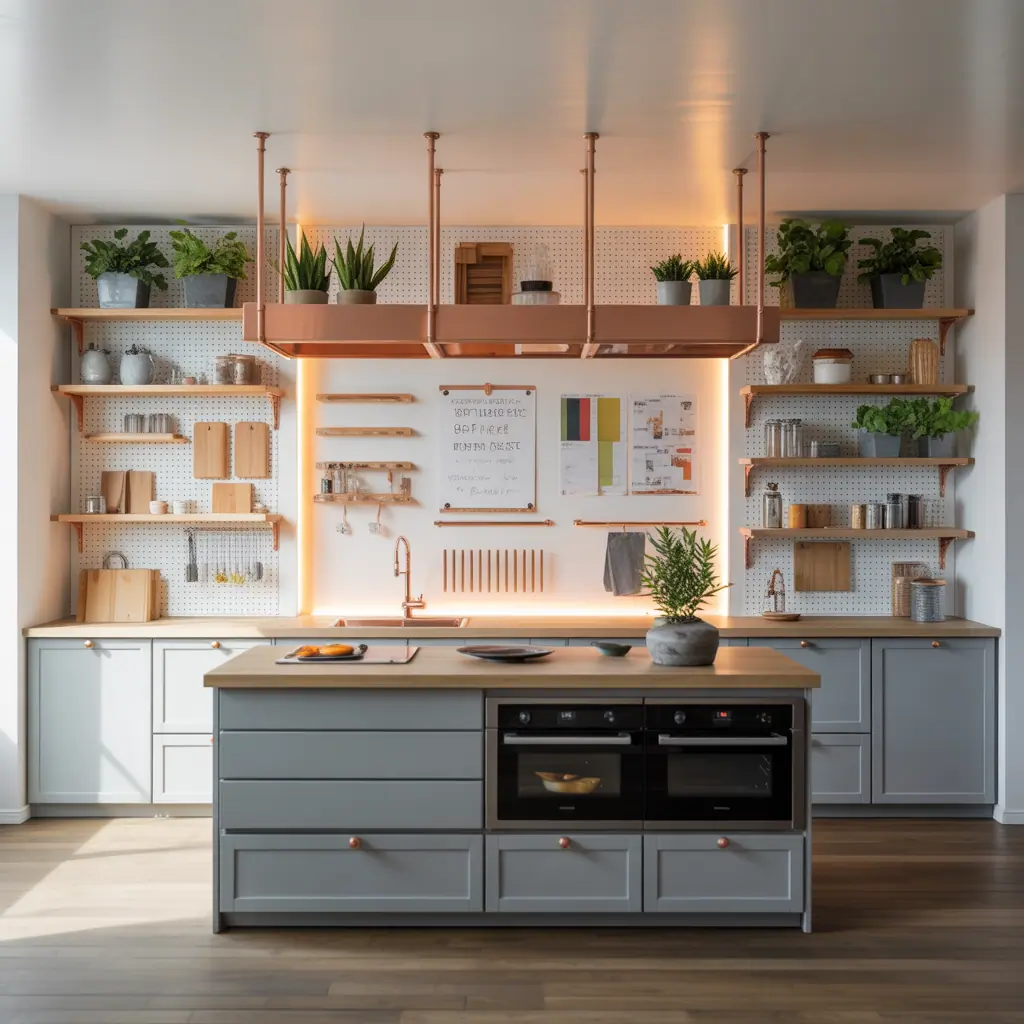
4. Clay backsplash accent (for kitchen upgrades)
- Why: Small sections of clay relief tiles can create a textured backsplash insert behind a stove or sink.
- How: Use kiln-fired clay for durability in heat and moisture areas, apply a waterproof glaze, and grout like standard tiles. See ideas for kitchen upgrades to integrate clay panels seamlessly.
5. Mixed-media relief headboard or mantel surround
- Why: Combine clay tiles with wood or metal for a richer, layered aesthetic.
- How: Mount multiple clay panels onto a painted wooden board for an easy-to-hang headboard or surround piece.
Step-by-step: Make a simple botanical bas-relief panel
- Prepare your workspace: Lay a non-stick mat and have water, tools, and a backing board ready.
- Roll out clay to about 1/4″ thickness on a wooden board for support.
- Arrange real leaves or hand-carved templates and press gently to create impressions. Remove leaves and refine edges with a damp sponge.
- Build up raised areas by adding thin coils or small pieces of clay, smoothing transitions with modeling tools.
- Dry slowly: cover with plastic for 24 hours to avoid cracking, then air-dry completely (or fire in a kiln if using ceramic clay).
- Sand any rough bits with fine-grit sandpaper, then seal with matt or satin acrylic sealer. For color, use stains, oxide washes, or acrylic paint blends to highlight relief.
- Mount on a painted plywood backing using construction adhesive or mirror clips for a gallery finish.
Real-world tips for durability & installation
- Choose the right clay: air-dry clay is great for wall art but avoid placing it where it will get wet. For kitchens and bathrooms, use kiln-fired and glazed tiles.
- Prevent cracking: dry pieces slowly and avoid uneven thickness. Score and slip when joining pieces.
- Mounting weight: measure the final piece’s weight and use appropriate anchors. Heavy stoneware panels require wall anchors or a French cleat system.
- Finishes: a clear sealer protects porous clay; a tinted wash brings out textures. For high-traffic or moisture areas, choose a waterproof glaze or epoxy topcoat.
Design inspiration and placement ideas
Think beyond a single art piece. Try a grid of small clay tiles for a modern gallery wall, a horizontal strip above kitchen counter height as a backsplash accent, or a tall vertical panel to emphasize ceiling height in narrow spaces. Pair clay relief with warm wood tones, matte black metal frames, or spotlighting to enhance shadows and texture. For more room-by-room inspiration, check my home design ideas and collection of DIY projects for complementary upgrades.
Frequently Asked Questions
1. Can I use air-dry clay for a kitchen backsplash?
Air-dry clay is not recommended for high-moisture or heat-exposed areas unless thoroughly sealed and not directly behind a cooking zone. For reliable durability, use kiln-fired clay with a waterproof glaze for backsplashes.
2. How do I prevent my clay relief from cracking?
Prevent cracks by keeping slab thickness consistent, drying slowly (covering with plastic initially), and scoring & slipping joints. If using kiln-fired clay, proper wedging and controlled firing schedules are essential.
3. Do I need a kiln to make relief sculptures?
No — you can create beautiful relief art with air-dry and polymer clays. A kiln is required only if you want stoneware/earthenware pottery or a durable glaze finish suitable for wet or high-heat areas.
Conclusion — Try clay relief sculpture creative ideas in your next DIY
Clay relief sculpture creative ideas give you an affordable, flexible way to add texture and personality to your home. Whether you try a quick botanical panel, a geometric tile grid, or a mixed-media mantel surround, these projects scale to your skills and space. Ready to make something beautiful? Pick a small project, gather a few tools, and start shaping. If you’re looking for more project inspiration or room-specific upgrades, browse my DIY projects and kitchen upgrades pages for ideas to pair with your new clay artwork.
Want help planning your first piece? Reply with your room dimensions and style, and I’ll suggest a clay relief idea tailored to your space.