Ever stood in front of a tired fireplace mantel or a bland kitchen backsplash wondering how to give it personality without blowing the budget? If you’ve got a weekend to spare and a little curiosity, clay crafts can transform ordinary spaces into handmade focal points. From air-dry clay planters to custom ceramic knobs, these tactile DIY projects add texture, warmth, and a personal touch to your home.
Why clay crafts are perfect for home DIY
Clay is one of the most versatile DIY materials — affordable, forgiving, and suitable for a wide range of finishes. Whether you prefer quick air-dry clay projects or more permanent kiln-fired pottery, there’s a clay craft method to match your time, tools, and skill level. Clay decor and handmade ceramics can be used as simple accents or as long-term upgrades like tile backsplashes and custom hardware.
Working with clay develops practical skills (pinch, coil, slab-building) and gives instant gratification: you can model a vase or coaster in an afternoon and finish it with paint, glaze, or sealant. If you’re browsing home improvement ideas, these projects are great starters — see our curated DIY projects for more inspiration.
Easy clay crafts for beginners
Start with beginner-friendly, low-mess projects. Below are three simple, high-impact ideas you can complete in a weekend.
1. Air-dry clay planters
- Materials: air-dry clay, small bowl (to shape), sandpaper, acrylic paint or sealant.
- Steps:
- Tip: Use textured stamps or a fabric wrap to add patterns before the clay dries.
2. Polymer clay knobs and pulls
- Materials: polymer clay, oven, cabinet knobs, glaze or varnish, screw hardware.
- Steps:
- Tip: Mix color slices or create marble effects for boutique-looking hardware.
3. Handmade clay coasters
- Materials: air-dry or polymer clay, rolling pin, cutter, varnish.
- Steps:
- Tip: Attach felt pads underneath to protect furniture and improve grip.
Advanced clay projects to upgrade your home
If you want to move beyond small accessories, try higher-impact projects that rival store-bought upgrades.
Clay tile backsplash or accent wall
- Options: hand-rolled tiles, slab-cut tiles, or pressed motifs using earthenware clay.
- Real-world advice:
- Work with a local ceramics studio if you don’t have a kiln — many offer firing services and glazing assistance.
- Plan a grid and account for shrinkage (clay loses size when drying/firing).
- Use porcelain or stoneware for durable, water-resistant kitchen surfaces.
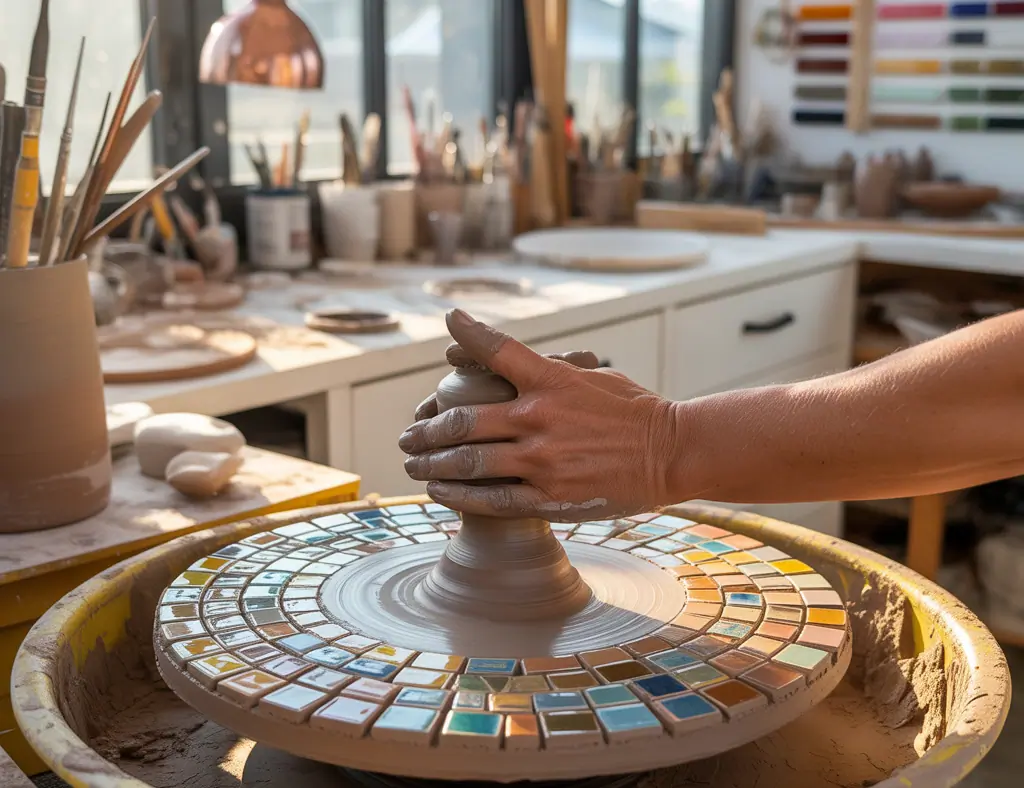
Handbuilt ceramic vases and lighting
Create statement pieces by coil-building or slab techniques. Proper glazing and firing produce glossy, washable surfaces suitable for flower vases, pendant lights, or bathroom sinks. These pieces require more patience but can become heirloom-quality elements in your home.
Thinking about kitchen-scale changes? Clay projects can link to larger kitchen upgrades when used as backsplashes, custom knobs, or decorative tiles.
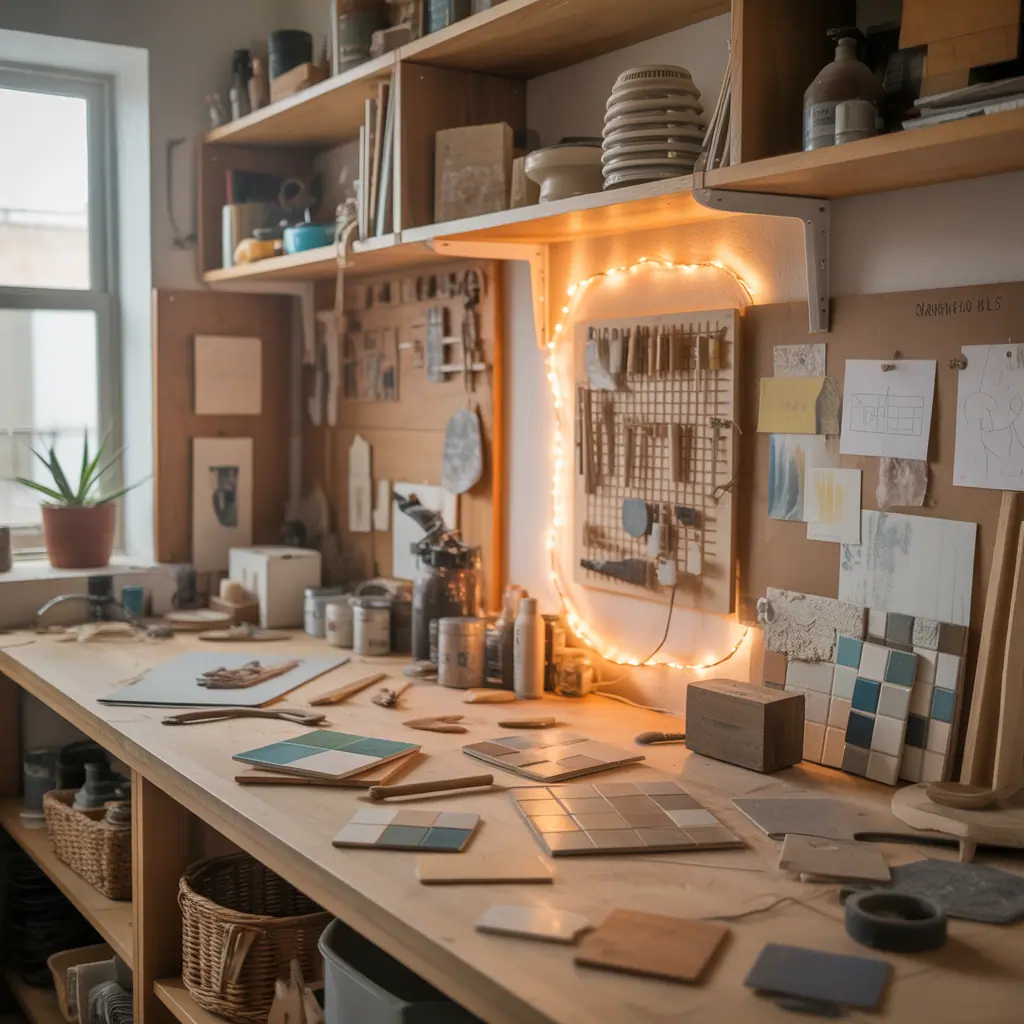
Design inspiration: styling with clay home decor
Clay’s earthy tones and matte textures pair beautifully with natural materials. Here are styling tips to integrate handmade pieces into your home:
- Color palette: Use warm terracotta, muted greys, and soft whites for a cohesive look.
- Texture play: Combine smooth glazed pieces with raw, unglazed pottery to add depth on open shelving.
- Grouping: Arrange clusters of small clay objects at varying heights to create visual interest on mantels or console tables.
- Function meets form: Use handmade bowls for keys, salt, or jewelry — practical and decorative.
For broader room ideas, check our articles on home design ideas to match clay accents with your interior style.
Tools, materials, and safety tips for working with clay
Basic toolkit:
- Rolling pin, wire cutter, rubber rib, and modeling tools.
- Sandpaper, sealant or food-safe glaze, and paintbrushes.
- A place to dry projects flat and dust-free.
Safety and longevity tips:
- Wear a dust mask when sanding dried clay to avoid inhaling fine particles — especially with dry clay dust.
- If planning to use clay pieces for food or in wet areas, use appropriate glazes and firing temperatures; otherwise seal air-dry projects thoroughly.
- Label tools and keep work surfaces covered. Clay can stain porous counters, so use a craft mat or silicone surface.
Frequently Asked Questions
What type of clay is best for beginners?
Air-dry clay and polymer clay are the most beginner-friendly. Air-dry clay is easy to shape and doesn’t require firing, while polymer clay bakes in a home oven and offers bright colors and durable finishes.
Can clay projects be used in the kitchen?
Yes. For food-contact items or wet environments (sinks, countertops), use kiln-fired, glazed ceramics or properly sealed pieces. Air-dry projects should be sealed with a food-safe finish if they’ll contact food or liquids.
How long does air-dry clay take to dry?
Drying time varies by thickness and humidity, but most air-dry projects take 24–72 hours to fully dry. Thicker pieces may take longer; ensure complete dryness before sanding, painting, or sealing.
Conclusion — Try clay crafts this weekend
Clay crafts are an accessible, creative way to refresh your home without major renovations. From quick air-dry planters to custom ceramic tiles, these projects let you personalize your space with handmade charm. Pick a simple starter project, gather basic tools, and set aside a weekend — you’ll be surprised how much impact a few clay pieces can make. Ready to start? Browse our DIY projects for step-by-step guides, and then share your finished work to inspire others.
Call to action: Try one clay craft this weekend, and post a photo of your finished piece — your home will thank you.