Ever stood in front of your dusty china cabinet wondering how to turn it from forgotten storage into a showpiece? Whether you inherited a vintage hutch or found a bargain at a flea market, the challenge is the same: how do you style, light, and personalize a display cabinet so it elevates your room? This guide walks you through practical, budget-friendly, and creative china cabinet decorating top ideas that will motivate you to pick up a paintbrush or a battery-powered light kit today.
Why Styling a China Cabinet Makes a Big Impact
Display cabinets and glass-front hutches are focal points in dining rooms, kitchens, and living areas. The right styling can highlight treasured china, glassware, and decorative objects while reflecting your personal taste—modern, vintage, farmhouse, or eclectic. Thoughtful china cabinet decor creates visual interest and brings cohesion to a room, making even small spaces feel curated and inviting.
Quick Prep Tips Before You Start
- Empty and clean: Remove everything and wipe shelves, glass, and hardware with a mild cleaner.
- Assess condition: Check for loose hinges, worn finishes, or sagging shelves and make basic repairs.
- Measure: Note shelf heights, depth, and interior width. This avoids surprises when arranging plates or buying liners.
- Plan lighting and electrical access if you want wired lights; battery kits are simpler for renters.
China cabinet decorating top ideas
Here are tried-and-true ideas that work for any style and skill level.
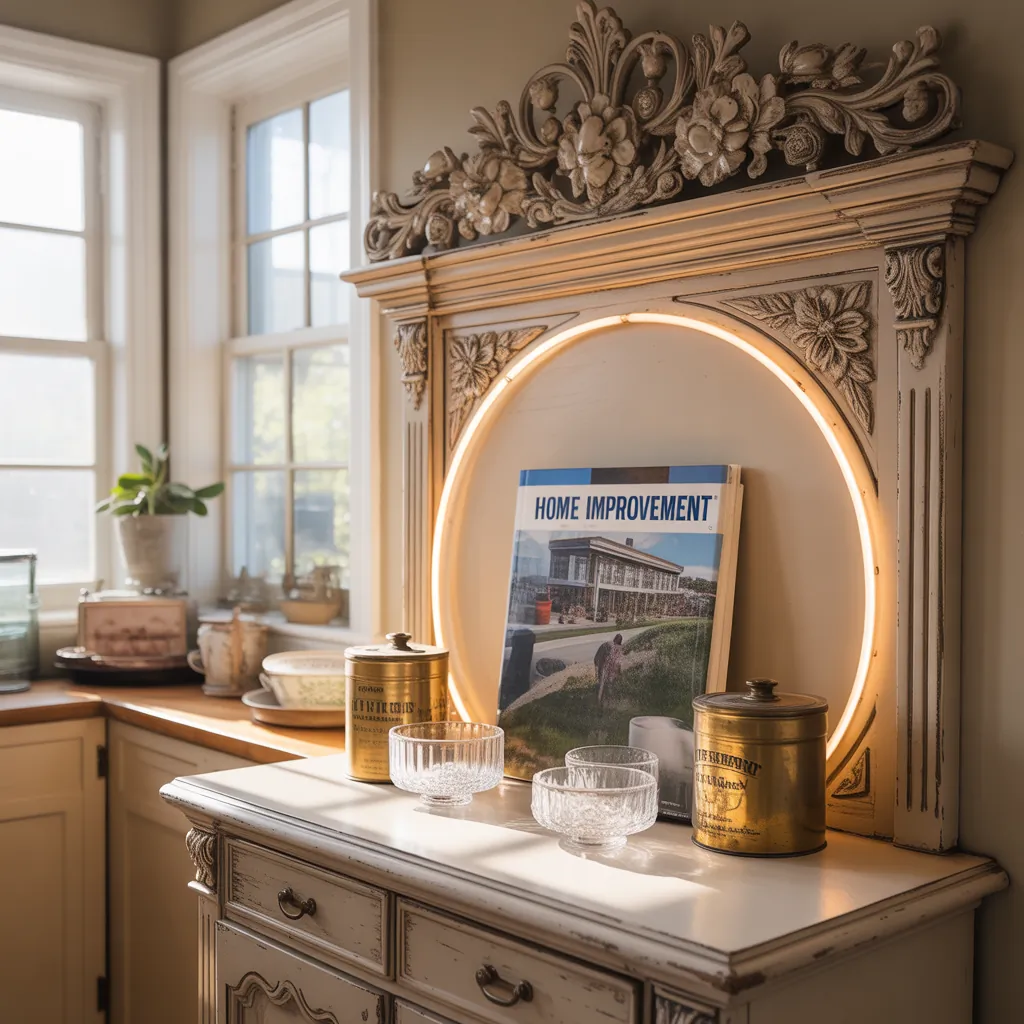
1. Add mood lighting
Lighting transforms a display. Use LED strip lights, puck lights, or tiny battery-powered fairy lights to highlight special pieces and add depth.
- Step-by-step: Clean interior → attach LED strip under each shelf (use adhesive backing) → tuck the battery pack behind a shelf or run a discreet cord to an outlet.
- Tip: Choose warm white (2700K–3000K) for vintage china and cool white for modern glassware.
2. Change the backdrop
Paint or wallpaper the cabinet interior to add contrast. A dark navy or forest green makes white china pop; a subtle patterned wallpaper adds texture behind glass.
- Materials: Peel-and-stick wallpaper or small-roller paint for smooth application.
- DIY trick: Use beadboard wallpaper or removable fabric for renters—easy to remove later.
3. Refinish or paint the exterior
Refinishing wood or giving the cabinet a fresh coat of paint updates its style. Chalk paint works well for distressed farmhouse looks; high-gloss lacquer suits a mid-century modern vibe.
- Steps: Sand lightly → prime if needed → paint 2 thin coats → protect edges with wax or polyurethane.
- Hardware update: Swap knobs or hinges for a quick, high-impact change.
4. Curate with purpose
Styling is about balance—mix groupings of objects in odd numbers, leave breathing room, and vary heights and textures to create rhythm.
- Arrange plates vertically on risers, stack bowls, and place a vase or sculpture as a focal point.
- Use risers, small books, or boxes to create different levels for visual interest.
5. Mix old and new
Blend heirloom china with contemporary accessories—think a vintage tea set paired with a minimalist ceramic planter. Contrast is a powerful design tool.
Practical DIY Projects for a Pro Look
Project A: Simple LED Lighting Upgrade (30–60 minutes)
- Materials: LED strip kit, double-sided tape or clips, ruler, scissors.
- Measure shelf length and cut strip to size.
- Stick strip under shelf lip and hide battery pack behind cabinet trim.
- Test and adjust angle so light washes down items evenly.
Project B: Removable Wallpaper Backing (1–2 hours)
- Materials: Peel-and-stick wallpaper, ruler, utility knife, smoothing tool.
- Measure interior panels and cut wallpaper slightly oversize.
- Peel, align at a corner, smooth out bubbles, trim edges.
- Pro tip: Use a neutral or tonal pattern to avoid competing with your objects.
Design Inspiration: Styles That Work Well
Farmhouse charm
White or distressed paint, open shelving with enamel pitchers and stacked plates, and soft warm lighting.
Mid-century modern
Clean lines, walnut or teak finish, and a focus on sculptural objects and glassware with minimalist arrangements.
Eclectic vintage
Mixed patterns, colorful backdrops, and a playful mash-up of old finds—perfect for collected-in-travel looks.
Real-World Advice and Maintenance Tips
- Rotate displays seasonally to keep things fresh and protect fragile items from constant light exposure.
- Use felt pads under heavy pieces and non-slip liners to prevent shifting and scratching.
- Limit direct sunlight to protect patterns and finishes—use curtains or reposition the cabinet if needed.
- For display stability, distribute weight evenly and avoid overloading glass shelves.
Frequently Asked Questions
A: Start with your most meaningful or visually striking pieces—fine china, unique glassware, or decorative ceramics. Build around them using groupings of three to five, mixing heights and textures. Leave negative space to let each item breathe.
A: Yes. For a simple, safe approach use battery-operated LED strips or puck lights. If you want hardwired lighting, hire a licensed electrician to add power and ensure safe installation and code compliance.
A: Glass-front cabinets with light-colored backs and integrated lighting create a sense of openness. Keep decor minimal and use vertical displays to draw the eye upward, making the room feel larger.
Conclusion — Try One Idea This Weekend
Transforming a china cabinet is one of the most satisfying DIY upgrades you can do because it’s visible, practical, and often inexpensive. Whether you choose a lighting upgrade, a painted refresh, or a curated styling session, these china cabinet decorating top ideas will help you showcase your pieces and refresh your space. Ready to start? Gather a few supplies, pick one project above, and share your before-and-after to inspire others.
Want more step-by-step inspiration? Check out our pages on DIY projects, kitchen upgrades, and home design ideas for additional tips and tutorials.