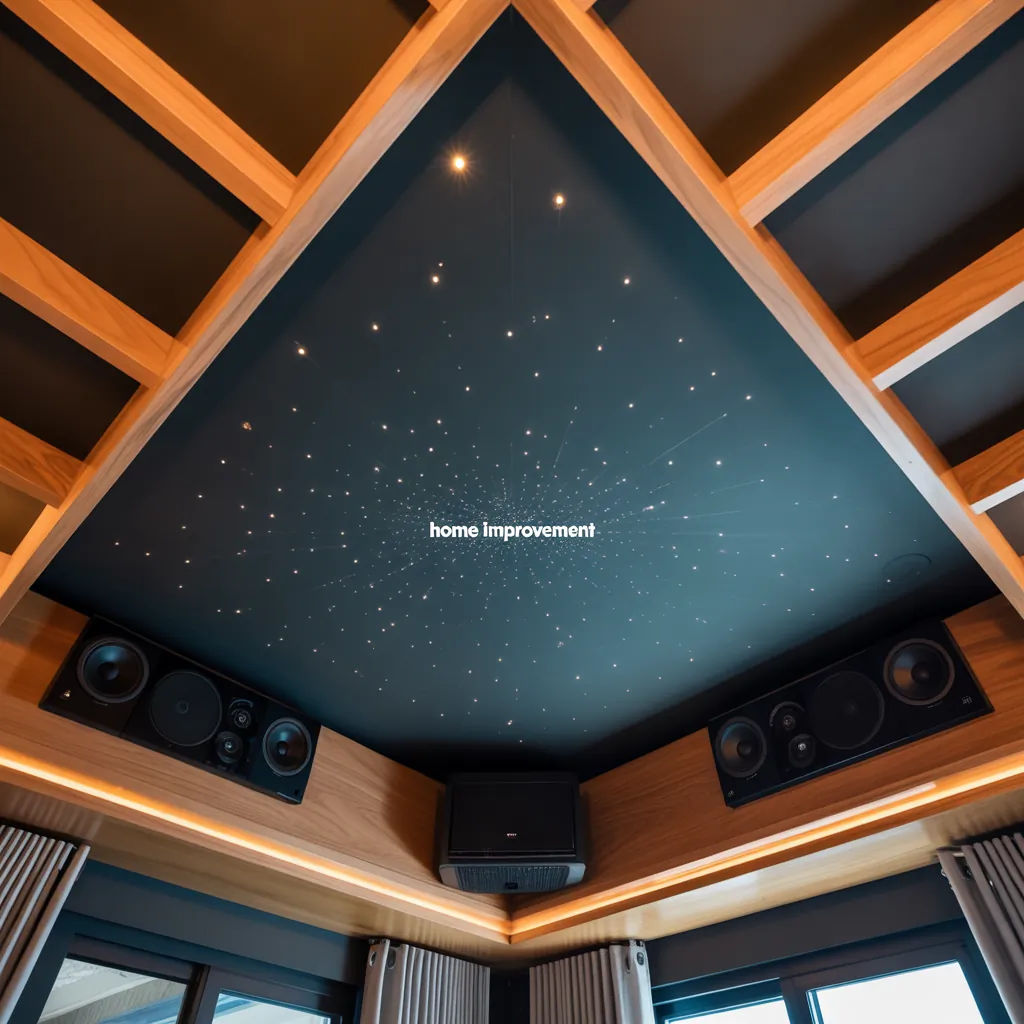
Ever stared up at a blank ceiling above your battle station and wondered how to make your gaming room actually feel like an immersive, pro-level setup? Whether you’re turning a spare bedroom, basement, or attic into a dedicated gamer den, the ceiling is a huge opportunity most homeowners overlook. In this post you’ll find creative, practical, and budget-friendly ceiling ideas for gaming room upgrades that you can DIY — from LED accents to acoustic improvements — so your next session feels cinematic and comfortable.
Why the Ceiling Matters in a Gaming Room
Most people focus on monitors, chairs, and speakers — but the ceiling affects acoustics, lighting, and the overall atmosphere. A poorly treated ceiling creates echoes and harsh reflections; a thoughtfully designed ceiling amplifies immersion through ambient lighting, sound control, and stylish finishes.
Top ceiling ideas for gaming room
Below are tested design directions and step-by-step improvements, ordered from low-cost to advanced upgrades. Mix and match lighting, texture, and acoustic treatments to suit your budget and skill level.
1. LED Cove and Strip Lighting (High Impact, Low Cost)
LED lighting instantly modernizes a gaming ceiling and creates ambient bias lighting for screens. RGB strips let you change colors based on mood or game.
- Materials: waterproof RGB LED strips, adhesive channel, 12V power supply, controller (remote or app).
- Step-by-step:
- DIY tips: Use corner connectors and avoid tight bends; add diffusers for even light.
2. Starfield or Fiber-Optic Ceilings (Immersive Night-Sky Effect)
Fiber-optic lighting creates a galaxy ceiling perfect for sci-fi or RPG fans. It’s surprisingly DIY-friendly with a little patience.
- Materials: fiber-optic kit (light engine + fibers), drop ceiling panel or painted drywall, drill or panel tool.
- Step-by-step:
- Tip: Combine with subtle LED backlighting to enhance color-shifting stars.
3. Acoustic Panels and Soundproof Ceiling Treatments
Good sound is essential for competitive play and watching streams. Ceiling-mounted acoustic panels reduce echoes and improve voice chat clarity.
- Options: foam tiles, fabric-wrapped absorptive panels, suspended baffles, or a full acoustic drop ceiling.
- DIY approach:
- Real-world advice: Prioritize absorption over diffusion in small rooms to tame bass and midrange resonance.
4. Faux Beams, Coffered Ceilings, and Wood Treatments
Textural elements like faux beams or a painted coffered ceiling add character and make the gaming room feel custom-built.
- Materials: lightweight polyurethane beams, MDF for coffers, wood stain or paint.
- DIY steps:
- Budget tip: Use faux beams instead of solid wood for a lighter, cheaper install.
5. Drop Ceilings and Modular Tiles (Easy Access + Versatility)
A suspended ceiling with decorative tiles can hide wiring and HVAC while giving a clean canvas for lighting and acoustic treatment.
- Benefits: easy access to wiring, modular aesthetic, and compatibility with recessed speakers.
- DIY notes: Choose tiles with sound-absorbing cores for combo acoustic and visual benefits.
Practical Considerations Before You Start
Make sure you address these essentials before altering your ceiling:
- Electrical safety: turn off power when working around fixtures and consult a licensed electrician for major wiring changes.
- Dimensions and scale: low ceilings need lighter elements (LEDs, shallow coffers); high ceilings can accept beams and baffles.
- Budget and timeline: prioritize sound and lighting first for the most immediate payoff.
DIY Project Checklist: Quick Guide to Upgrading Your Gaming Ceiling
- Measure ceiling height and room dimensions.
- Create a mood board (colors, textures, lighting scenes).
- Choose a primary upgrade: ambient lighting, acoustic treatment, or architectural detail.
- Gather materials, tools, and any permits if required.
- Follow step-by-step installation with safety in mind; enlist a friend for heavy lifts.
- Fine-tune lighting color profiles and sound after installation.
Design Inspiration: Styles and Themes
Modern Minimalist
Matte black ceiling with recessed linear LEDs — sleek and great for streaming setups.
Industrial Gamer Loft
Exposed faux beams, pendant fixtures, and textured acoustic panels for a rugged, atmospheric vibe.
Sci-Fi / Immersive Theater
Fiber-optic stars, RGB coves, and suspended cloud baffles for dramatic, cinematic play.
Frequently Asked Questions
1. How do I soundproof a gaming room ceiling on a budget?
Start by adding dense layers like mass-loaded vinyl or roxul insulation above the ceiling if accessible. If not, affix thick acoustic panels or heavy curtains to the ceiling plane and prioritize sealing gaps around light fixtures. Combining absorption (foam/panels) with added mass (MLV) gives the best low-cost results.
2. What lighting is best for gamers — RGB strips or recessed lighting?
Use both: RGB strips provide mood and bias lighting that reduce eye strain, while recessed or track lighting offers task illumination for desk work. Recessed dimmable warm white LEDs paired with color-changing RGB accents offer the most flexible setup.
3. Can I install a coffered or beam ceiling myself?
Yes — if you have basic carpentry skills. Lightweight faux beams and premade coffer kits are designed for DIY and attach to furring strips or joists. For heavy timber or structural changes, consult a pro.
Conclusion — Start Upgrading Your Ceiling Today
Don’t let an overlooked ceiling ruin the vibe of your gaming sanctuary. With thoughtful lighting, acoustic treatments, and creative finishes, you can dramatically improve immersion and comfort. Pick one of the ceiling ideas for gaming room projects above — even a simple LED cove or a few acoustic panels will make a big difference. Ready to begin? Explore more project plans on our DIY projects page, get broader inspiration from our home design ideas hub, or check other renovation tips like kitchen upgrades to expand your DIY skills. Share your build, ask for help, or subscribe for step-by-step guides — and level up your space!


