Ever prepped your living room for a weekend BBQ only to realize your presentation is letting the masterpiece down? You’ve nailed the smoked brisket, rearranged the furniture, and now you need a show-stopping platter. The brisket charcuterie board is the perfect solution—part rustic BBQ display, part elegant appetizer centerpiece. In this guide I’ll walk you through DIY serving board ideas, step-by-step building tips, and design inspiration so your next gathering looks like it came straight from a food-styling photoshoot.
Why a Brisket Charcuterie Board Works for Home Entertaining
A brisket charcuterie board blends the hearty, smoky appeal of BBQ with the variety and visual impact of a traditional charcuterie platter. It gives guests options, keeps things casual, and turns a simple meal into an event. Plus, creating the board can be a satisfying DIY weekend project—perfect for anyone who loves woodworking, kitchen upgrades, or simply leveling up home entertaining.
Design Inspiration: Styles and Layouts
Rustic Slab vs. Polished Serving Tray
Choose a style that matches your home’s vibe. A live-edge walnut slab feels authentic and pairs beautifully with smoked meats. A polished maple tray with recessed sections looks more refined and works well for indoor dinner parties. Consider the thickness, handle design, and whether you want built-in juice grooves for brisket juices.
Layout Ideas for Visual Impact
- Centerpiece Approach: Place sliced brisket in the center and fan out cheeses, pickles, and bread around it.
- Sectioned Arrangement: Use small bowls or baked-in compartments for sauces, mustards, and pickled veggies.
- Linear Spread: Create a long board for family-style serving with brisket slices on one end and accompaniments trailing along.
DIY: Build a Simple Serving Board for a Brisket Charcuterie Board
This project is approachable for intermediate DIYers and uses common tools. I’ll cover dimensions, materials, and finishing tips to make a food-safe board that lasts.
Materials & Tools
- Hardwood board (walnut, maple, or oak) — 1–2″ thick
- Table saw or circular saw, orbital sander
- Router for handles or juice groove (optional)
- Food-safe mineral oil and beeswax finish
- Clamps, wood glue (for laminated boards), and sandpaper (80–220 grit)
Step-by-Step Build
- Plan your size: Common serving board dimensions are 12×18″ for medium or 10×36″ for a long platter.
- Cut and flatten: Rip your lumber to size, joint the edges, and glue up if laminating.
- Shape and route: Round edges for comfort, and add a 1/4″ juice groove if desired.
- Sand progressively: Start at 80 grit and work up to 220 for a silky surface.
- Finish with food-safe oil: Apply mineral oil and a beeswax topcoat. Reapply periodically after heavy use.
Practical Presentation Tips for a Brisket Charcuterie Board
Slice, Rest, and Arrange
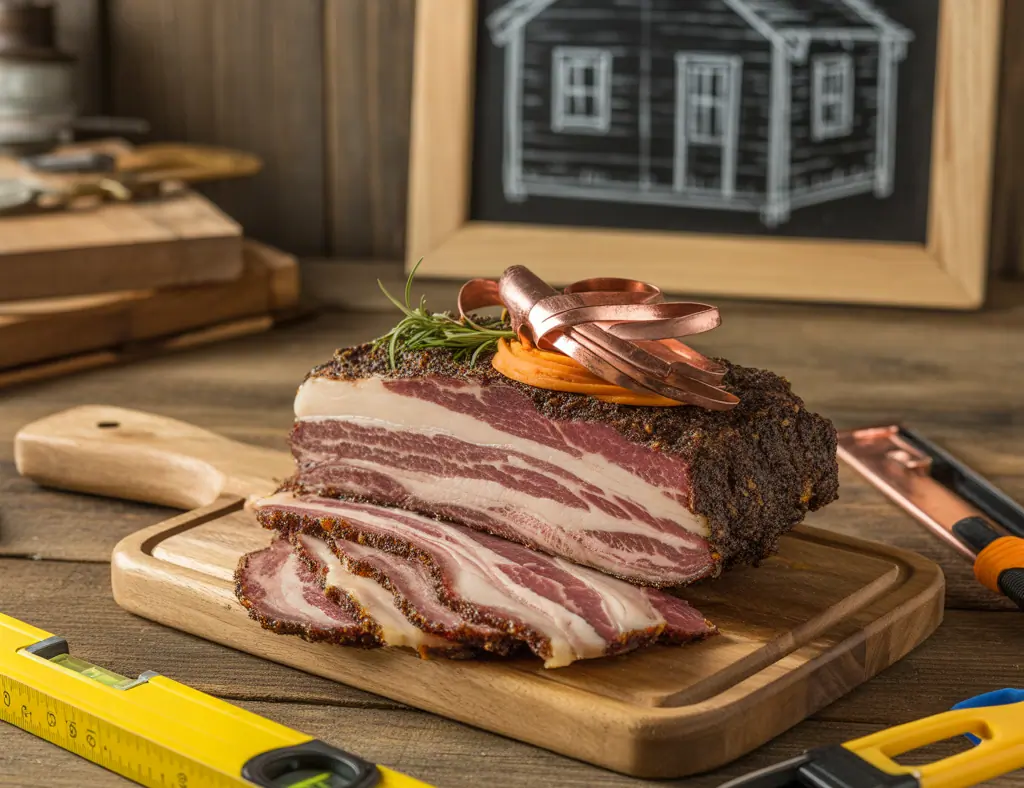
After smoking, let brisket rest at least 30 minutes before slicing against the grain. For charcuterie-style presentation, slice both flat and burnt ends thinly and arrange in overlapping rows to showcase the bark and smoke ring. Mix textures—crispy bark, tender slices, and shredded pieces for variety.
Complementary Flavors and Pairings
- Cheeses: Sharp cheddar, smoked gouda, and a creamy blue pair well with brisket’s richness.
- Accompaniments: Pickles, pickled red onions, coleslaw, and grainy mustard cut through the fat.
- Carbs: Sliced baguette, buttery crackers, and small slider buns for custom bites.
- Sauces: Offer a tangy vinegar-based sauce and a sweet molasses sauce to cover different tastes.
Real-World Advice: Hosting and Maintenance
Keep It Warm Without Drying
If you’re serving over time, place warmed slices on the board, cover loosely with foil, or use low-heat lamps above the serving area. Avoid direct heat on the board; instead, keep brisket in a warm oven and replenish the board as guests graze.
Board Care
Never soak a wooden serving board. Wipe scraps away with a scraper, wash with mild soap, and dry immediately. Reapply mineral oil monthly if you use it often, and sand out any deep cuts before refinishing to maintain a sanitary surface.
Step Up Your Space: Kitchen and Serving Area Ideas
Thinking about the overall presentation? Small kitchen upgrades—like a butcher-block insert, open shelving for serving ware, or a reclaimed-wood floating shelf—can make plating and serving easier. For more project ideas, check out our kitchen upgrades and browse quick weekend DIY projects that improve hosting flow and aesthetics.
Frequently Asked Questions
1. How do I keep brisket warm on a charcuterie board?
Keep most brisket in a low oven (around 170–200°F) wrapped in foil and towels, and replenish the board in batches so slices stay moist. Use thermal carriers or pre-warmed ceramic plates beneath the board if needed.
2. What finish is safe for a DIY serving board?
Food-safe mineral oil and a mineral oil/beeswax blend are great choices. Avoid polyurethane or non-food-grade varnishes on surfaces that will touch food. Reapply oil frequently to prevent drying and cracking.
3. Can I use cured or cold-cut meats with brisket on the same board?
Yes. Combine smoked brisket with cured meats like soppressata, pastrami, or ham for variety. Be mindful of cross-contamination with raw meats—everything here should be fully cooked or cured and ready-to-eat.
Conclusion: Build, Plate, and Impress with Your Brisket Charcuterie Board
A brisket charcuterie board is a cozy, crowd-pleasing way to showcase your BBQ skills while exercising your DIY chops. With a well-built serving board, smart layout, and a few complementary flavors, you’ll transform backyard or indoor gatherings into memorable experiences. Ready to make yours? Start with a simple hardwood slab, follow the step-by-step build above, and explore more home design ideas to style your serving area. Share your finished board and tips—let’s inspire more DIY hospitality!
Call to action: Grab your tools, pick a slab, and try building a serving board this weekend—then invite friends over for a brisket-focused tasting night. If you want help planning your board layout or finishing tips, ask me a question and I’ll walk you through it.