Ever stood in your dining room staring at blank walls and wondered how to add instant character without a complete remodel? Maybe you’ve tried paint and a gallery wall, but something’s still missing. That’s where the best wainscoting trim comes in — affordable, high-impact, and perfect for DIYers who want professional-looking results. In this guide I’ll walk you through choosing the right trim, practical installation tips, and design ideas you can use today.
Why Choose Wainscoting and the Right Trim?
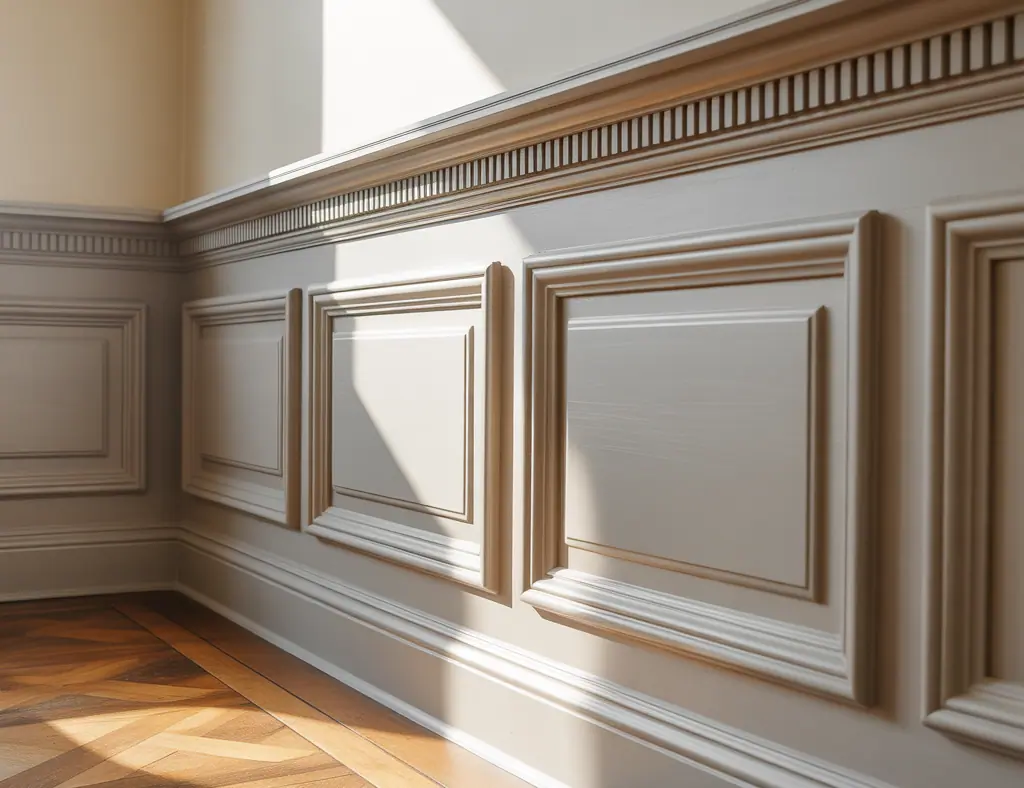
Wainscoting is one of the most effective home upgrades for adding depth, texture, and value. The trim you choose — from chair rails to cap molding and picture-frame trim — defines the style. Whether you want classic raised panels, modern shaker-style frames, or simple beadboard, selecting the best wainscoting trim ensures a clean finish and lasting durability.
Benefits of Installing Wainscoting Trim
- Elevates room design with architectural detail
- Protects walls from scuffs and furniture damage
- Works with paint or stain for varied looks
- Relatively budget-friendly and DIY-friendly
Best Wainscoting Trim Types (and When to Use Them)
Different trim materials and profiles suit different rooms and skill levels. Below are the most popular options and practical advice for each.
MDF (Medium-Density Fiberboard) Trim
Pros: Inexpensive, smooth surface, pre-primed options. Cons: Not great in high-moisture areas; can swell if exposed to water.
Solid Wood Trim (Pine, Poplar)
Pros: Stainable, durable, easy to router for custom profiles. Cons: Higher cost; knots in pine require filling for a flawless finish.
PVC or Composite Trim
Pros: Moisture-resistant, ideal for bathrooms and laundry rooms, lightweight. Cons: Slightly higher cost; can expand and requires special adhesives for seams.
Finger-Jointed or Primed Trim
Pros: Economical and comes ready-to-paint; consistent quality. Cons: Not as strong as solid wood for heavy decorative cuts.
How to Choose the Best Wainscoting Trim for Your Home
Match trim style to room scale and design intent. Here are quick rules of thumb:
- Traditional homes: choose raised panels, crown molding caps, and wider baseboards.
- Modern or farmhouse styles: use shaker frames, simple base trim, or board-and-batten profiles.
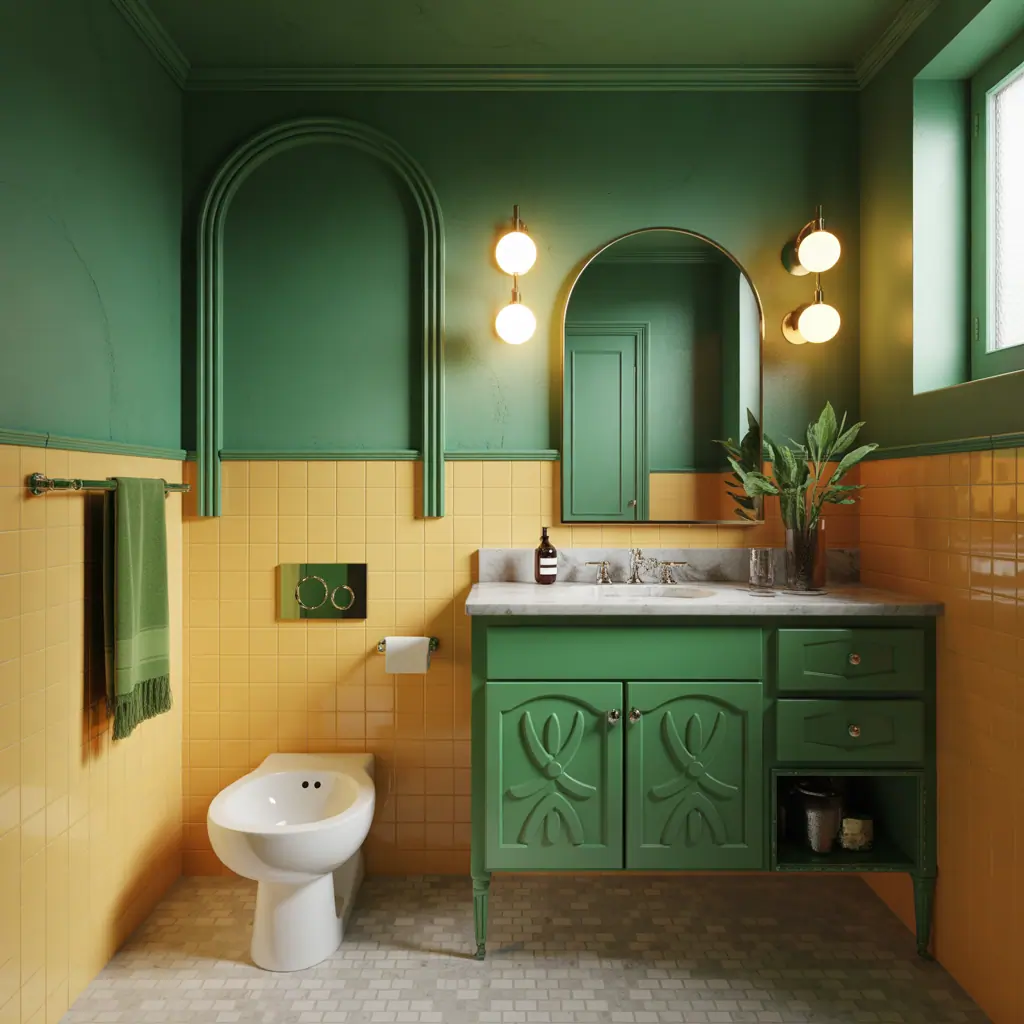
- High-moisture areas: choose PVC or moisture-resistant composite trim.
- Rental or budget projects: pre-primed MDF or finger-jointed trim gives great value.
Step-by-Step DIY Installation Guide
Below is a straightforward workflow to help you install wainscoting trim like a pro. This covers the common picture-frame style, which is versatile and beginner-friendly.
- Plan & Measure: Measure wall length and decide wainscot height (commonly 32–36 inches in dining rooms; 42–48 inches in foyers). Create a simple layout sketch and calculate trim lengths, allowing 10% extra for mistakes and angled cuts.
- Choose Materials: Pick your trim profile (baseboard, casing, chair rail, and picture-frame molding). Buy primed pieces if you don’t want to sand and prime on-site.
- Prep the Wall: Remove outlet covers, sand rough spots, and patch holes. Locate studs and mark a level line for the top of the wainscot using a laser level or chalk line.
- Install Baseboard: Nail the baseboard to studs, mitering corners when necessary. Use a brad nailer for clean results and wood filler for nail holes.
- Attach Vertical & Horizontal Rails: Install vertical stiles first, spacing them evenly for picture-frame panels (typical panel widths range from 18 to 36 inches). Secure with glue and finish nails into studs when possible.
- Add Chair Rail/Cap Molding: Install the top rail to cap the panels. This hides small gaps and gives a finished look.
- Caulk & Finish: Caulk along seams, fill nail holes, sand smooth, then prime and paint. Use a semi-gloss or satin for easier cleaning.
Tools and Materials You’ll Need
- Measuring tape, level, pencil
- Miter saw (or hand miter box), brad nailer, finish nails
- Caulk gun, wood glue, wood filler
- Sandpaper, primer, paint, paintbrush/roller
Design Inspiration: Styles That Work
Here are several design directions that showcase the versatility of the best wainscoting trim:
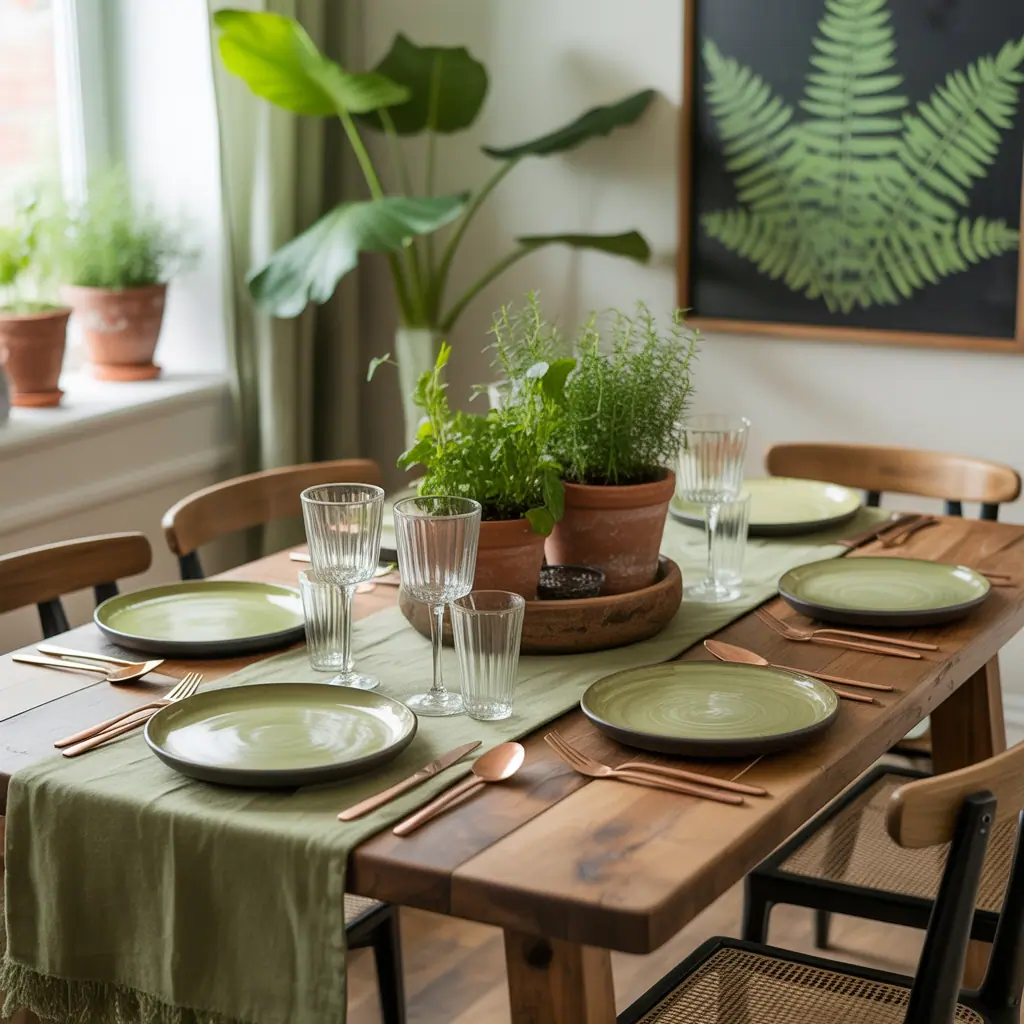
- Classic Elegance: Raised panels with a heavy baseboard and ornate cap molding — ideal for formal dining rooms.
- Modern Simplicity: Shaker-style frames with a narrow chair rail painted in a bold accent color.
- Coastal/Farmhouse: Beadboard or vertical shiplap wainscoting with a whitewash or soft blue finish.
- Eclectic Pop: Wainscoting halfway up the wall with wallpaper or contrasting paint above for texture and pattern play.
Real-World Tips & Common Pitfalls
- Buy an extra 15% more trim than your measurements — mistakes and grain matching can cost you time if you run short.
- Always mark and test fit miters before nailing. Slight saw blade variances can throw off angles.
- To reduce visible seams, stagger joints at studs and use a thin bead of construction adhesive along with nails.
- If painting, do the primer coats on the trim while it’s flat to reduce brush marks and drips.
Best Wainscoting Trim: Choosing the Final Profile
When deciding on the best wainscoting trim, consider how the profile interacts with the room’s architecture. For small rooms, keep profiles simple and narrow to avoid overwhelming the space. For rooms with high ceilings, larger, more ornate profiles add proportion and drama. The final choice should balance aesthetics, durability, and budget.
Frequently Asked Questions
Q: What height should I make my wainscoting?
A: Common heights are 32–36 inches for general living spaces and 42–48 inches for entryways and formal rooms. Aim for one-third of the wall height as a guideline or adjust visually so the top rail aligns with built-in elements (window sills, light switches) for cohesion.
Q: Is MDF or wood better for wainscoting trim?
A: MDF is budget-friendly and smooth for paint, while solid wood offers stain options and greater durability. For bathrooms or kitchens, choose PVC or composite trim to resist moisture. Match material to location and finish goals.
Q: Can I install wainscoting myself if I’m a beginner?
A: Yes — many homeowners successfully install picture-frame or beadboard wainscoting themselves. Start with a smaller wall to practice miter cuts and layout. Follow a level line, use a brad nailer, and take time to caulk and finish seams for a professional look. For complex raised panels or intricate moldings, consider professional help.
Conclusion — Take the Next Step Toward Beautiful Walls
Choosing the best wainscoting trim can dramatically change your room’s character with minimal cost and time. Whether you choose MDF, solid wood, or PVC, follow the planning, measuring, and installation steps above and you’ll have a lasting transformation. Ready to give your walls a new life? Start with a small hallway or dining room wall, gather tools, and try a weekend project — you’ll be surprised how much difference the right wainscot trim makes.
Call to action: If you’re looking for project ideas and step-by-step guides, check out our DIY projects and browse inspiring posts in home design ideas or see how wainscoting pairs with cabinet updates on our kitchen upgrades page. Pick a trim profile you love and start transforming your space this weekend!