Have you ever stood in your bedroom paint aisle, torn between a safe neutral and a color that actually makes your heart beat faster — then walked out with nothing? If you’re tired of beige and want to try something dramatic without hiring a pro, the bedroom color drench technique might be the makeover you need. Imagine stepping into a room where every surface is united by one lush hue — calming, glam, or energizing depending on the shade — and all done with your own hands.
What is a bedroom color drench?
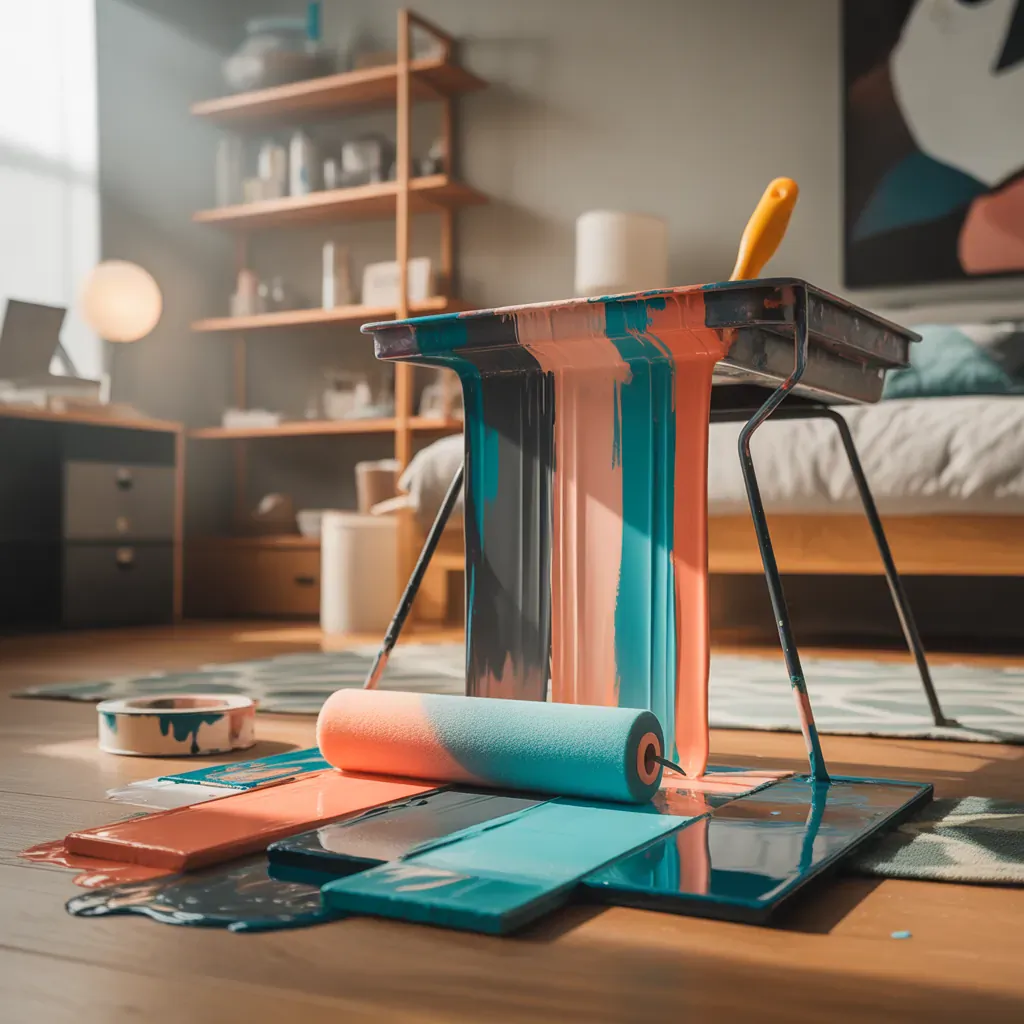
A bedroom color drench is a design approach that covers the walls, trim, and even ceilings in a single, saturated color or coordinated palette to create cohesion and mood. Also called a paint drench or full-room color wash, the goal is to “drench” the room in color so furniture and decor read as part of one immersive environment. This technique works equally well in small bedrooms, master suites, or guest rooms.
Why try a paint drench in your bedroom?
- Creates cohesion: One color ties everything together, making eclectic furniture and accessories feel intentional.
- Boosts mood: Deep blues or greens can calm; rich terracottas or mustard tones feel warm and inviting.
- Hides imperfections: A single, darker hue minimizes tiny wall flaws more effectively than stark white.
- Maximizes style: You get dramatic results with minimal staging — perfect for renters who can repaint later.
Design inspiration: color drench ideas that work
1. Moody jewel-tone drench
Choose emerald green, sapphire blue, or deep plum for a luxe feel. Pair with brass hardware and velvet textiles for contrast.
2. Soft monochrome drench
Use a warm greige or dusty rose for a more subtle, modern look. Layer textures — linen bedding, woven rugs — to keep the space from feeling flat.
3. High-contrast trim drench
Paint walls and ceilings in the same color but keep trims in an ultra-gloss of the same shade for a contemporary, tailored appearance.
How to achieve a bedroom color drench: step-by-step DIY plan
Ready to roll up your sleeves? Here’s a practical, step-by-step guide to drenching your bedroom in color.
Materials and tools
- Quality interior paint (sample and full cans) in chosen hue
- Primer (stain-blocking if needed)
- Paint tray, rollers (wide nap for textured walls), angle brush
- Painter’s tape, drop cloths, sandpaper, spackle
- Step ladder, tack cloth, respirator or mask
Step 1 — Test and commit
Paint large swatches on at least two walls and look at them at different times of day. A color that’s gorgeous in bright light can read dramatically different at night.
Step 2 — Prepare the room
Remove or cover furniture, clean surfaces, patch holes, sand rough spots, and apply primer if changing from a dark to a light shade or if walls are stained.
Step 3 — Paint ceiling and walls
Start with the ceiling if you plan to drench it too. Use an angled brush for corners, then a roller to fill in. Work wall by wall, maintaining a wet edge to avoid lap marks.
Step 4 — Trim and doors
If drenching trim, use a semi-gloss in the same tonal family for durability and subtle contrast. For a fully immersive look, paint doors the same color as walls. Allow proper drying time between coats.
Step 5 — Styling
Once dry, add layered lighting (ambient, task, accent) and textiles in complementary shades. Metallic accents and layered rugs can add dimension without breaking the drench.
Practical tips and real-world advice
- Lighting matters: Natural and artificial light change how color reads. Bring a sample swatch into the room at night to evaluate artificial light.
- Small bedrooms: A light-to-mid saturated drench can make a small room feel cozy rather than cavernous. Consider drenching the ceiling in the same hue to visually raise the room.
- Balance with texture: When color is dominant, mix textures — matte paint vs. velvet, wicker vs. glossy ceramics — to avoid a one-note look.
- Accent approach: If you’re unsure about full drench, start with a three-wall drench and keep one focal wall in a contrasting hue or wallpaper.
- Budget-saving: Use sample pots for accent pieces like a dresser or headboard first. Reuse existing furniture with a quick makeover instead of replacing items.
Advanced ideas: variations on the drench
Ombre drench
Fade from deep at the base to lighter at the ceiling for a dreamy, sky-like effect. This requires careful blending but looks custom-made.
Two-tone drench
Use the same color family in two values — lighter on top half, deeper on bottom — separated by a thin trim or bead molding.
Ceiling-first drench
Make a bold statement by painting the ceiling in the same color as walls or a coordinating shade. It transforms the entire feel without changing furnishings.
Cost and time estimates
A typical bedroom paint drench for a 12×12 room can be done over a weekend by one or two people. Expect paint and materials to cost between $100–$400 depending on paint brand and whether you need primer. Allow one to three days for paint and drying, plus time for prep and styling.
Frequently Asked Questions
A: Yes, but check lease terms first. If painting isn’t allowed, use removable wallpaper, peel-and-stick paint samples for a similar visual trial, or drench only furniture and textiles instead.
A: Eggshell or satin is a good all-purpose finish for walls — it hides imperfections without too much sheen. Use semi-gloss for trim and doors if you want a subtle sheen contrast.
A: Opt for mid-tones rather than absolute darks. Cool colors (muted blues, greys) can recede visually, making the room feel larger. Test samples in multiple lighting conditions before committing.
Final thoughts and next steps
Ready to try a bedroom color drench? Start small: pick a swatch, paint a large test area, and live with it for a few days. When you’re confident, follow the step-by-step plan above and enjoy a fresh, cohesive space that reflects your style. For more hands-on ideas, check our DIY projects and browse inspirational posts under home design ideas — or if you’re also thinking about other updates, see our kitchen upgrades for project inspiration throughout your home.
Want help choosing a palette or calculating paint quantities? Leave a comment or try a sample today — then pick up a roller and drench your way to a bedroom you actually love waking up in.


