Have you ever stood in front of your bathtub, towel in hand, wondering why the tile looks dated, the grout is stained, or water keeps seeping behind the tiles? You’re not alone. Whether you’re tackling a weekend DIY refresh or planning a full tub surround overhaul, updating the bathroom tile around tub can transform the space and solve moisture problems — without a contractor’s price tag if you plan carefully.
Why updating the tub surround matters
Beyond aesthetics, the tub surround is the bathroom’s first defense against water damage. The right tile, proper waterproofing, and neat detailing prevent mold, rot, and costly repairs. This guide gives realistic, step-by-step advice, design ideas, and professional tips so you can confidently upgrade the tile around your tub.
Choosing bathroom tile around tub: materials & styles
Picking the right tile affects durability, maintenance, and appearance. Consider these popular options:
- Ceramic or porcelain tile — Durable, affordable, and available in many sizes and finishes. Porcelain is denser and better for wet areas.
- Natural stone — Marble, travertine, and slate add luxury but require sealing and more upkeep.
- Glass mosaics — Great for accents, niches, and creating waterproof, reflective surfaces.
- Large-format tiles — Fewer grout lines for a sleek look; plan cuts carefully around the tub curve.
Design inspiration and tile layout ideas
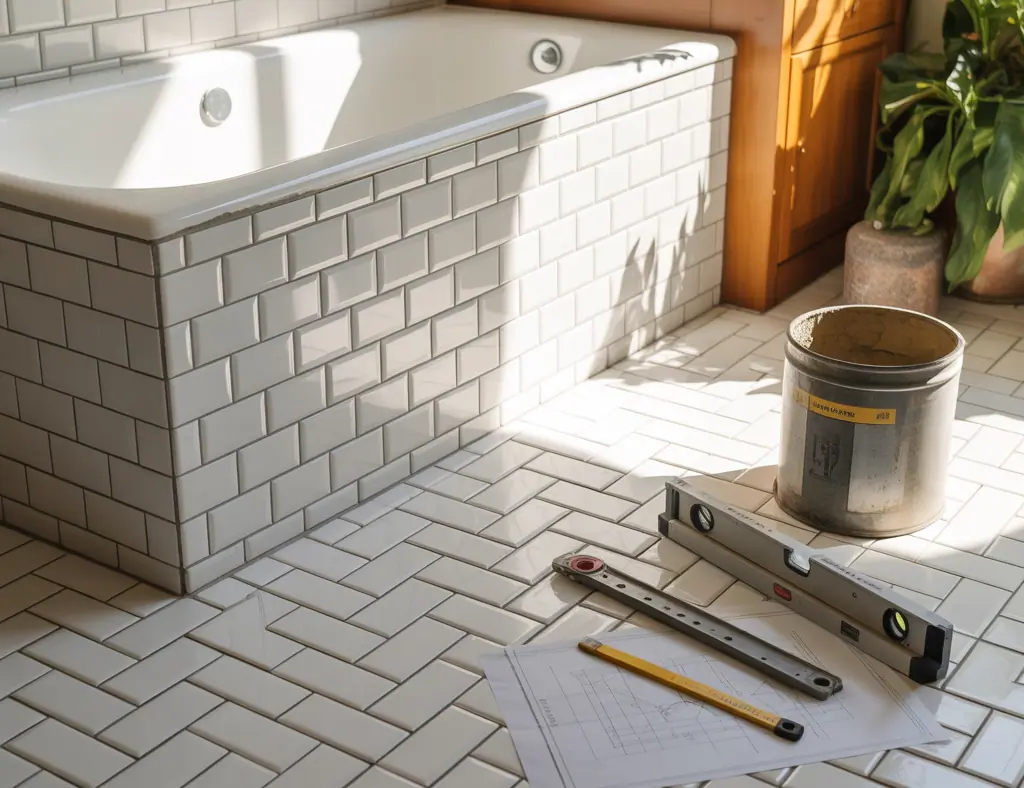
- Classic subway tile with contrasting grout for a timeless, high-contrast look.
- Herringbone or chevron patterns for a modern, textured wall.
- Accent band or niche in mosaic tile to add color and function.
- Floor-to-ceiling tile behind the tub to make the room feel larger and more cohesive.
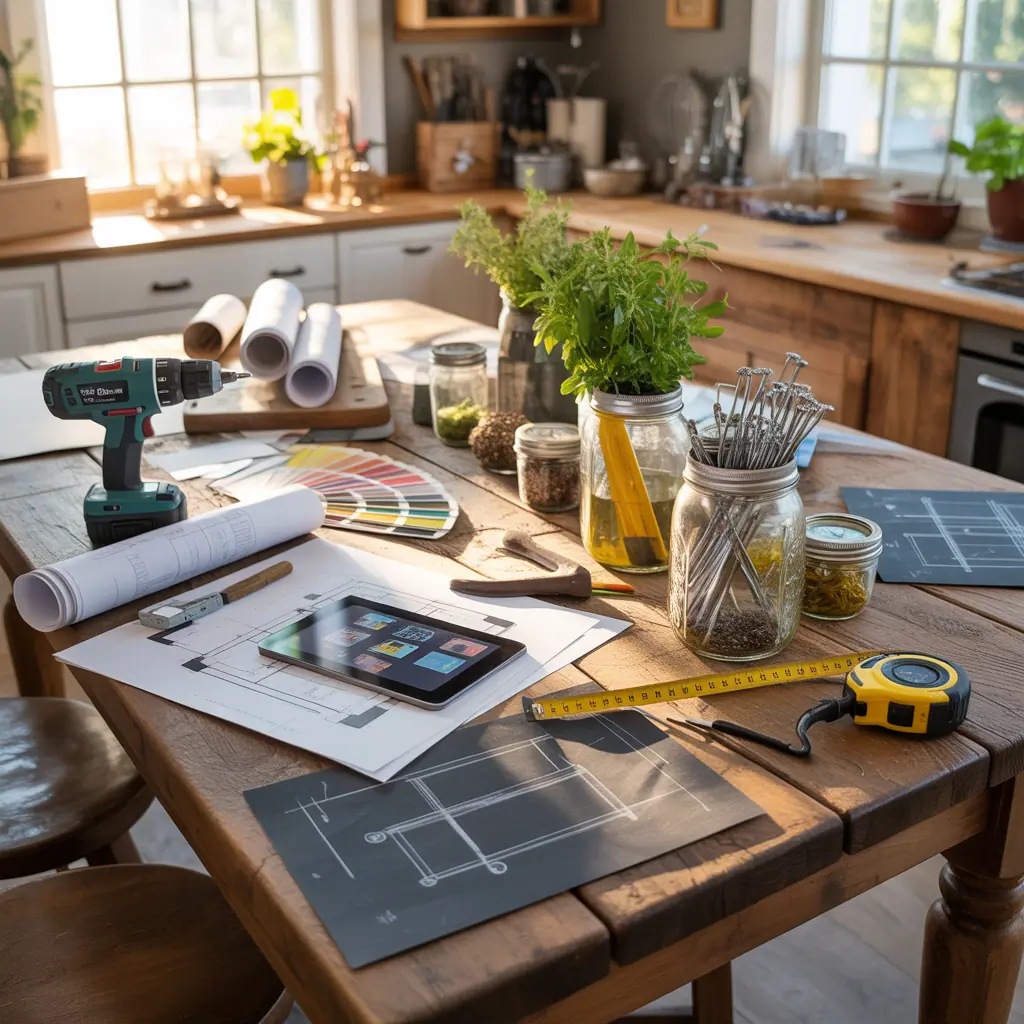
Tools & materials checklist
Before you begin, gather these essentials:
- Waterproofing membrane or cement backer board
- Thinset mortar suitable for wet areas
- Tile cutter or wet saw
- Grout (consider epoxy grout for high-moisture areas)
- Silicone caulk for the tub-to-tile joint
- Tile spacers, notched trowel, grout float, sponge
- Level, tape measure, pencil, and safety gear
Step-by-step: How to tile around a bathtub (DIY friendly)
Follow these core steps for a reliable tub surround installation:
- Assess and prepare — Remove old caulk and any loose tile. Check the wall studs and substructure for damage. Repair rot before proceeding.
- Waterproof the substrate — Install cement backer board or a waterproof membrane system designed for tub surrounds. Tape joints and follow product instructions for sealing.
- Plan your layout — Dry-fit tiles, starting from the center or a visible edge, to minimize tiny slivers at corners. Mark full tiles and cut locations.
- Install tiles — Apply thinset with a notched trowel and press tiles into place with spacers. Use a level frequently to maintain plumb lines.
- Finish edges — Use matching tile trim, Schluter profiles, or bullnose tiles where the tile meets the tub or an open edge.
- Grout and seal — Allow thinset to cure, then grout. Wipe excess grout and let cure fully. Apply sealer if using porous tile or cement grout.
- Caulk the joint — Use silicone caulk at the tub-to-tile seam for a flexible, waterproof seal. Avoid using grout in this joint.
Quick troubleshooting: common project hurdles
- Uneven walls — use thicker thinset or shims behind backer board to level surfaces.
- Curved tub edges — use smaller tiles or mosaic sheets for easier wrapping.
- Tile cuts near fixtures — take careful measurements and cut slowly; a wet saw with a diamond blade yields clean results.
Waterproofing and longevity tips
Waterproofing is non-negotiable. Choose one of these approaches for a durable tub surround:
- Apply a bonded waterproof membrane (like liquid-applied membranes) over backer board for redundancy.
- Use a full-coverage waterproofing board or membrane behind tiles in shower/tub areas.
- Choose epoxy grout where moisture is highest — it resists staining and mold better than cement grout.
- Maintain ventilation in the bathroom to reduce humidity and mold risk.
Maintenance & care for tile around tubs
Regular care keeps tile and grout looking new:
- Reseal natural stone yearly and cement grout every 1–3 years depending on exposure.
- Replace caulk at the tub edge every few years — it’s cheap and prevents leaks.
- Clean grout gently with a pH-neutral cleaner; avoid harsh acids on natural stone.
Cost considerations and when to hire a pro
DIY can save money, but factor in tools, materials, and time. Smaller projects (retiling a tub surround) are often doable for confident DIYers; full bathroom remodels, complex waterproofing systems, or work involving plumbing might be worth hiring a professional. If you’re unsure about structural rot, choose a pro to avoid costly mistakes.
Frequently Asked Questions
Q: What is the best tile for a bathtub surround?
A: Porcelain and ceramic tiles are the most practical for bathtub surrounds due to their water resistance and low maintenance. Natural stone looks luxurious but needs regular sealing. For accent areas or niches, glass mosaic tiles are an attractive, waterproof option.
Q: How far should tile go down behind the tub?
A: Tile should extend down to meet the tub flange or edge; ideally, the tile should be installed to the top lip of the tub and sealed with silicone caulk at the joint. For a cleaner look, install a tile backerboard that overlaps the tub flange per manufacturer recommendations.
Q: Should I use grout or silicone where the tile meets the tub?
A: Use 100% silicone caulk at the junction where tile meets the tub. Silicone is flexible and resists cracking when the tub shifts slightly — grout will crack and allow water to penetrate.
Real-world project ideas to try
- Weekend refresh: Clean/replace grout, recaulk the tub, add a mosaic accent strip.
- Mid-range upgrade: Replace old tile with large-format porcelain and add a recessed niche.
- Full DIY remodel: Remove old tile, install waterproof backer board, tile full surround, and add a glass panel or half wall.
Ready to roll up your sleeves? Start with a small test area, perfect your waterproofing technique, and work in manageable sections. For more project ideas and related inspiration, check out our DIY projects page, browse trends on home design ideas, or explore improvements that complement a new tub like our kitchen upgrades tips.
Conclusion
Updating the bathroom tile around tub is one of the highest-impact DIY bathroom projects — it improves looks, prevents water damage, and can be scaled to your skill level. With proper waterproofing, the right materials, and careful planning, you can achieve a durable, stylish tub surround that lasts for years. If you’re excited to get started, gather your tools, pick your tile, and take it one step at a time — and don’t hesitate to reach out with questions or share your progress.
Call to action: Ready to transform your tub area? Choose a design, make a materials list, and start your project this weekend. If you want guidance on your exact layout or tile selection, leave a comment or book a consultation to get tailored advice.