Ever stood in your bathroom on a Saturday morning, staring at dated grout, cracked tile, or mold creeping along the edge of the tub and wondered “Can I redo this myself?” If your tub surround looks tired or is leaking, updating the bathroom tile around tub can be one of the most satisfying weekend DIY projects that adds both beauty and value to your home.
Why bathroom tile around tub matters
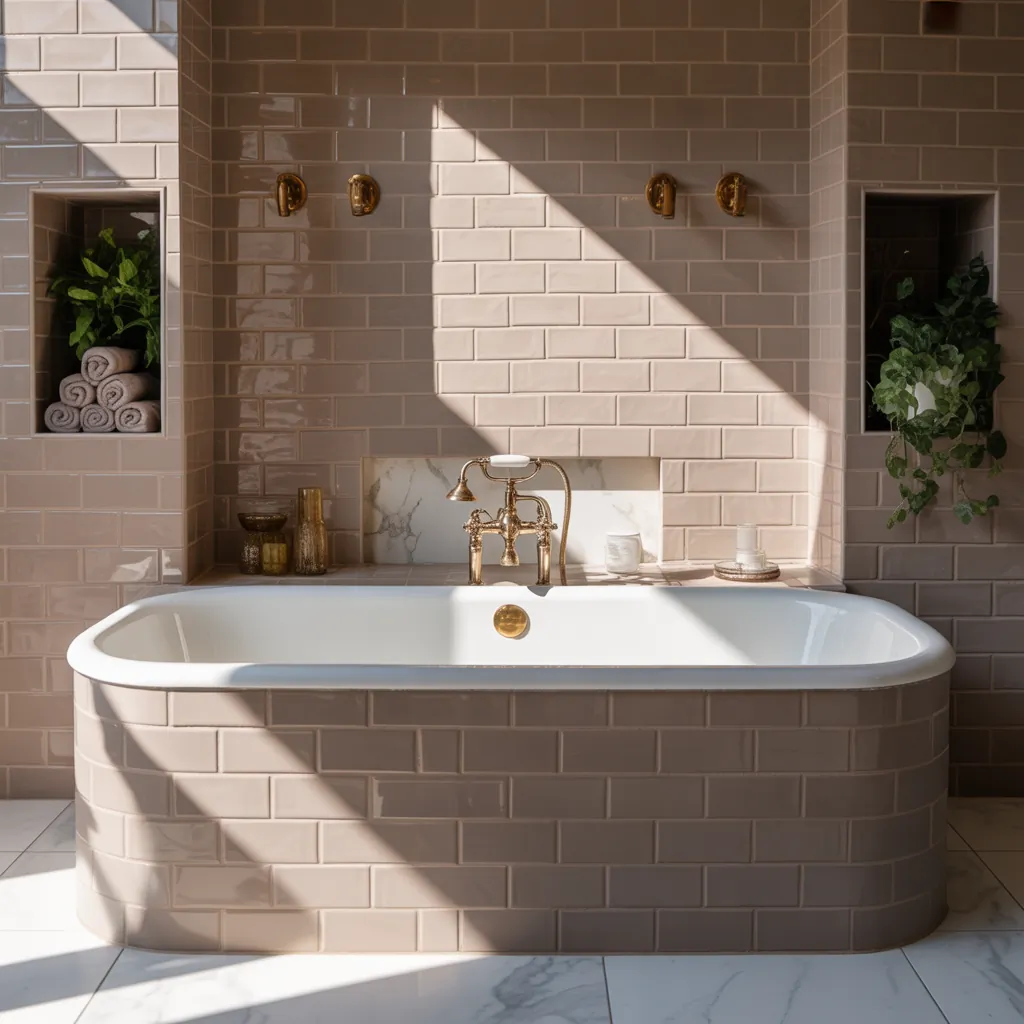
The tile surrounding your tub does more than look pretty. It protects the wall from moisture, sets the tone for bathroom design, and influences long-term maintenance. Choosing the right tile, grout, and waterproofing method prevents costly water damage and mildew. Whether you’re planning a full remodel or a cosmetic refresh, the right approach keeps your bathroom functional and stylish.
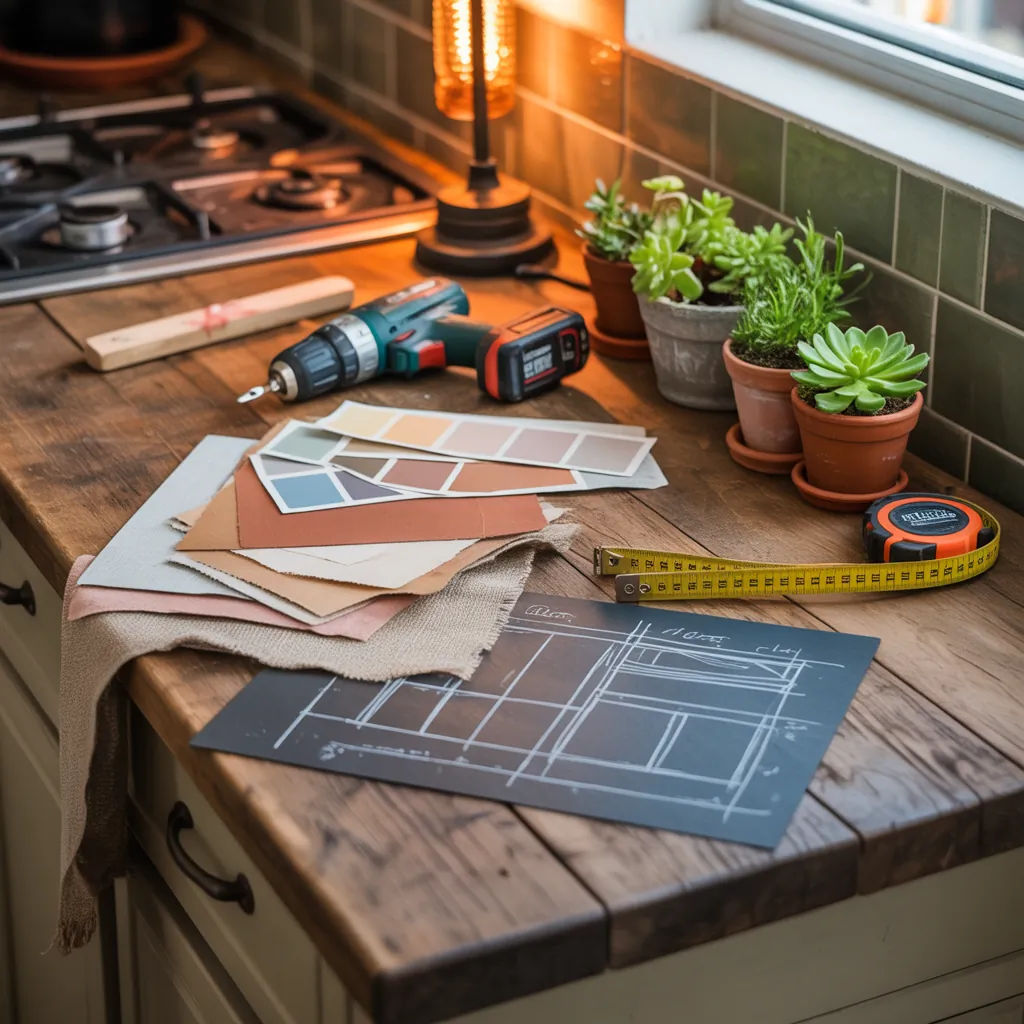
Planning your tub tile project
Good planning saves time and money. Before you pick tile, answer these questions:
- Is there current water damage or mold behind the tile?
- Do you want to remove the old tile or lay new tile over a solid surface?
- What style are you aiming for — classic subway, modern large-format, or mosaic accent?
- What is your skill level and budget for tools and materials?
Tools and materials you’ll need
- Tile (porcelain, ceramic, or natural stone) — consider 3×6 subway, 12×24 large format, or mosaic sheets for accents
- Cement backer board or waterproof backing panel
- Waterproofing membrane or liquid waterproofing
- Thin-set mortar, tile spacers, tile cutter or wet saw
- Grout (sanded or unsanded depending on joint width) and silicone caulk
- Notched trowel, grout float, sponge, level, tape measure
- Safety gear: gloves, eye protection, dust mask
Design inspiration and long-tail ideas
Popular looks for the bathtub surround include:
- Classic white subway tile with contrasting grout for a clean, timeless look
- Large-format porcelain tile for a modern, minimal grout line aesthetic
- Mosaic tile accent bands or a niche with glass tiles for a pop of color
- Vertical stacked tile to visually raise a low ceiling in small bathrooms
- Natural stone for a spa-like finish — note: needs sealing and more maintenance
Step-by-step: How to tile around a bathtub
Below is a practical, beginner-friendly sequence for installing bathroom tile around tub. Adapt the steps to your situation — particularly if you’re replacing existing tile or dealing with damage.
1. Prepare and inspect
- Turn off water and remove fixtures (spout escutcheon plate, shower head if needed).
- Remove old caulk and damaged tile using a chisel and hammer if necessary. Wear eye protection and a mask.
- Inspect the wall for rot. If studs or drywall are damaged, replace with cement backer board or waterproof wall panels.
2. Install backer board and waterproofing
- Attach cement backer board to studs with corrosion-resistant screws, leaving small gaps at seams.
- Apply a waterproofing membrane over the backer board or use a liquid waterproofing membrane. This is crucial for preventing moisture behind the wall.
- Seal seams with tape or recommended seam treatment for your chosen membrane.
3. Layout tiles and make cuts
- Plan the tile layout from the focal point (often the center of the tub or niche) and dry-fit a row to minimize thin slivers of tile at edges.
- Cut tiles with a wet saw or tile cutter. For curved areas near fixtures, use a tile nipper or hire a pro if precision cuts are extensive.
4. Apply thin-set and set the tiles
- Spread thin-set mortar with a notched trowel and set tiles using spacers for even grout lines.
- Check level frequently. Use smaller tiles where walls are out of plumb; larger tiles accentuate unevenness.
- Allow thin-set to cure per manufacturer instructions — typically 24 hours.
5. Grout, caulk, and finish
- Apply grout with a grout float, working diagonally across the joints. Remove excess with a damp sponge.
- After grout sets, replace caulk around tub edges with a mildew-resistant silicone caulk — use color-matching caulk for a seamless finish.
- Seal grout if using an unsealed grout, and seal natural stone tiles as required.
Practical DIY tips and real-world advice
- Choose grout color wisely: light grout brightens a small bathroom; dark grout hides stains but can show soap residue.
- If you’re a beginner, start with subway tile or small-format tiles — they’re easier to cut and align than very large tiles.
- Always prioritize waterproofing over aesthetics. A gorgeous tile job is worthless if water gets behind it.
- Work in small sections when tiling so thin-set doesn’t skin over before you set the tiles.
- If removing old tile, take your time — damaged plaster or drywall may reveal underlying issues that need repair.
Maintenance and troubleshooting
Keep your tub surround looking new by:
- Regularly wiping down tile and grout to prevent soap scum and mildew.
- Replacing caulk every few years to maintain a watertight seal.
- Addressing loose tiles immediately — water infiltration can cause rot behind the wall.
Frequently Asked Questions
Choose dense, low-porosity tile like porcelain or glazed ceramic for wet areas. Natural stone can be used but requires sealing. Consider size, pattern, and texture based on maintenance and style preferences.
Sometimes you can tile over existing tile if it’s solid, level, and well-bonded. However, removing old tile gives you a chance to inspect for water damage and install proper waterproofing. For long-term results, removing old tile is often the safer choice.
Grout fills the joints between tiles and is rigid. Caulk is flexible and used where the tile meets the tub or shower pan to accommodate movement. Always use silicone or a silicone blend caulk in wet transitions — it’s mold-resistant and flexible.
Conclusion — Ready to refresh your bathroom tile around tub?
Updating your bathroom tile around tub is a high-impact DIY that protects your home and revitalizes your space. With careful planning — the right waterproofing, tile selection, and step-by-step installation — you can achieve a professional-looking result. If you’re unsure about structural issues or complex plumbing, consider consulting a pro for those parts and tackle the rest yourself. Ready for more home improvement projects? Check out our DIY projects and home design ideas for inspiration, or explore kitchen upgrades if you’re thinking about a whole-house refresh.
Want step-by-step project lists or a printable materials checklist for your tub surround? Try one of our DIY projects pages or reach out in the comments to let us know what bathroom style you’re planning next.