Ever stood in your bathroom holding a cracked tile and a clearly outdated vanity and thought, “I could do better”? Whether you’re tackling a weekend DIY or managing a full bathroom remodel, Bathroom Renos can feel overwhelming — but they don’t have to be. In this guide you’ll find practical tips, step-by-step ideas, and real-world advice to help you plan, design, and execute a bathroom renovation that looks professional without breaking the bank.
Bathroom Renos: Where to Start
Before swinging a hammer, take five minutes to plan. A clear brief saves time and money and keeps decisions consistent. Start with:
- A budget range (low, medium, high) — include a 10–15% contingency for surprises.
- A priority list — fixtures, flooring, storage, accessibility, or aesthetics.
- A timeline — weekends vs. multi-week renovation and whether you’ll need a temporary bathroom.
Plan, Budget & Permits: Smart Preparation
Set realistic costs
Costs vary widely by region and choices. For a small cosmetic update expect lower costs: new vanity, paint, and fixtures. For a full gut job (plumbing, electrical, new shower) plan for more. Get at least two quotes from tradespeople if you’re hiring out plumbing or electrical work.
Know when to call a pro
Do-it-yourselfers can handle painting, tiling on walls, installing a vanity and replacing fittings. But call a licensed plumber or electrician for relocations, new wiring, or gas heaters. Incorrect plumbing or ventilation leads to leaks and mold — often costlier than hiring qualified pros up front.
Practical DIY Tips & Step-by-Step Improvement Ideas
Here are incremental projects you can do yourself to refresh a bathroom without a full remodel.
Weekend upgrades (low cost)
- Replace fixtures: swap taps, showerheads, and towel bars for a modern look.
- Refinish or paint cabinetry: sanding and a fresh coat of moisture-resistant paint rejuvenates vanities.
- Regrout and reseal tiles: cleaning, regrouting and a silicone bead around the tub prevents leaks and brightens tiles.
Advanced DIY (moderate cost)
- Tile a shower wall or backsplash — use waterproof cement board and proper thin-set mortar.
- Install a floating vanity or replace the countertop — measure carefully and cut with the right tools.
- Upgrade ventilation — install a quieter, higher-capacity exhaust fan to prevent moisture problems.
Full remodel checklist (professional help advised)
- Demolition, structural inspection, and waterproofing.
- Rough-in plumbing and electrical to code.
- Tile or bathtub installation, finishing, and trim work.
Design Inspiration: Styles That Work
Use style themes to guide material and color decisions. Popular trends include:
- Minimal modern: floating vanities, matte black fixtures, large-format tiles.
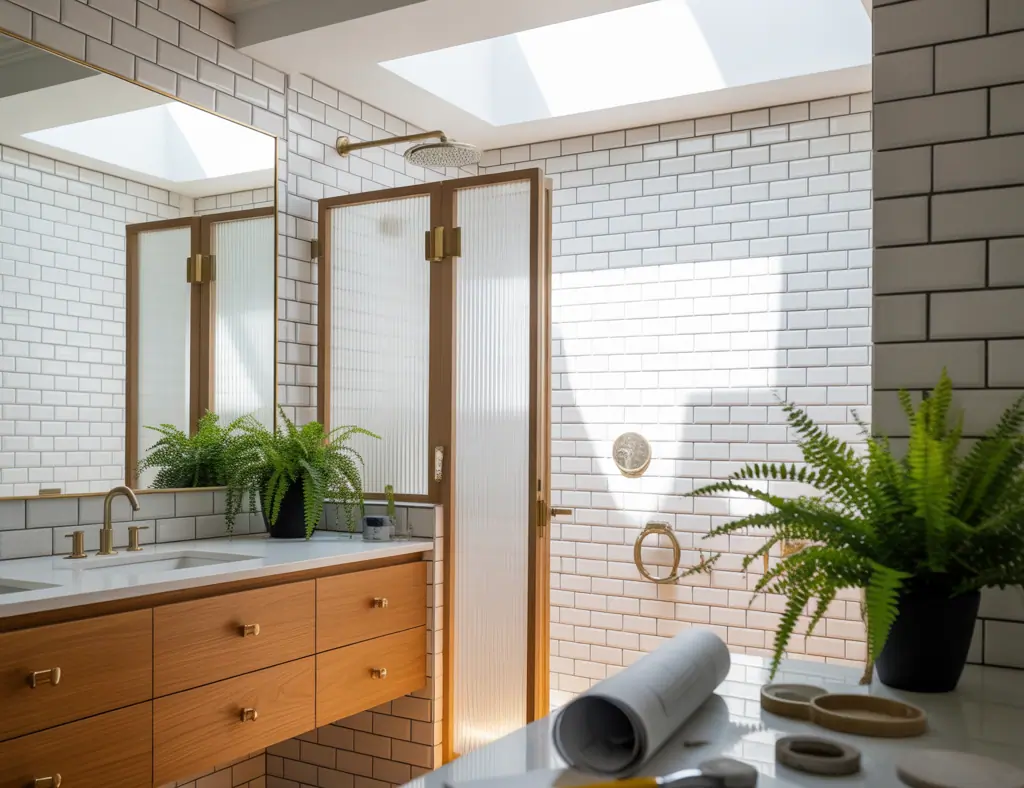
- Scandinavian spa: light wood-look vanities, neutral tiles, soft textures.
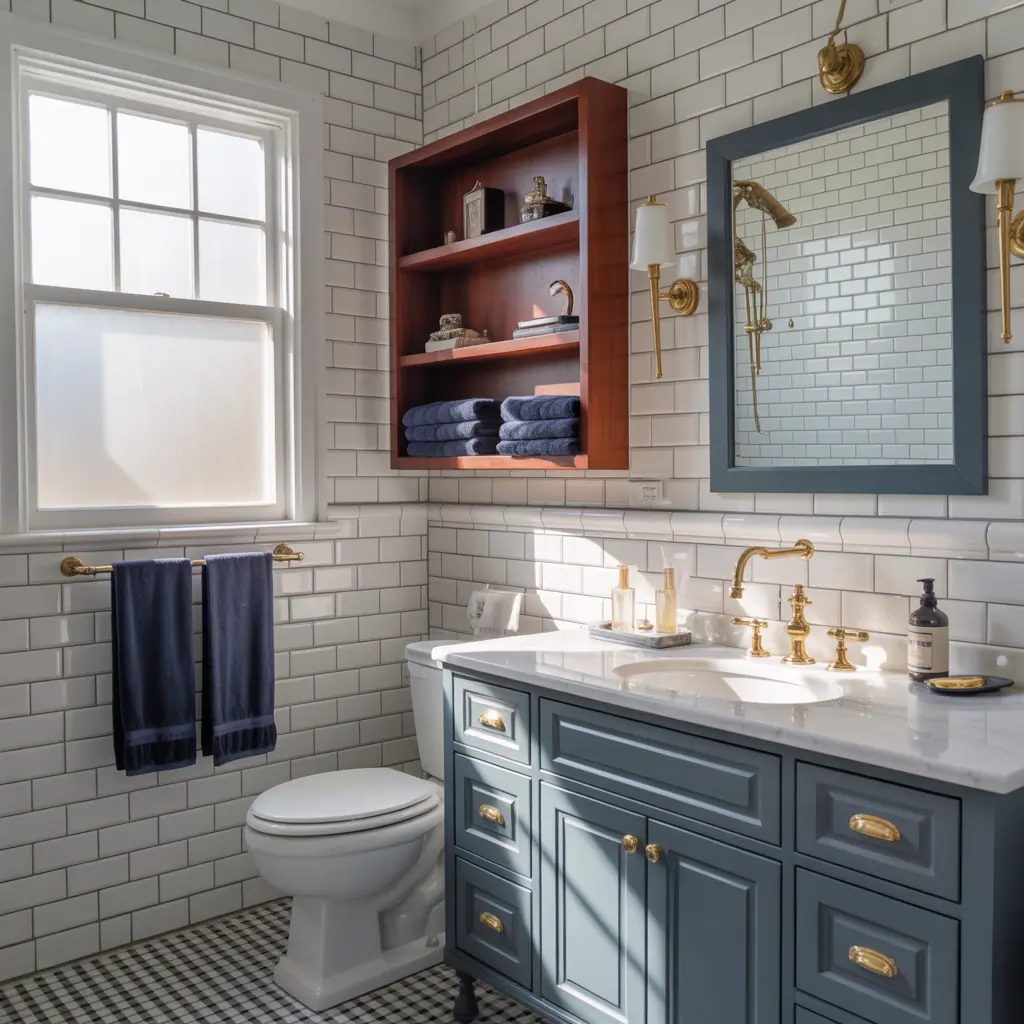
- Classic farmhouse: subway tiles, freestanding tub, brass or oil-rubbed bronze finishes.
For small bathrooms, prioritize clear sightlines and storage. A frameless glass shower, wall-mounted toilet, and recessed shelving can make the space feel larger.
Materials & Fixtures: What to Choose
Choose materials for durability in wet environments. Tips:
- Porcelain or ceramic tiles for floors — non-slip finish for safety.
- Waterproof backer board behind tiles in wet areas; avoid drywall where splash occurs.
- LED lighting around mirrors for better task lighting; dimmable downlights for ambiance.
- Consider low-flow fixtures to save water without compromising pressure.
Common Mistakes to Avoid
- Skipping waterproofing behind showers and tubs — leads to hidden damage.
- Choosing fixtures before measuring — check clearances for doors and drawers.
- Underestimating ventilation — moisture causes mold and paint failure.
Real-World Advice from a DIY Pro
Take photos and notes before demolition so you can match existing plumbing rough-ins. Label pipes and take measurements twice. When tiling, always buy 10% extra tile to cover cuts and future repairs. And finally, be patient — rushing leads to mistakes you’ll regret later.
Frequently Asked Questions
How much do Bathroom Renos typically cost?
Costs vary. A minor update (paint, new fixtures) can be a few hundred to a few thousand dollars. A mid-range remodel (new vanity, shower, tiles) typically runs into the mid-thousands. A full gut renovation with structural changes and high-end finishes can be significantly more. Always budget for a contingency.
Can I tile a bathroom myself?
Yes—tiling is a common DIY task if you’re comfortable with measuring, cutting tile, and using thin-set mortar and grout. Start with a wall or backsplash before moving to floors or shower pans. Use waterproof backer board in wet zones and follow manufacturer instructions for adhesives and grout.
How long does a bathroom renovation take?
Small cosmetic updates can be done over a weekend. A moderate renovation takes 2–4 weeks depending on trades availability and drying times. Full gut renovations often take 4–8 weeks. Scheduling and permitting can add time, so plan accordingly.
Next Steps & Design Resources
Ready to get started? Sketch a floor plan, make a mood board of finishes, and set a firm budget. If you want more DIY inspiration, check out our internal resources on DIY projects, compare complementary upgrades on kitchen upgrades, or gather style ideas on our home design ideas page.
Conclusion: Take the First Step on Your Bathroom Renos
Bathroom Renos are one of the most satisfying home improvements you can do: they add daily comfort, improve resale value, and give you a chance to express your style. Start small if you’re unsure — new fixtures, better lighting, and fresh grout can make a big difference. When you’re ready for bigger changes, use this guide to plan smartly, hire pros where required, and enjoy the transformation. Want help with a project plan or a materials list? Contact us or explore our DIY resources to begin your next bathroom makeover today.