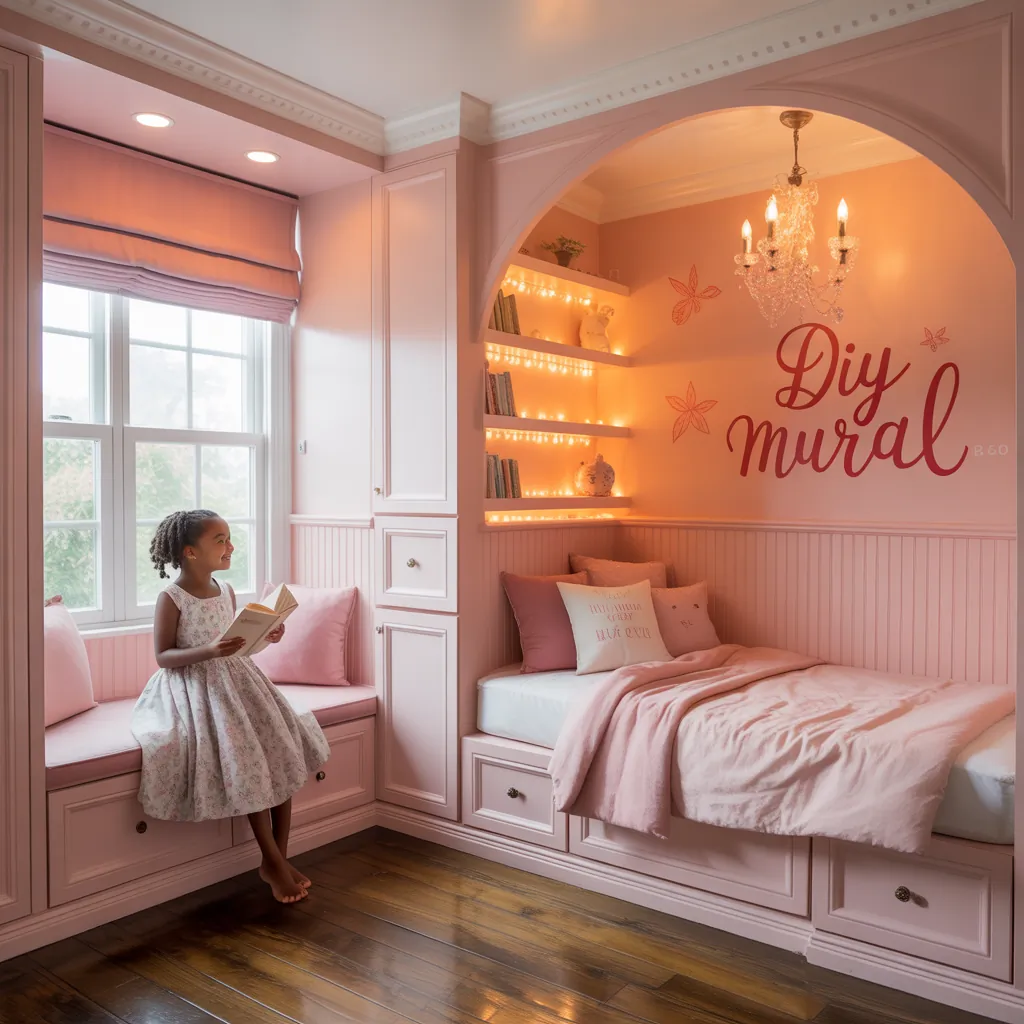
Ever opened the closet under your stairs and thought, “There has to be a better use for this space”? If you’ve been wrestling with storage overflow, a constantly full guest bathroom, or the desire to add a stylish powder room without sacrificing living area, converting the unused area beneath a staircase can be one of the smartest home improvement moves. In this guide you’ll find practical bathroom ideas under stairs, step-by-step DIY tips, and real-world advice to turn an awkward nook into a compact, functional bathroom.
Why Convert an Under-Stair Space into a Bathroom?
Under-stair bathrooms are a clever way to add utility and value without major structural changes. Benefits include:
- Extra half-bath or powder room for guests, reducing traffic to primary baths.
- Improved home resale value and appeal, especially in smaller homes.
- Efficient use of otherwise wasted square footage.
- Opportunity to get creative with compact design and built-in storage.
Bathroom Ideas Under Stairs: Design Principles
Designing a bathroom in a constrained footprint requires smart decisions. Focus on flow, plumbing, and maximizing perceived space.
Measure and Plan First
- Take accurate measurements of height, depth, and the sloped ceiling — note the lowest and highest points.
- Sketch several layouts: toilet near the waste stack is ideal; a corner sink frees central space.
- Consider a pocket or bi-fold door to save swing space.
Plumbing and Ventilation Considerations
Plumbing often dictates layout. If a waste stack or soil pipe is nearby, you save on cost and time. If not, consider a macerating toilet system to pump waste to an existing stack. Always plan a ventilation solution: an inline extractor fan vented to the exterior or a routed duct to an attic can prevent moisture issues.
Lighting, Mirrors and Color
- Use bright, warm LED lighting and a large mirror to visually expand the space.
- Light, neutral color palettes and reflective tiles make low-ceiling areas feel taller.
- Accent with vertical stripes or stacked tiles to emphasize height where possible.
Space-Saving Fixtures
Opt for compact or wall-hung fixtures: a wall-hung toilet, a narrow pedestal or corner sink, and a shallow vanity. Sliding doors and recessed shelving maximize usable floor area.
Step-by-Step DIY Plan to Build a Small Under-Stair Bathroom
This step-by-step overview covers the typical DIY-friendly route. Depending on local codes and your skill level, hire licensed trades where required.
- Check codes and permits: Confirm local regulations for adding plumbing and ventilation.
- Design layout: Decide location of toilet, sink, and possible shower. Place toilet near existing soil stack if you can.
- Demolition and framing: Clear the under-stair area and frame to create a true enclosure; reinforce floors if adding a shower.
- Plumbing rough-in: Install water supply, waste connections, and any macerator or pump systems. This is often best handled by a plumber.
- Electrical and ventilation: Run lighting, extractor fan, and switchlines with a licensed electrician if required.
- Waterproofing: Apply moisture barrier and cement board if adding a shower. Ensure all wet zones are fully sealed.
- Install fixtures and finish: Fit the toilet, sink, tiles or wall finish, mirrors, and accessories.
- Final touches: Add lighting layers, towel hooks, and storage niches. Test ventilation and plumbing for leaks.
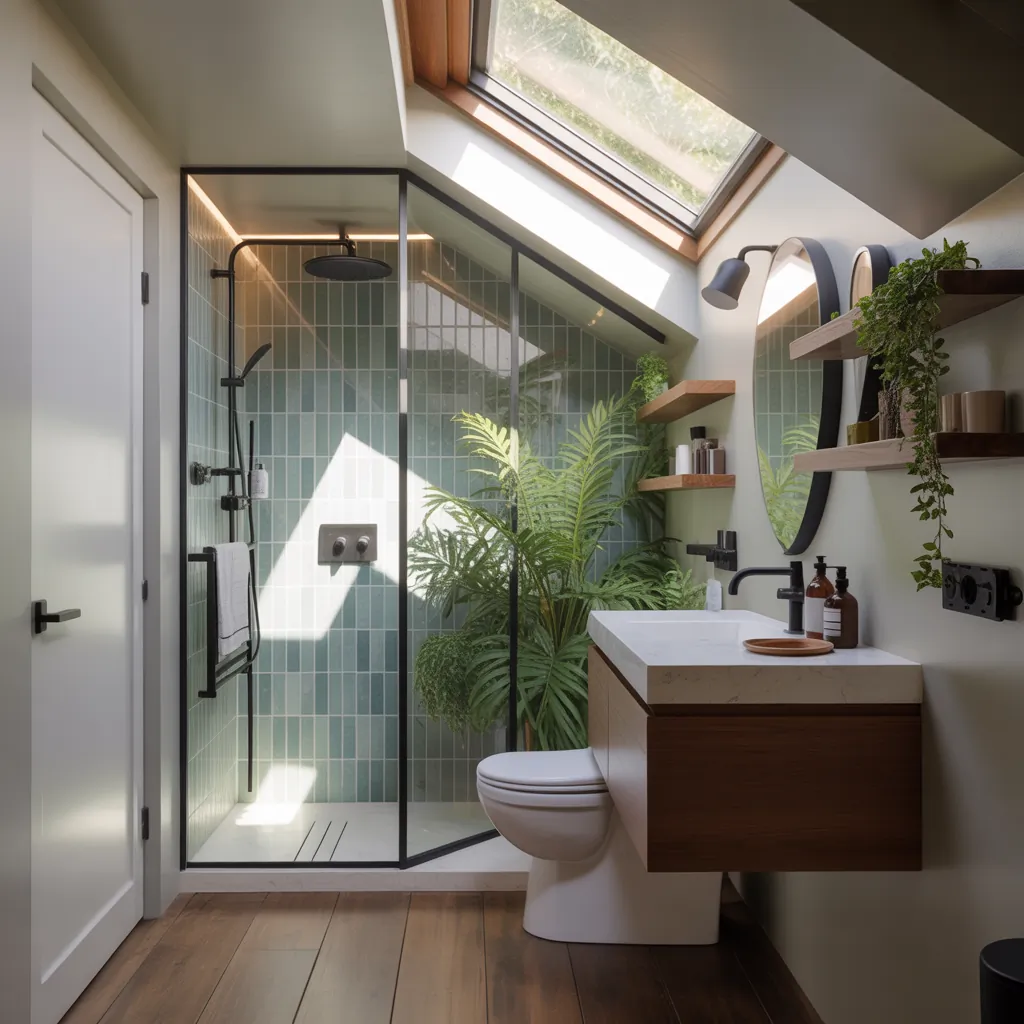
Design Inspiration and Space-Saving Ideas
Here are practical, stylish solutions that work well for small under-stair bathrooms and half baths under stairs:
- Wet room concept: If ceiling height allows, a curbless shower can make the room feel open. Use glass partitions or a single glass panel to limit splash without closing the space.
- Corner sink: A triangular or wall-mounted corner basin frees floor area for movement.
- Pocket or sliding door: Eliminates door swing and makes the entry feel less cramped.
- Built-in niches and under-stair drawers: Convert the deepest parts into drawers for towels, toiletries, and cleaning supplies.
- Bold tile in moderation: Use patterned tiles on the floor and keep walls light to add personality without visually shrinking the room.
- Floating cabinetry: Wall-hung vanities and toilets create visual floor space and make cleaning easier.
Budgeting and Real-World Advice
Costs vary widely depending on plumbing complexity, finishes, and whether you DIY. A basic powder room under stairs can range from budget-friendly DIY installs to higher-end remodels with tile, bespoke cabinetry, and professional labor.
- DIY-friendly project: $1,500–$5,000 (reuse materials, simple fixtures).
- Contractor-built addition: $6,000–$20,000+ (new plumbing, quality finishes).
- Key tip: allocate 10–15% of your budget for surprises like hidden joists or relocated pipes.
When to hire pros: plumbing rough-ins, electrical, structural modifications, and any work that affects load-bearing elements. Small finish work, tiling, and painting are great DIY tasks once the heavy work is done.
Frequently Asked Questions
Yes — many homeowners convert under-stair spaces into powder rooms or compact bathrooms. The main constraints are plumbing access, ventilation, and headroom. A macerating toilet can solve drainage issues if the soil stack is far away.
Install an extractor fan with a duct to the exterior or attic. If routing is difficult, use an inline fan that mounts near the roof or in the attic space. Ensure ventilation runs whenever the room is occupied to remove moisture and odors.
Most small interior changes like adding a bathroom are permitted developments, but rules vary. Check local building codes for plumbing and electrical regulations and whether structural changes require approval.
Conclusion — Ready to Try Bathroom Ideas Under Stairs?
Converting the space under your stairs into a functional bathroom is a high-impact home improvement that solves storage and convenience problems while adding value. With smart planning — from plumbing and ventilation to space-saving fixtures and lighting — you can create a charming powder room even in a tiny footprint. If you’re ready to start, sketch your layout, check local codes, and gather materials. For more project ideas and inspiration, explore our DIY projects and home design ideas. If you’re also thinking about broader updates, see our kitchen upgrades guide for complementary improvements.
Call to action: Have a plan or a photo of your under-stair space? Share it in the comments or bookmark this post to start your project next weekend. Small spaces, big impact — go make it happen!