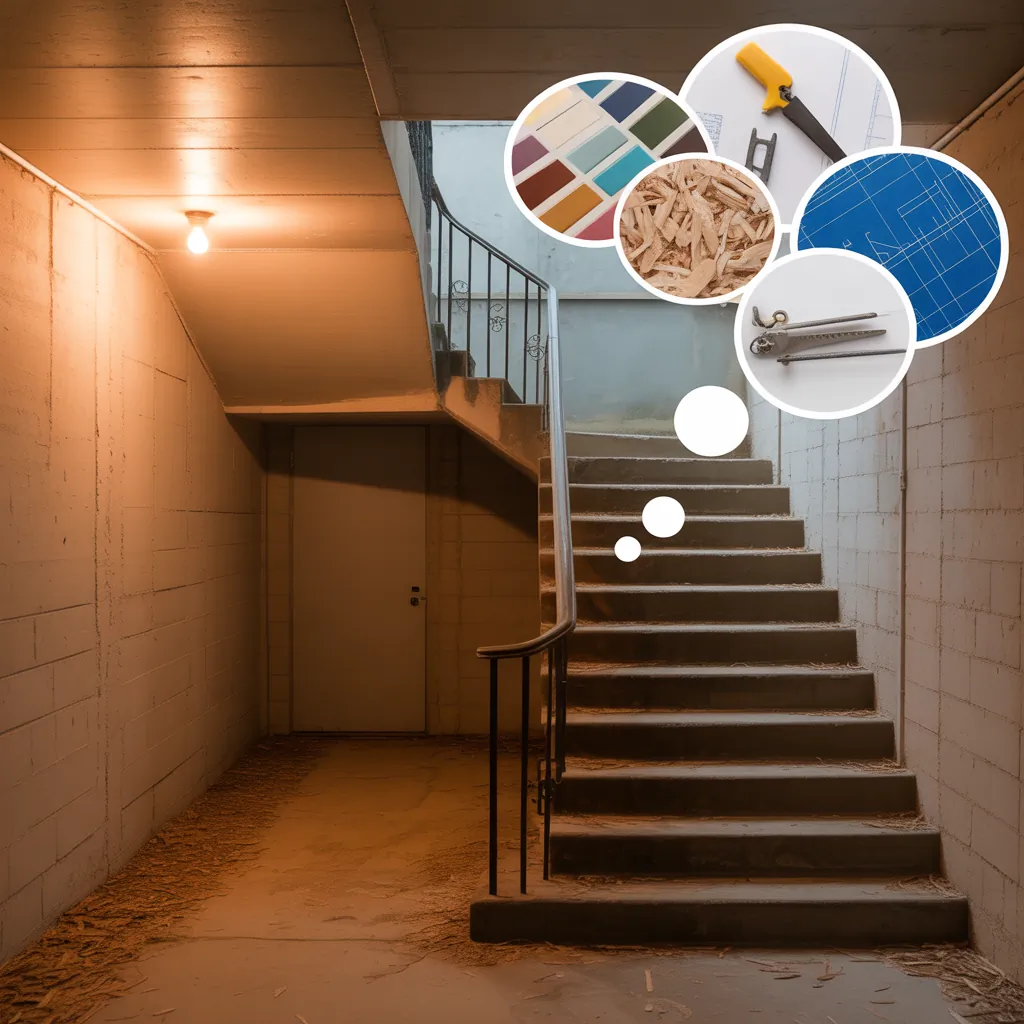
You’re carrying a laundry basket, your keys are in your teeth, and halfway down the stairs you realize the light switch is at the top. Sound familiar? If your basement staircase feels like a hazard more than a home feature, these basement stairwell thoughts are for you. Whether you’re planning a full basement stairs renovation or just want quick fixes to improve safety and style, this guide gives practical, step-by-step advice you can apply this weekend.
Why your basement stairwell deserves attention
Basement stairs are often overlooked, but they’re a high-traffic, safety-critical part of your home. Poor lighting, slippery treads, and awkward layouts cause trips, condensation problems, and a general sense of gloom. Treating the stairwell as a design opportunity can boost home value, functionality, and the overall appeal of your basement renovation.
Quick inspection checklist (what to look for first)
- Structural integrity: Check for rotted stringers, loose treads, and creaky steps.
- Safety features: Handrails, proper riser height, and consistent tread depth.
- Moisture and mold: Signs of water intrusion or mold on walls and underside of stairs.
- Lighting and outlets: Existing switches, wiring condition, and potential for new fixtures.
- Clearance and headroom: Enough space for comfortable passage without ducking.
Basement stairwell thoughts: practical DIY projects to start today
Here are actionable projects—ranging from quick cosmetic upgrades to small structural fixes—that any confident DIYer can tackle.
1. Improve lighting for safety and ambiance
- Install LED step lights or strip lighting under each tread for even, low-glare illumination.
- Add a motion-sensor switch at the top and bottom so lights activate automatically.
- Consider a warm color temperature (2700–3000K) to avoid a cold, clinical look.
Tip: For a no-wiring option, use battery-powered LED puck lights or rechargeable strips if running new wiring isn’t feasible.
2. Paint and refinish for a brighter, cleaner stairwell
- Sand loose paint, fill holes, and prime with a stain-blocking primer.
- Choose a light, durable paint for walls—semi-gloss is easy to clean for high-traffic areas.
- For treads, use a high-traction floor paint or apply non-slip tape to painted stairs.
Pro tip: Painting risers a contrasting color from treads creates depth and makes steps easier to see.
3. Upgrade treads and handrail for durability
- Replace worn wood treads with hardwood or install durable stair nosing.
- Secure or add a continuous handrail to code height—this is essential for safety.
- Use anti-slip stair treads or textured paint to reduce falls.
4. Fix moisture issues before cosmetic work
If your stairwell shows signs of dampness, stop and address the cause: check gutters, grade around the foundation, and sealing between the rim joist and stairs. Use a dehumidifier in the basement and apply mold-resistant primer and paint to prevent recurrence.
5. Create storage and smart under-stair solutions
Under-stair space is one of the best accidental storage zones. Build pull-out drawers, add shelves, or create a compact pantry or coat closet. Even adding hooks and cubbies can turn wasted space into organized storage for seasonal items or tools.
Design inspiration: make your stairwell part of the home
Think beyond function. A basement stairwell can be a design statement:
- Gallery wall: Frame family photos or prints along the wall—use low-profile frames to avoid catching on clothing.
- Accent wallpaper or beadboard for texture and character.
- Contrast trim: Paint the spindles or railing a dark color against light walls for visual interest.
Step-by-step: a simple weekend stairwell makeover
- Morning: Inspect stairs, tighten loose screws, and clean thoroughly.
- Afternoon: Sand treads, tape off areas, and apply primer to walls and risers.
- Late afternoon: Paint risers and walls; install temporary non-slip tape if paint isn’t cured.
- Next day: Install LED step lights and secure the handrail; add decor and storage solutions.
Estimated budget: $100–$800 depending on materials and whether you buy new treads or refinish existing ones.
When to call a professional
Some situations require a pro: structural repairs to stringers, major electrical rewiring, or if you find significant mold or water damage. For code compliance—especially with handrail height and stair geometry—consult a contractor or building inspector.
Maintenance tips for a safe, appealing stairwell
- Keep stairs clear of clutter and regularly vacuum or sweep to prevent slips.
- Check fasteners and handrail stability every 6 months.
- Repaint scuffed areas and replace worn non-slip strips as needed.
- Monitor humidity and address any water stains immediately.
Related projects and inspiration
Ready to expand beyond the stairs? Check out our project pages for more ideas: DIY projects, home design ideas, and simple kitchen refreshes on our kitchen upgrades page.
Frequently Asked Questions
How much does a basement stairs renovation typically cost?
Costs vary widely: a cosmetic refresh (paint, lighting, non-slip treads) can be done for under $300. A full renovation with new treads, railings, and electrical work often ranges $1,200–$5,000 depending on materials and labor.
Can I install stair lighting myself?
Yes—battery or low-voltage LED strip lights are easy DIY options. For hardwired lighting or fixtures requiring new switches, consult an electrician to ensure wiring meets code and is safe in a basement environment.
What are the best materials for basement stair treads?
Durable choices include hardwood for a traditional look, composite for moisture resistance, and textured vinyl for budget-friendly, non-slip surfaces. Always pair with a good-quality non-slip finish or tread cover for safety.
Conclusion — Put your basement stairwell thoughts into action
Basement stairwell thoughts can lead to better safety, higher home value, and a more inviting home. Start small—improve lighting, add a handrail, or paint risers—and you’ll be surprised how much impact these changes make. If you’re inspired to begin a bigger project, plan your steps, set a budget, and don’t hesitate to call a pro for structural or electrical work.
Ready to transform your stairway? Browse our DIY projects for step-by-step guides, or explore home design ideas to find a style that fits your house. Share your progress and questions—let’s make safer, prettier basements together!