You’re standing in your basement with a toolbox in one hand and a Pinterest board in the other, wondering how to turn an awkward nook into the go-to hangout spot. Maybe you need a place to pour drinks during game night, or a compact bar table that doubles as a workbench for weekend projects. If that sounds like you, you’re in the right place—this guide is packed with realistic, stylish, and budget-friendly basement bar table inspiration you can actually build.
Why a Basement Bar Table is the Best Home Upgrade Right Now
Basements are often underused, but they have huge potential. A well-designed bar table can create an entertaining focal point, increase usable square footage, and add resale value. Whether you’re working with a low ceiling, uneven floor, or damp walls, there are ways to design a durable, attractive bar table that suits your lifestyle.
Basement Bar Table Inspiration: Design Ideas and DIY Builds
Here are several styles and practical builds to spark your creativity. Each idea includes quick tips for materials, budget, and execution.
1. Small Basement Bar Table Ideas — Space-Saving Solutions
- Wall-mounted fold-down table: Great for narrow basements. Use a piano hinge and drop-leg supports. Stow stools under when not in use.
- Corner bar table: Triangular or L-shaped bar fits tight corners and makes good use of dead space.
- Bar-height window sill: If you have a small basement window, turn the sill into a bar-height counter for a natural light spot.
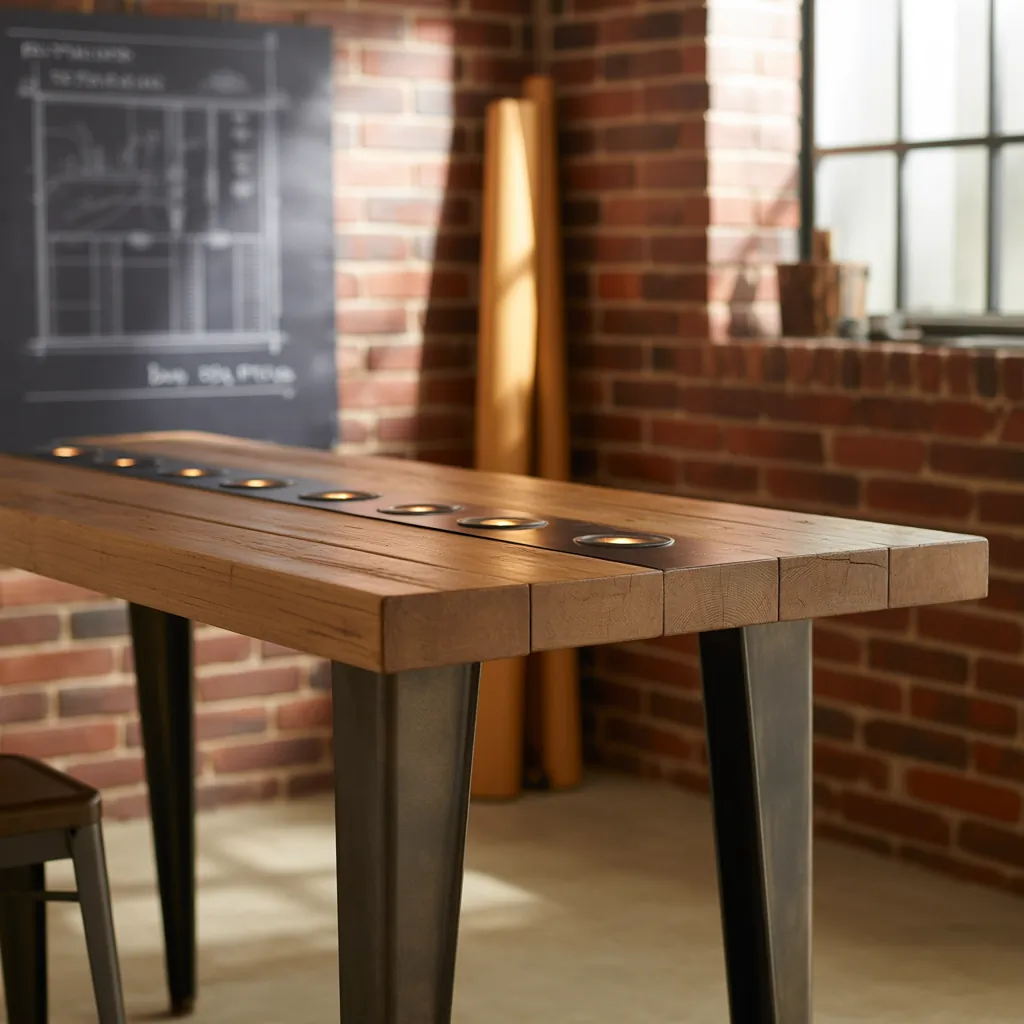
2. Industrial Look — Reclaimed Wood + Metal
Combine a 2×10 reclaimed wood plank top with steel hairpin legs or a welded frame. Seal the wood with polyurethane or epoxy for durability in basement conditions. This look pairs well with exposed ductwork and concrete floors.
3. Floating Bar Table — Modern & Minimal
Attach a thick shelf-grade board directly to studs using heavy-duty angle brackets. Add LED strip lighting underneath for ambient glow. Floating tables free up floor space and create a sleek, contemporary feel.
Materials, Tools, and Budget: What You Need
Before starting, gather materials and tools. Here’s a basic shopping list and budget breakdown for a simple DIY bar table:
- Materials: Pine or hardwood board (48–72″ long), 2x4s for framing (if needed), brackets or hairpin legs, screws, wood finish (stain/polyurethane), sander, and optional epoxy
- Tools: Circular saw or miter saw, drill, sander, level, tape measure, stud finder
- Budget: $100–$300 for DIY (materials & basic hardware). Reclaimed or pallet wood can lower costs; custom metal frames raise the price.
Step-by-Step DIY Basement Bar Table (Simple Build)
This step-by-step creates a sturdy bar-height table with hairpin legs—easy for an intermediate DIYer.
- Measure your space and choose a tabletop length (48–72″). Standard bar height is 40–42″.
- Select wood: 1.25–1.5″ thick hardwood for best durability. Cut to length.
- Sand the board progressively (80 → 120 → 220 grit). Remove dust.
- Apply stain (optional) and 2–3 coats of polyurethane or water-based sealer for basement moisture protection.
- Attach hairpin legs with heavy-duty screws, pre-drill holes to prevent splitting. For floating or wall-mounted options, secure to studs with lag bolts and angle brackets.
- Level the table and add felt pads or adjustable leg levelers to manage uneven basement floors.
Pro Tips for Basement Builds
- Check for moisture: Use a moisture meter on concrete walls and floor. Add a vapor barrier or raise the table off the floor if needed.
- Insulate behind the bar if you plan to add cabinetry or a mini-fridge to control condensation and temperature.
- Address lighting: Mix task lighting (pendants or under-cabinet lights) and ambient lighting (LED strips) for a cozy vibe.
- Finish choices: Epoxy resin creates a glossy, durable surface that resists stains—great for high-use bars.
Seating, Storage, and Multi-Use Options
Think beyond the tabletop. Add stools that tuck under for space efficiency, build open shelving underneath for glassware, or create a flip-down countertop extension for extra serving area.
Seating Ideas
- Adjustable-height stools for flexibility.
- Built-in bench seating along one wall with storage under the seat.
- Stools with backs for comfort during long game nights.
Storage & Organization
- Wine/beer rack built into the side of the table or under-shelf cubbies.
- Magnetic knife or tool strip for bar tools.
- Hidden compartments for mixers and extra glassware.
Finishing Touches: Styling Your Basement Bar Table
Decor brings personality. Add a textured rug, a metal sign or framed prints, plants that tolerate low light, and weatherproof coasters. For a cohesive look, coordinate metal finishes (brass, black iron, stainless) across lighting, hardware, and stools.
Safety & Practical Considerations
- Electrical: Hire an electrician for outlets, under-counter fridge wiring, or wiring for pendant lights.
- Plumbing: If you plan a sink, consult local codes and consider a licensed plumber.
- Mold prevention: Keep basement humidity below 60% with a dehumidifier and proper ventilation.
Frequently Asked Questions
Standard bar-height is 40–42 inches. Counter-height (34–36 inches) works better if you prefer standard kitchen-height chairs. Match stool height to the table (10–12 inches between seat and tabletop).
Yes—reclaimed wood adds character and is often cheaper. Inspect for nails, rot, or pests, and properly sand and seal the wood to protect against basement moisture.
Seal wood with multiple coats of polyurethane or epoxy. Use raised legs or a platform to keep the table off a potentially wet floor, and maintain basement humidity with a dehumidifier to prevent mold and warping.
Conclusion: Build Your Own Basement Bar Table Inspiration into Reality
Whether you want a compact wall-mounted counter or a reclaimed-wood industrial centerpiece, the right plan and a few weekend DIY steps can transform your lower level. Use these basement bar table inspiration ideas to choose a style, pick materials, and follow straightforward steps that match your budget and skills. Ready to start? Save this plan, measure your space, and tackle your project one step at a time—then invite friends over and enjoy your new favorite spot.
Want more projects like this? Check out our pages on DIY projects and home design ideas for step-by-step guides and additional inspiration. If you’re thinking of a full kitchen-style basement setup, browse our kitchen upgrades for layout tips and appliance choices.
Call to action: Share a photo of your finished bar table or tell us which idea you’ll try first—let’s build something great together!