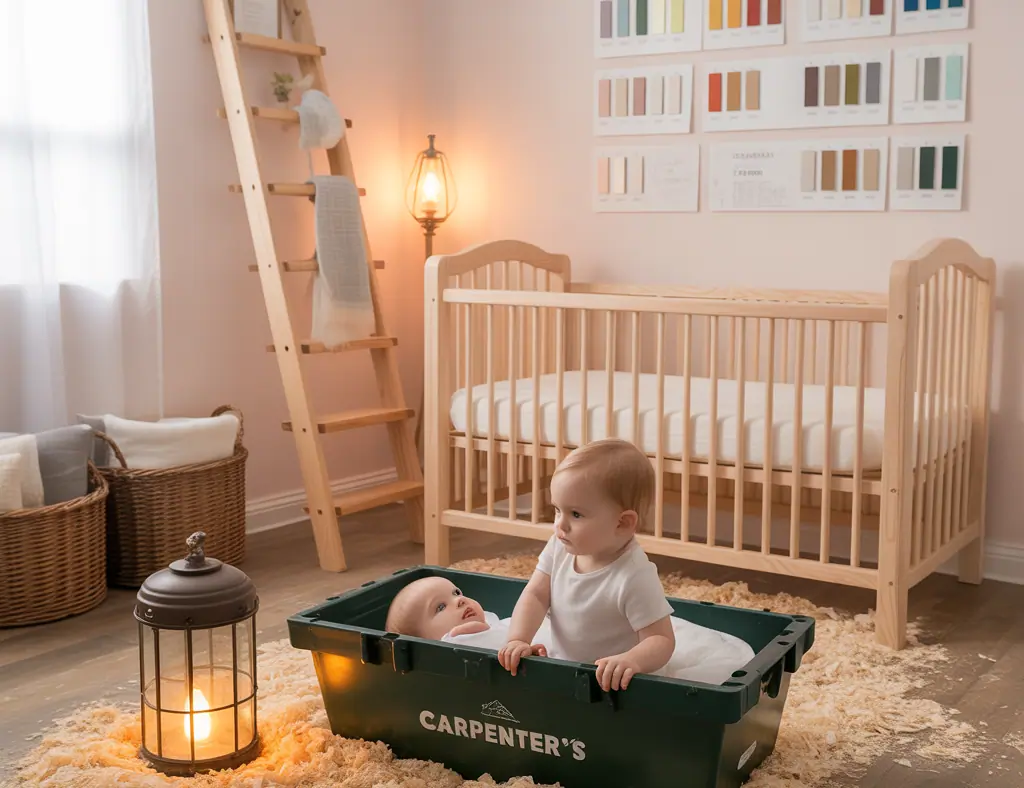
Have you ever spent a weekend repainting a nursery or rearranging the living room for a small home improvement project and then realized the space would make a perfect photoshoot studio? If you’re juggling paint cans, fabric swatches, and a sleepy newborn, you’re already halfway to an amazing at home baby photoshoot inspiration session. This guide mixes DIY home-design smarts with practical baby-photography tips so you can create beautiful, real-world portraits without hiring a studio.
Why choose an at-home baby photoshoot?
Home is where your baby’s earliest memories begin — and where you’ll find authentic, emotional images. Shooting at home reduces stress, keeps routines normal, and lets you capture those candid moments parents love. Plus, with a few simple DIY projects and design tweaks, you can create a variety of looks: boho nursery portraits, minimalist newborn layouts, or rustic family photos in your living room.
Start with location and light
Pick the best room
Look for rooms with large windows and soft, diffused light—typically north- or east-facing windows. Common choices are the nursery, bedroom, or living room. Clear a small area near the window to keep the background controlled and clutter-free.
Natural light tips
- Shoot during the “golden hours” (morning or late afternoon) for warm, flattering light.
- Use sheer curtains or a white sheet to diffuse harsh sunlight and avoid strong shadows.
- Reflectors can be DIYed with a white foam board or aluminum foil wrapped over cardboard to bounce light into shadowed areas.
DIY backdrops and staging ideas
Transforming a corner of your home into a mini-studio is easier than it sounds. Here are budget-friendly, creative backdrop ideas that suit different styles and photoshoot themes.
Fabric and layered textures
- Large muslin cloths, knitted blankets, or textured sheets create soft, cozy backgrounds for newborn portraiture.
- Layer neutral tones with a pop of pastel for a modern, gender-neutral look.
Painted accent wall or removable wallpaper
If you enjoy small home improvement projects, painting an accent wall or applying temporary wallpaper can give you a professional backdrop. Try soft blush, sage green, or muted terracotta for trendy baby photos.
Wooden floors and rustic styling
Flip a woven rug over a wooden floor for a warm, rustic base. Complement with wicker baskets, wooden crates, and a handmade bunting for a charming lifestyle scene.
Props, outfits, and theme ideas
Props should enhance, not overwhelm. Keep safety front and center—soft, breathable fabrics and stable surfaces only.
Simple prop suggestions
- Handmade knit hats, swaddles, and simple headbands.
- Favorite stuffed animal or heirloom blanket for sentimental touches.
- Neutral baskets or bowls lined with blankets for newborn posing (always supervised).
Popular at-home photo themes
- Minimalist studio look: White backdrop, soft natural light, neutral outfit.
- Boho nursery: Macramé, pampas grass, warm tones and woven textures.
- Seasonal setups: Use seasonal props (pumpkins, florals, holiday wraps) for timely photos.
Camera, phone tips and composition
You don’t need a DSLR to take professional-looking pictures—modern phones can deliver stunning results when paired with good light and composition.
Phone photography basics
- Use portrait mode for soft background blur (bokeh) on phones that support it.
- Tap to set exposure and lock focus on the baby’s eyes.
- Shoot from different angles: overhead for flat-lay styles, 45-degree for lifestyle shots, and close-ups for tiny details (fingers, toes, eyelashes).
Composition and framing
Use the rule of thirds, negative space, and leading lines from furniture or window light to guide the eye. Keep backgrounds uncluttered and balance props so the baby remains the focal point.
Step-by-step at-home baby photoshoot plan
Follow this simple workflow to keep the session calm and productive.
- Plan: Choose theme, outfit, and props the day before. Charge camera and clear the shoot area.
- Prep: Feed and burp baby 20–30 minutes before shooting to increase chances of calm poses.
- Set lighting: Position near the window and use a white reflector if needed.
- Start with candid shots: Capture natural smiles and interactions before moving to posed images.
- Take breaks: Keep sessions short and flexible—babies have limited patience.
- Edit lightly: Adjust exposure, white balance, and crop for impact; avoid heavy filters that change skin tone.
Safety-first advice for newborn photography
- Never leave baby unattended on props or elevated surfaces.
- Maintain comfortable room temperature—newborns lose heat quickly.
- Use spotters (a parent or assistant) close by during poses that involve props or balance.
Design inspiration to match your home
Look to your existing decor for ideas: match color palettes, textures, and style to create cohesive photos. If your living room features soft grays and blues, coordinate swaddles and backdrops to complement that scheme. For more hands-on ideas that refresh your shoot space, explore our DIY projects and home design ideas pages for small upgrades that make big photographic differences.
At Home Baby Photoshoot Inspiration
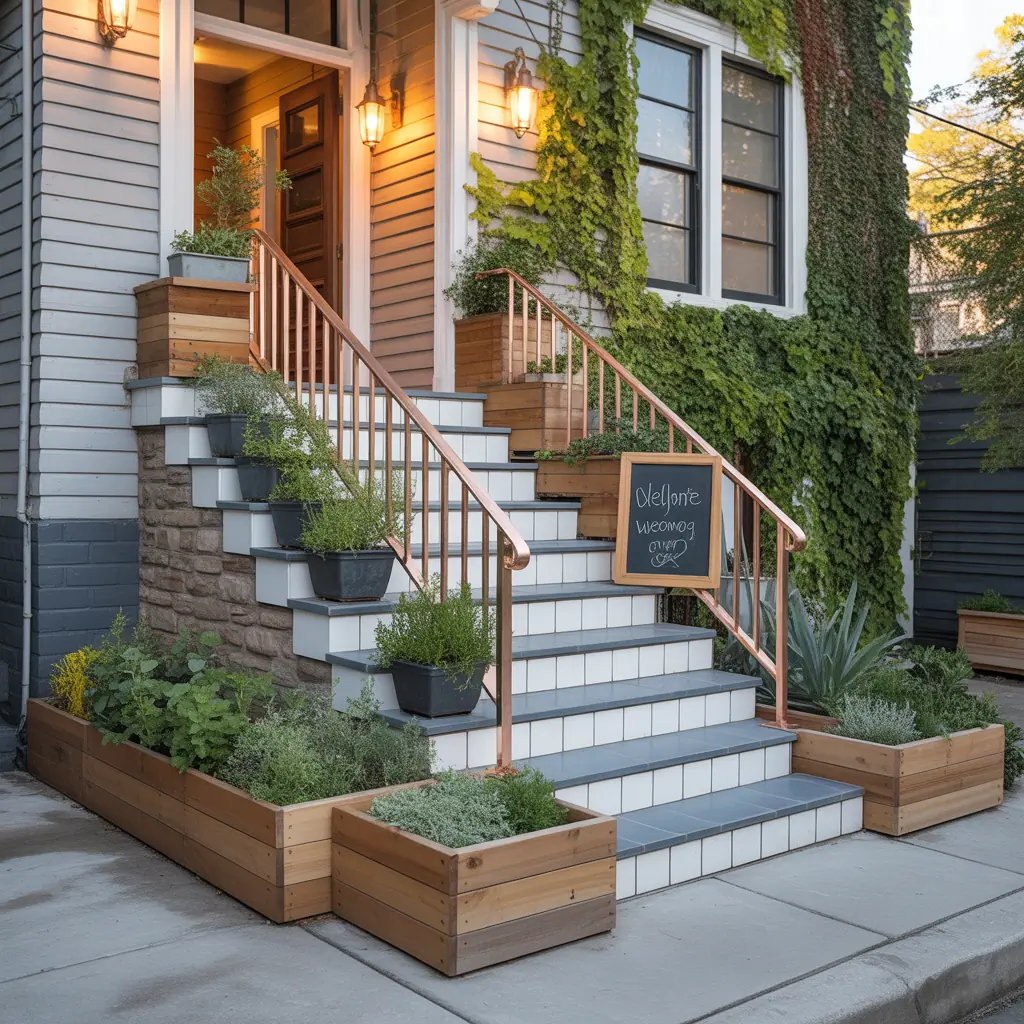
This is your cue to blend practical home improvement with creative photography. Whether you’re crafting a simple backdrop with paint swatches or staging a lifestyle shoot in the kitchen, small DIY upgrades can dramatically elevate your newborn portraits. If you’re thinking about renovating a space specifically for family photos, consider modest investments like improved window coverings or a neutral accent wall—ideas you can find among our kitchen upgrades and home refresh posts for cross-room inspiration.
Frequently Asked Questions
1. What is the best time of day for an at-home baby photoshoot?
Morning light is usually the most flattering—aim for a 9–11 AM window for soft, even natural light. If mornings aren’t possible, late afternoon also works well.
2. Can I do a newborn shoot with just my phone?
Yes. Modern smartphones have powerful cameras. Use portrait mode, natural light, and stabilization (tripod or steady hands) to get crisp, professional-looking images.
3. How do I keep the baby safe during posed shots?
Prioritize safety: always have a spotter, use padded props on the floor, avoid elevated setups, and never force a pose. Keep sessions short and comfortable for the baby.
Conclusion — Try one DIY setup this weekend
At home baby photoshoot inspiration doesn’t require a studio or expensive gear—just thoughtful planning, a few DIY upgrades, and an eye for light and texture. Start small: create a simple backdrop, pick a comfy window seat, and set aside an hour after a nap. Then try one of the step-by-step projects above and see how your home becomes a beautiful photo-ready space. Ready to try it? Grab your camera or phone, pick a theme, and capture memories that feel like home. Share your results, and explore more DIY ideas on our DIY projects page.