Ever opened your pantry after a weekend of DIY and realized your wine bottles were baking next to the slow cooker? Or rifled through a messy cabinet trying to find that special bourbon for a celebration? You’re not alone. Whether you’re building a home bar, upgrading a closet, or simply trying to protect an investment bottle, practical alcohol storage tips can make a big difference in taste, safety, and design.
Why storage matters: taste, safety, and longevity
Good storage preserves flavor and prevents damage. Temperature swings, light exposure, vibration, and humidity can all alter wine and spirits over time. Beyond preservation, smart storage keeps bottles safe from children and pets, prevents accidental breakage, and integrates with your home’s style—so your collection becomes both functional and beautiful.
Top alcohol storage tips for home bars and kitchens
Use these practical, real-world guidelines to protect your bottles and improve your home bar or kitchen storage setup.
1. Keep a steady temperature
- Wine: Aim for roughly 50–59°F (10–15°C) for long-term storage. Short-term (a few months) can tolerate slightly higher temps.
- Spirits: Store upright at normal room temperature (60–70°F / 15–21°C). Avoid extreme heat that can evaporate alcohol or damage labels.
2. Block light and UV exposure
Direct sunlight degrades wine and can fade labels. Use closed cabinets, frosted glass, or blackout film on nearby windows. For display shelves, consider LED lighting that emits minimal UV.
3. Control humidity (for corked bottles)
Maintain around 60–70% relative humidity to keep corks from drying out. If your home is too dry, a small humidifier or placing a shallow tray of water inside a wine cabinet can help.
4. Minimize vibration
Keep bottles away from frequent vibrations (near washers, HVAC systems, or heavy doorways). Vibration can disturb sediment in wines and affect aging.
5. Store wine bottles on their side; spirits upright
Lay cork-sealed wine bottles horizontally to keep the cork moist. Keep spirits upright to avoid alcohol contact with corks or caps which can degrade them.
6. Secure and childproof
Install locks on lower cabinets or use lockable display cases if children have access to the room. Keep high-proof spirits away from open flames and heat sources.
DIY alcohol storage projects: step-by-step ideas
Ready to roll up your sleeves? Here are several approachable DIY projects that boost storage and style.
DIY pallet wine rack — step-by-step
- Select a sturdy pallet and thoroughly sand the surfaces.
- Cut the boards to desired width, leaving slots wide enough for bottles (about 3.5″–4″).
- Create horizontal slats with grooves to cradle bottles, spacing them to accommodate various sizes.
- Assemble with screws and wood glue; finish with food-safe oil or stain.
- Mount on the wall with secure anchors or lean as a freestanding unit.
Convert a pantry shelf into a temperature-stable wine nook
- Choose an interior shelf away from kitchen heat sources.
- Add thermal insulation board to the back wall and a gasketed door to reduce temperature swings.
- Install a small wine fridge or a passive cooling system like a ventilated cavity.
- Use simple racks and a humidity monitor to keep conditions stable.
Simple under-stairs beverage station
Transform under-stairs space into a stylish bar: install floating shelves for bottles, a shallow wine fridge for temperature control, and a drawer for bar tools. Add motion-sensor LED lights for ambiance and safety.
Design inspiration: integrate storage into your home
You don’t need a dedicated cellar to have a show-stopping storage solution. Consider these design-forward options:
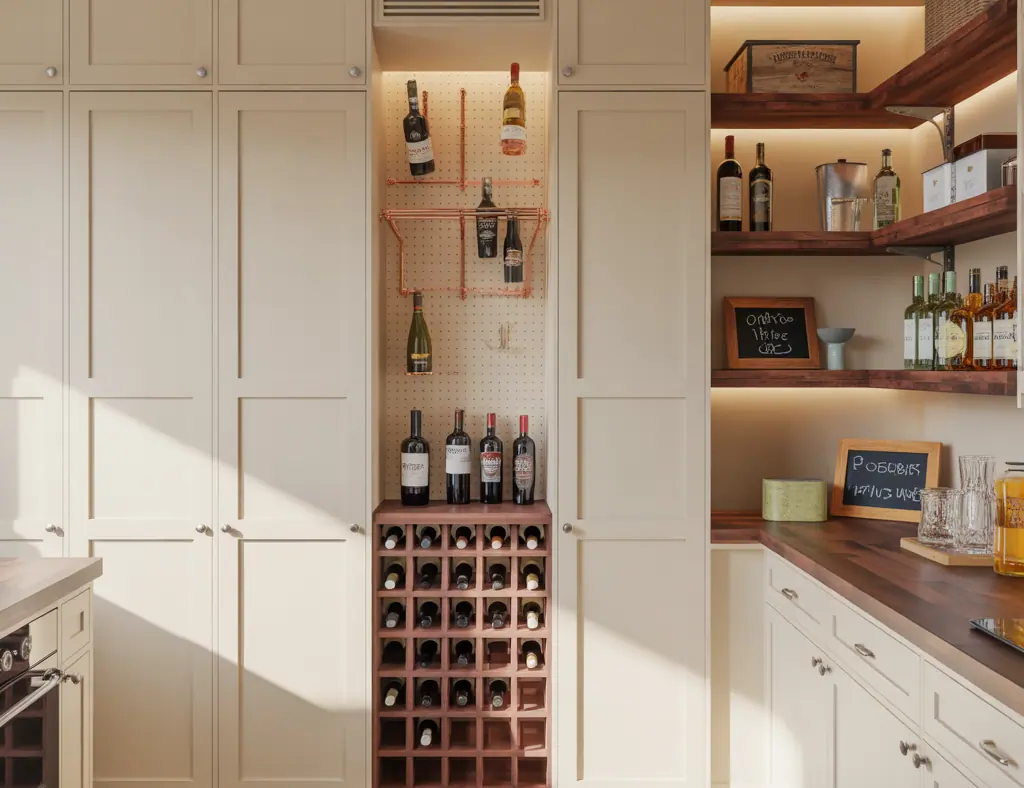
- Built-in wine wall with staggered cubbies for visual interest.
- Glass-fronted cabinet with interior humidity control features for a polished display.
- Repurposed furniture—an old sideboard or dresser converted into a bar with cradles for bottles and stemware racks.
- Mobile bar carts for flexible entertaining, with lockable compartments for safety.
Common mistakes to avoid
Steer clear of these pitfalls that can shorten the life of your bottles:
- Storing bottles in a hot garage or above the oven.
- Using bright incandescent bulbs inside cabinets (they generate heat).
- Stacking bottles in unstable piles—use racks or shelves designed for bottles.
- Ignoring label protection—use clear sleeves or UV-protective glass if label condition matters.
Maintenance and organization hacks
Keep your collection manageable and accessible with these tips:
- Label shelves by type, vintage, or price point to speed up selection.
- Keep an inventory list (paper or digital) with purchase date and tasting notes.
- Use vacuum stoppers or inert gas preservation for opened bottles to extend life.
- Rotate stock—first in, first out—for wines intended to be drunk within a year.
Frequently Asked Questions
How should I store wine long term at home?
For long-term wine storage, aim for a consistent temperature between 50–59°F (10–15°C), 60–70% humidity, darkness, and minimal vibration. Store bottles on their side to keep corks moist.
Can I store alcohol in the garage or basement?
Basements can be suitable if they maintain steady, cool temperatures and are dry. Avoid garages, attics, or areas with large temperature swings or exposure to direct sunlight and heat sources.
Do spirits need refrigeration?
Most spirits do not require refrigeration. Keep them upright at room temperature, away from heat and direct sunlight. Refrigeration is optional for liqueurs if you prefer them chilled.
Conclusion — take your alcohol storage to the next level
Good alcohol storage blends practical preservation with beautiful design. Use these alcohol storage tips to protect flavors, enhance safety, and create a home-focused display you’re proud of. Ready to start a project? Try building a simple pallet rack or convert a pantry shelf this weekend — and explore more ideas in our DIY projects and kitchen upgrades pages for inspiration. If you want bold design solutions, check out our home design ideas collection and get motivated to upgrade your space.
Which storage tip will you try first? Share your project ideas and photos — let’s make your bar as functional as it is stylish.