Ever stared at your old oak cabinets, faded laminate countertops, and brass hardware and thought, “I could either rip everything out or give this kitchen a personality reboot”? If you’re facing a home improvement weekend, a limited budget, and a desire to keep things charming (not dated), the 90s kitchen aesthetic might be the perfect middle ground — nostalgic, approachable, and packed with DIY-friendly updates that deliver big visual payoff.
Why the 90s kitchen aesthetic is making a comeback
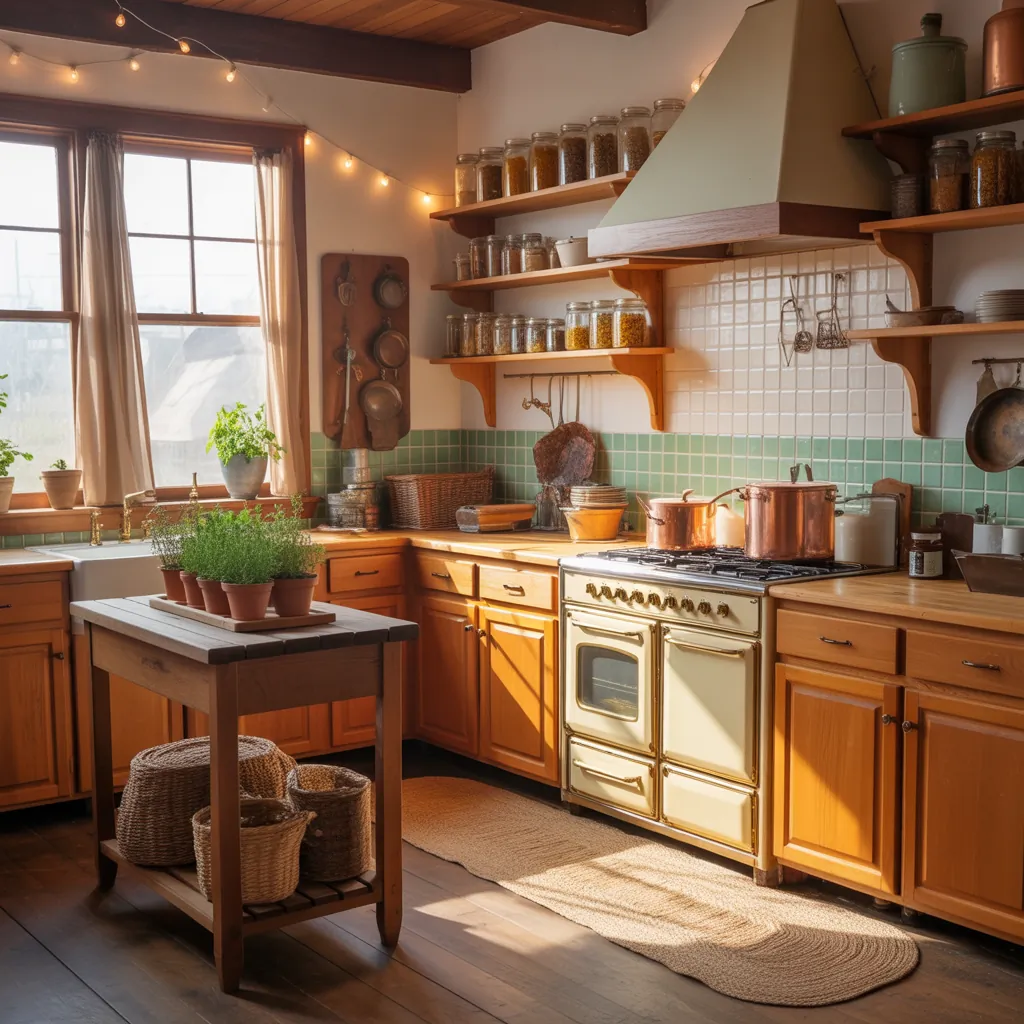
Design trends move in cycles. The 90s kitchen aesthetic — think warm oak finishes, tile backsplashes, pastel accents, and playful patterns — is resurging because it blends comfort with character. Homeowners crave authenticity and easier updates than full remodels. Whether you call it a retro 1990s kitchen revival, vintage kitchen style, or a nostalgic remodel, this look offers attainable ways to refresh your space without losing its original charm.
How to create a 90s kitchen aesthetic
Embrace the signature elements of 1990s kitchen design while adding modern touches for function and longevity. Use these design components as your playbook:
Cabinets: keep or refinish
- Refinish oak or maple cabinets with a warm stain or paint them a soft cream, sage, or muted teal for a retro-meets-modern look.
- Replace dated brass knobs with brushed nickel or matte black for contrast, or restore original hardware for authenticity.
- Open shelving or glass-front cabinet doors can lighten heavier 90s cabinetry and show off vintage dishes.
Countertops and backsplashes
- Laminate countertops were common in the 90s. For a budget upgrade, consider high-quality laminate resurfacing or a paint-and-seal kit designed for countertops.
- Tile backsplashes — subway, checkerboard, or mosaic accent tiles — are a hallmark. DIY peel-and-stick tiles can mimic the look affordably.
Color palette and accents
Think muted pastels, warm neutrals, and occasional bold pops: terracotta, teal, mauve, and avocado can be used sparingly to evoke that era without overwhelming the space.
Flooring and lighting
- Checkerboard vinyl or plank-style vinyl flooring gives 90s vibe with modern durability.
- Replace bulky fluorescent fixtures with pendant lights or a simple track-lighting system to modernize while nodding to retro shapes.
Practical DIY tips and step-by-step improvement ideas
These do-it-yourself projects are sequenced so you can tackle them over a few weekends. Tools you’ll likely need: orbital sander, quality brushes/rollers, screwdrivers, caulk gun, and a tile cutter (for backsplash projects).
Weekend 1: Cabinet refresh (paint or stain)
- Remove doors and hardware; label each door so reinstallation is easy.
- Clean surfaces with a degreaser; sand lightly to promote adhesion.
- Apply primer (if painting) or gel stain (if re-staining). Allow to dry fully.
- Install new or cleaned hardware and rehung doors.
Weekend 2: Backsplash update
- Measure the area and choose a tile or peel-and-stick option.
- Prepare the wall (clean and smooth). Apply adhesive or mortar per product instructions.
- Grout (if real tile), seal, and caulk edges for a finished look.
Weekend 3: Accessories & styling
- Add open shelving, display vintage dishware, and incorporate 90s-inspired textiles (striped tea towels, woven placemats).
- Swap light fixtures and install decorative under-cabinet lighting for ambiance.
Design inspiration and real-world advice
Take a balanced approach: keep the authentic elements that are structurally sound (good cabinets, layout) and update finishes that show wear. Here are quick wins that look custom without professional help:
- Use contrasting grout on a classic subway tile to echo a retro feel.
- Install a colorful retro-style faucet or paint an accent wall in a muted teal to draw the eye.
- Repurpose old appliances by refinishing handles or adding removable covers — a sustainable alternative to replacement.
If you’re unsure about a permanent change, test color swatches and peel-and-stick tiles before committing.
Budget-friendly sourcing and sustainability
Hunting for materials at salvage yards, thrift stores, and reclamation centers is both eco-friendly and cost-effective. Look for:
- Vintage knobs, glass-front cabinet doors, or retro light fixtures to repurpose.
- Leftover tiles or countertop remnants for small projects.
- Secondhand appliances that just need cosmetic TLC.
Repurposing keeps the authenticity and reduces waste while giving your kitchen character that new builds often lack.
Frequently Asked Questions
1. Can I modernize a 90s kitchen without a full remodel?
Yes. Focus on cabinet refinishing, new hardware, a refreshed backsplash, updated lighting, and a few decorative changes. These upgrades are high-impact and budget-friendly.
2. What colors define the 90s kitchen aesthetic?
Popular 90s colors include warm neutrals, muted pastels (sage, teal, mauve), and occasional earth tones like terracotta. Use them subtly for a nostalgic yet fresh look.
3. Are 90s kitchen elements still functional today?
Many elements are perfectly functional. Keep what works—solid cabinet boxes and efficient layouts—and update finishes and fixtures for improved durability and style.
Conclusion: Bring the 90s kitchen aesthetic into your home
The 90s kitchen aesthetic is an inviting blend of nostalgia and practicality — ideal for homeowners who want charm without a full demolition. With a few DIY projects, thoughtful sourcing, and selective updates, you can transform your space into a warm, character-filled kitchen. Ready to start a budget-friendly 90s kitchen makeover? Explore our DIY projects for step-by-step guides, check out ideas for kitchen upgrades, or browse home design ideas to find the inspiration that fits your style. Share your before-and-after photos and join the conversation — your retro kitchen revival could inspire someone else to pick up a paintbrush.