Have you ever stood in your kitchen wondering where you’d get clean water if the tap went dry? Maybe you just finished a weekend project and realized half your garage is perfect for a utility upgrade. Whether you’re prepping for emergencies, cutting utility bills, or adding a sustainable element to your landscaping, smart home water storage can be both beautiful and functional. In this article you’ll discover 5 ideas for home water storage—practical, DIY-friendly options with step-by-step tips and real-world design inspiration.
Why store water at home?
Storing water at home is about resilience, convenience, and sustainability. Emergency water storage provides safety during outages; rainwater harvesting reduces your municipal use; and portable containers are great for camping or construction projects. Before starting any project, consider local regulations, the space and load capacity available (especially for upstairs tanks), and whether you need potable vs. non-potable water storage.
5 ideas for home water storage
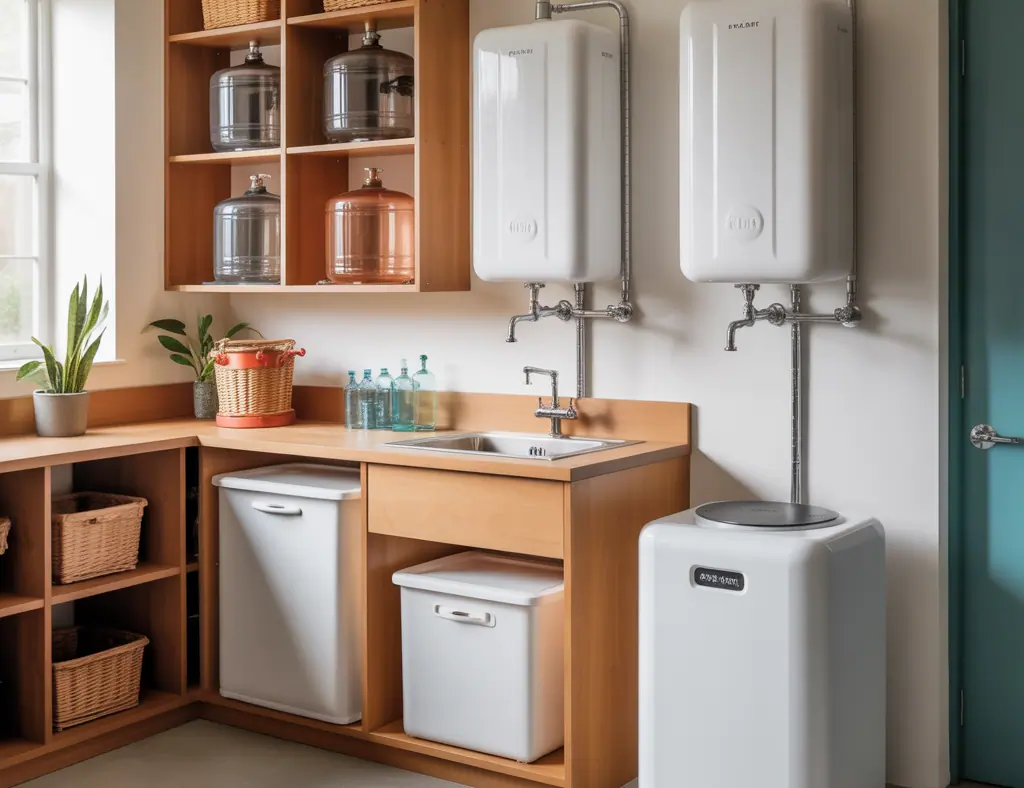
1. Stackable, food-grade water totes (best for indoor emergency storage)
Stackable water totes—also called water bricks or water cubes—are rigid, BPA-free containers that fit together neatly. They’re ideal for apartments, basements, or closets.
- Why choose them: compact, sealable, easy to rotate.
- DIY tips: label each container with fill date and contents. Store away from direct sunlight and heat.
- Step-by-step:
2. Rain barrels and reusable cisterns (good for gardens and non-potable uses)
Harvesting rain is one of the easiest sustainable ways to add storage. A rain barrel collects runoff from gutters; a larger cistern can store hundreds to thousands of gallons.
- Design idea: hide barrels in planters or build a decorative wooden enclosure that doubles as a planter box to blend into your landscaping.
- DIY tips:
- Real-world advice: Use rainwater for irrigation, washing cars, or toilets. Check local ordinances for rainwater harvesting rules.
3. Underground or buried tanks (best for large-capacity storage)
If you need a lot of water without sacrificing yard space, an underground cistern or buried tank is a professional-grade solution. These systems are common for off-grid homes and large properties.
- Pros: large capacity, temperature-stable, out of sight.
- Considerations: requires excavation, permits, and professional installation in many areas.
- DIY checklist for small buried tanks:
4. Portable jugs and collapsible bladders (flexible solutions for storage and transport)
For seasonal use, travel, or temporary projects, portable water jugs and collapsible water bladders are lightweight and convenient.
- Use cases: camping, emergency evacuation kits, construction sites.
- DIY tip: keep a rotation system—empty and refill every 6–12 months, or use tablets to keep water potable for longer.
- Design idea: store collapsible bladders in a ventilated cabinet or hang them on a wall hook to save floor space.
5. Greywater tanks and reuse systems (smart non-potable home water storage)
Greywater recycling stores and reuses water from showers, sinks, and laundry for irrigation and toilet flushing. While not for drinking, this reduces fresh water demand significantly.
- Safety note: Greywater systems require careful filtration and often a permit.
- DIY upgrade ideas:
Practical tips for safe water storage
- Plan capacity: Aim for 1–2 gallons per person per day for emergency needs, and more for long-term resilience.
- Use food-grade materials for potable storage and sanitize tanks before filling.
- Rotate stored water every 6–12 months, or use purification drops/tablets when needed.
- Prevent freezing: Insulate above-ground tanks, and place containers indoors or underground in cold climates.
- Consider weight: A gallon of water weighs ~8.34 lbs—ensure floors and shelving support the load.
Design inspiration: integrate storage into your home
Good water storage doesn’t need to be an eyesore. Use these design strategies:
- Convert a lower kitchen cabinet into a discreet water reservoir for a drinking-water dispenser—pair this with a countertop filter for convenience (see our kitchen upgrades page for cabinet retrofit tips).
- Turn a rain barrel into a vertical planter by building a wooden frame and adding potting pockets around it—perfect for patio gardens.
- Hide stackable water totes in a built-in closet with labeled shelving and a rotating schedule—see more small-space solutions on our home design ideas page.
Maintenance checklist
- Monthly: Visual inspection for leaks, standing water, or staining.
- Every 6–12 months: Drain and clean potable containers; replace filters in rain barrels and greywater systems.
- After heavy storms: Check gutters, downspouts, and screens on rain harvesting systems for blockages.
Frequently Asked Questions
Q: How much water should I store for emergencies?
A: For basic emergency planning, store at least 1 gallon per person per day for drinking and sanitation; 2 gallons per person per day is ideal. Plan for a minimum 3-day supply and preferably two weeks if you have the space.
Q: Can I drink rainwater collected in a rain barrel?
A: Rainwater collected in a basic rain barrel is generally considered non-potable unless properly filtered, treated, and stored in food-grade tanks with a closed system. Use rainwater for irrigation, laundry, or toilets unless you’ve installed a certified potable rainwater system.
Q: Are there legal restrictions on storing water at home?
A: Local laws vary. Many areas allow household rainwater harvesting, but large cisterns or greywater reuse systems may require permits. Check with your municipality before installing buried tanks or plumbing modifications.
Conclusion — Start small, plan big
Whether you want simple emergency readiness or a full rainwater harvesting system, these 5 ideas for home water storage give you practical paths to safer, more sustainable living. Start with one small, manageable solution—stackable totes or a rain barrel—and build from there. If you’re ready for more DIY inspiration, explore our DIY projects page for step-by-step upgrades and project plans.
Ready to take the next step? Pick one idea, gather materials, and try a weekend build. Share your project photos or questions in the comments—let’s make resilient homes together.