Have you ever stared at your studio apartment at 8 p.m., surrounded by a pile of laundry, a tiny sofa, and a dining table that doubles as a desk — and wondered how to make it feel like a home instead of a shoebox? Whether you’re renting a tiny studio flat or renovating a compact urban space, these ideas for studio apartment living will help you maximize every square foot with practical DIY upgrades, stylish design hacks, and budget-friendly small-space storage solutions.
Start Smart: Plan, Measure, and Prioritize
Before buying furniture or painting walls, take time to plan. Good small-space design starts with measurements, zoning, and a realistic budget.
Step 1 — Measure and Map
Sketch your floor plan on paper or use a free app. Note door swings, windows, and electrical outlets. This prevents costly mistakes when buying modular storage or a sofa bed.
Step 2 — Define Zones
Divide your studio into mini-zones: sleeping, living, working, and cooking. Zoning creates visual order and helps when choosing multi-purpose furniture.
Step 3 — Prioritize Needs
Decide what matters most: a full-size bed, a proper kitchen, or a dedicated workspace. Priorities guide which DIY projects and smart purchases will deliver the most value.
Top 12 Ideas for Studio Apartment: Space-Saving & Stylish
These small-space ideas and apartment decorating tips blend design inspiration with real-world, actionable advice.
1. Use a Room Divider That Doubles as Storage
Install a bookshelf or open shelving unit perpendicular to a wall to create a bedroom zone. Secure tall bookcases to studs and add baskets for clutter-free storage.
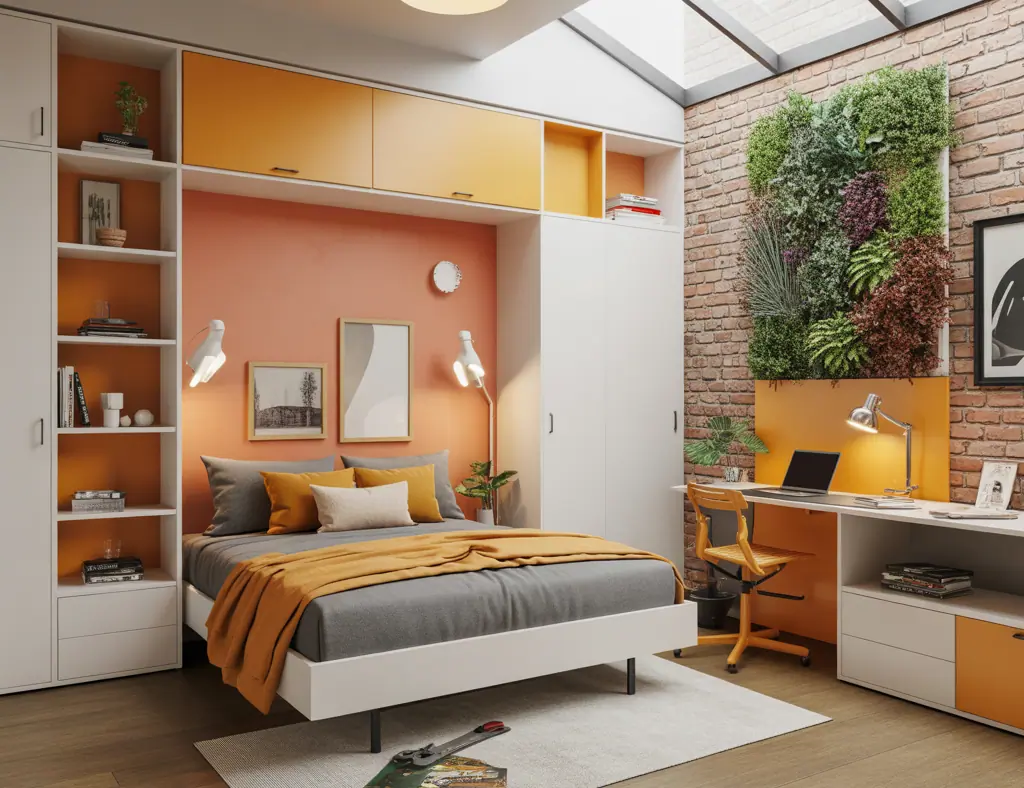
2. Invest in a Murphy Bed or Loft Bed
A fold-down bed or raised loft creates floor space for seating or a workspace. Many DIY kits exist if you’re handy, or you can retrofit a daybed with under-bed drawers for extra storage.
3. Opt for Multifunctional Furniture
Choose a sofa bed, nesting tables, or an ottoman with hidden storage. Multifunctional pieces are essential for studio apartment organization and tiny apartment living.
4. Create Vertical Storage
Use wall-mounted shelves, pegboards, and vertical cabinets in the kitchen and bathroom to free up counters and floor space.
5. Add a Fold-Down Dining or Work Table
Mount a drop-leaf table to the wall. When folded up it’s out of the way; when down it seats guests or serves as a desk.
6. Lighten Up with Smart Lighting
Layered lighting — overhead, task, and accent — visually expands the room. Use LED strips under cabinets and dimmable lamps for a cozy, adaptable atmosphere.
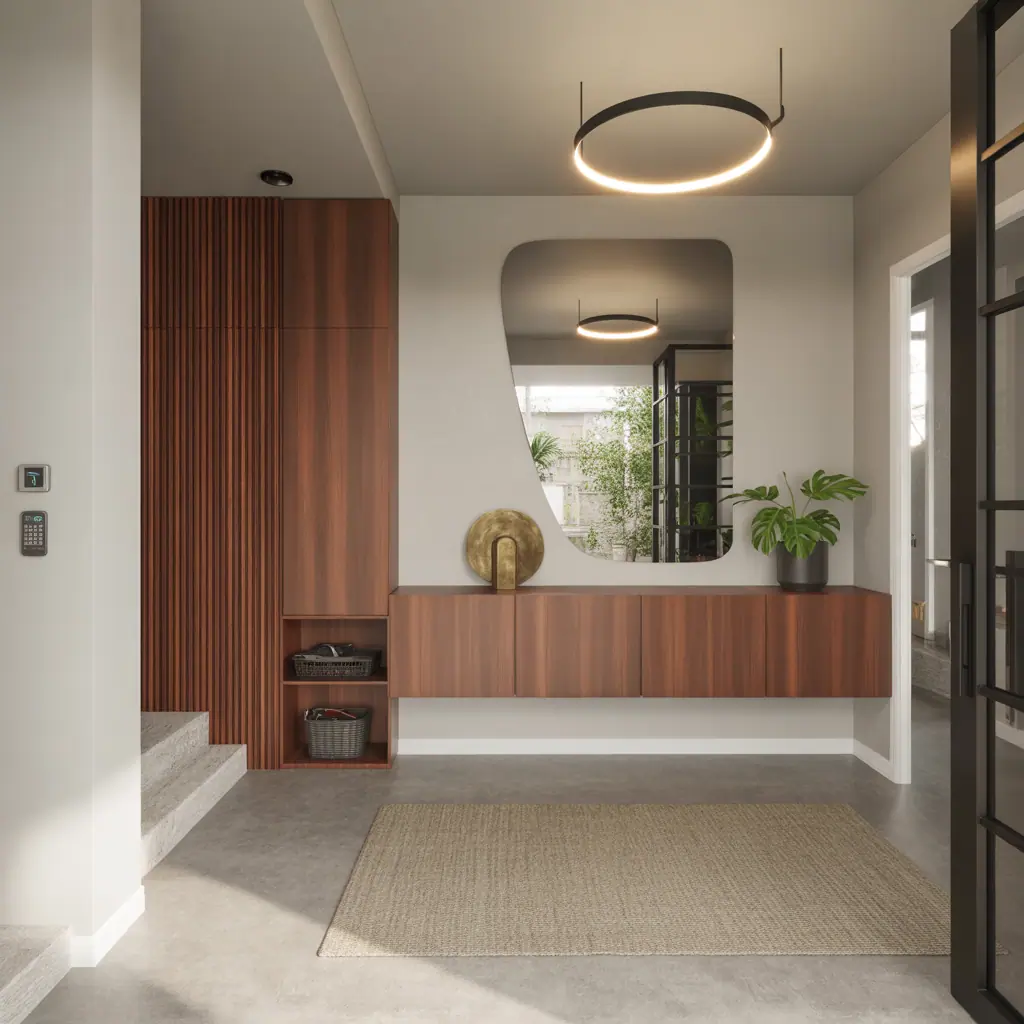
7. Use Mirrors to Create Depth
Strategic mirrors reflect light and create visual depth. A tall mirror behind a sofa or a mirrored backsplash in the kitchenette works wonders.
8. Keep a Cohesive Color Palette
Soft neutrals and one or two accent colors prevent visual clutter. Use textiles and small decor splashes to inject personality without overwhelming the space.
9. Upgrade the Kitchen on a Budget
Open shelving, magnetic spice racks, and peel-and-stick backsplashes are inexpensive ways to modernize a compact kitchen. For step-by-step kitchen ideas check our kitchen upgrades page.
10. Use Rugs to Define Areas
Anchor each zone with a different rug. A small rug under the dining area and a larger one for the living zone visually separates functions without walls.
11. Smart Closet Solutions
Add double rods, hanging shelves, and slim storage bins to maximize wardrobe capacity. Consider an open clothing rack as a design element.
12. Personalize with Small DIY Projects
Simple projects — floating shelves, a pegboard wall for tools and art, or custom cushion covers — add personality and function. For more step-by-step guides see our DIY projects page.
DIY Step-by-Step: Three Easy Upgrades You Can Complete This Weekend
Project A — Floating Shelf Wall
- Measure and mark shelf locations, keeping spacing even.
- Locate studs and use anchors for heavy loads.
- Install L-brackets, attach planks, and sand/paint for a finished look.
- Style with baskets and books to hide clutter.
Project B — Simple Room Divider from Curtains
- Measure width and height between ceiling and floor.
- Install a tension rod or ceiling-mounted track.
- Hang blackout curtains for privacy or sheer panels for light separation.
- Add a decorative cord or tie-back for daytime openness.
Project C — Under-Bed Storage Drawers
- Measure under-bed clearance and choose low-profile rolling drawers.
- Build DIY drawers from plywood if you want custom sizes — cut, assemble, sand, and finish.
- Label bins for seasonal clothing, linens, or shoes.
Styling Tricks That Make a Studio Feel Bigger
- Keep pathways clear — a clutter-free floor instantly feels larger.
- Choose furniture with exposed legs to create visual space.
- Use statement pieces sparingly — one bold rug or piece of art avoids visual chaos.
- Maintain consistent trim and door colors to create flow.
Frequently Asked Questions
Q: What are the best space-saving furniture ideas for a studio apartment?
A: Look for multifunctional pieces: sofa beds, lift-top coffee tables, nesting tables, and bed frames with built-in drawers. Opt for fold-down desks and wall-mounted tables to free floor space.
Q: How can I create a bedroom area without building walls?
A: Use room dividers like open shelving, curtains, or a bookcase. A strategically placed rug and different lighting can also define a bedroom zone without construction.
Q: Are DIY upgrades worth it for renters in a studio?
A: Yes — many renter-friendly projects (peel-and-stick backsplash, removable wallpaper, curtain dividers, and temporary shelving) improve comfort and style without permanent changes. Always check your lease before making alterations.
Conclusion — Try One Idea This Weekend
Small apartments can feel spacious, stylish, and functional with the right ideas for studio apartment living. Start with a simple weekend project: add a room divider, build floating shelves, or convert a corner into a compact workspace. These small investments deliver big improvements in daily life. Ready to tackle your space? Browse our home design ideas for more inspiration, pick one DIY project, and make your studio feel like home.
If you found these tips helpful, subscribe for more small-space hacks and step-by-step tutorials — and share a photo of your finished project!