Ever stood in front of a bare bulletin board and thought, “How can I make this festive, functional, and kid-friendly before the holiday party?” Whether you’re refreshing a classroom display, sprucing up an office breakroom, or creating a cozy entryway focal point, a reindeer-themed board is one of the easiest ways to spread seasonal cheer. In this guide I’ll walk you through creative, practical, and budget-friendly ideas for reindeer bulletin board projects you can complete in an afternoon.
Why choose a reindeer bulletin board?
Reindeer imagery is versatile — it works for preschool classrooms, elementary school bulletin boards, workplace holiday displays, and home command centers. From whimsical paper crafts to rustic woodland themes, reindeer boards are great for incorporating student names, holiday messages, and interactive elements (like wish-list pockets or “How to be Kind” challenge cards). They’re also easy to adapt for different ages and skill levels.
Creative ideas for reindeer bulletin board
Below are themed ideas and variations. Each includes quick tips so you can customize to your space and materials on hand.
1. Classic Rudolph Classroom Display
- Large red nose made from red felt or construction paper
- Student photos as reindeer faces with printable antlers
- Add a “Rudolph’s Good Deeds” pocket for each student
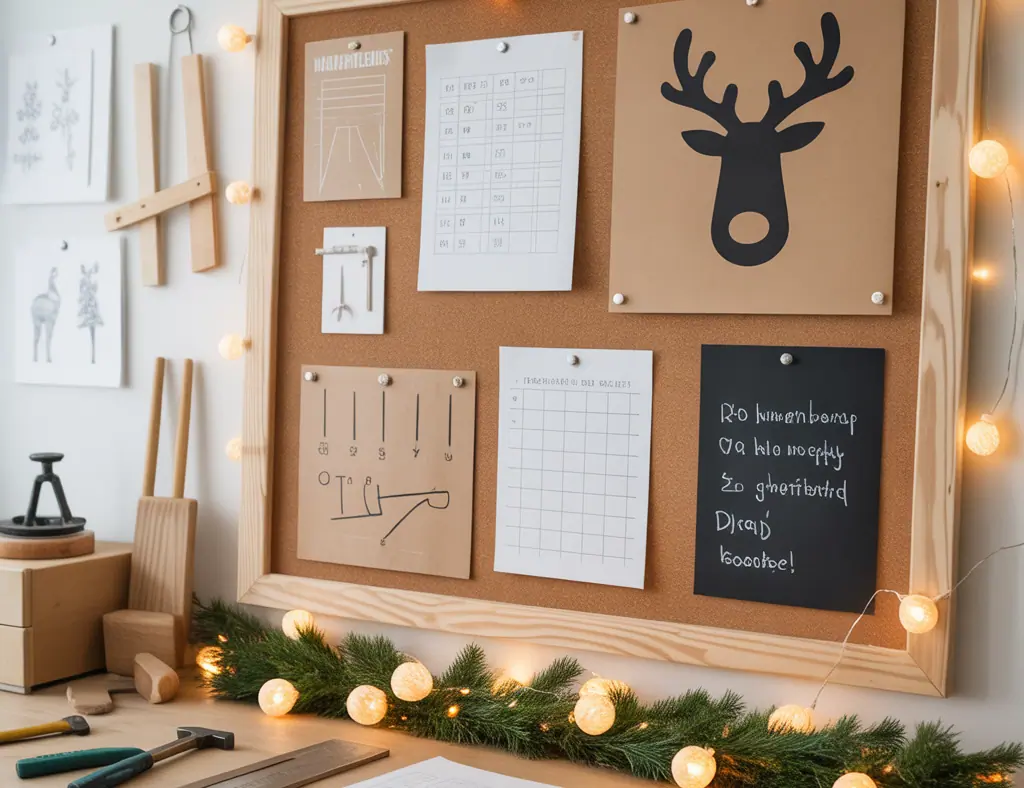
2. Rustic Kraft Paper Reindeer
- Background: brown kraft paper for a cabin feel
- Antlers: twine or faux branches for a 3D effect
- Accents: mini pinecones or burlap bows
3. Minimalist Scandinavian Reindeer
- Neutral palette (white, grey, soft red)
- Clean silhouette reindeer cutouts—simple and modern
- Use washi tape for geometric borders
4. Interactive “Name the Reindeer” Board
- Velcro name tags so kids can label antlers
- Turn it into a learning game (spelling or sight words)
- Perfect for primary classrooms and reading centers
5. Light-Up Window Display
- String LED fairy lights around antlers for evening glow
- Battery-powered lights keep installation safe and simple
Materials and tools you’ll likely need
Keep this basic kit on hand to build most reindeer bulletin board designs:
- Butcher paper or felt for background
- Cardstock, felt, or foam for reindeer shapes
- Scissors, craft knife, ruler
- Hot glue gun or double-sided tape
- Stapler and push pins
- Markers, paint pens, stencils
- Optional: LED fairy lights, twine, mini clothespins
Step-by-step: how to make a reindeer bulletin board
Follow this straightforward process for a polished result, even if you’re short on time.
- Measure the bulletin board and cut background paper or felt to size. Secure with staples or push pins.
- Choose a focal reindeer (large center piece) and sketch or print a template. Trace onto cardstock, felt, or foam.
- Cut out shapes: body, head, antlers, and nose. For a 3D look, make layered pieces (two antler cutouts glued together).
- Decorate: use paint pens for facial features, add fabric bows or felt scarves, and attach names or messages to the reindeer bodies.
- Mount the reindeer using double-sided tape or staples. Add interactive elements like pockets, Velcro tags, or clothespins for student work.
- Finish with trim—garland, washi tape border, or rustic twine—to frame the board.
Design tips and practical advice
These real-world tips make installation, maintenance, and classroom use easier:
- Work at eye level: mount interactive pieces lower so younger children can reach them.
- Laminate reusable pieces (names, challenge cards) for durability.
- Use lightweight materials on larger boards to avoid sagging—foam and cardstock are ideal.
- Plan for easy updates: make pockets or clips to change content weekly without rebuilding the board.
- Budget-friendly option: repurpose old wrapping paper instead of buying craft paper.
Design inspiration for different spaces
For classrooms
Turn the reindeer bulletin board into a learning station: letter recognition with antler tags, math problems on stockings, or a kindness advent calendar with daily tasks.
For offices and breakrooms
Keep it classy with a minimalist palette and add staff shout-outs or a “Holiday Potluck Sign-Up” pocket. Use durable materials and avoid small pieces that could fall into vents or equipment.
For homes and entryways
Create a family command center: attach keys, mail slots, and a chalkboard calendar beneath a reindeer header. A festive board can double as a place for invitations and kids’ artwork.
Long-term care and seasonal swaps
When the holidays are over, store reusable elements flat in a portfolio or labeled container. Consider making neutral base boards (like kraft or white) and swapping only the reindeer and trim, which keeps storage compact and makes seasonal transitions faster.
Frequently Asked Questions
How do I make a reindeer bulletin board for a classroom on a tight budget?
Use recycled materials like cereal boxes for stencils, repurpose fabric scraps, and print templates on plain paper. Focus on one large focal reindeer and use student-made ornaments or drawings as accents to keep costs down.
What are kid-friendly materials for interactive reindeer bulletin boards?
Choose soft felt, laminated cardstock for repeated use, and Velcro or clothespins instead of hot glue for pieces children will handle. Keep small parts minimal to avoid choking hazards for preschool spaces.
Can I make a 3D reindeer bulletin board that’s durable?
Yes—use foam board or layered cardstock for dimensional elements and secure them with heavy-duty double-sided tape or hot glue. Laminate frequently touched pieces and anchor larger elements with staples to the bulletin board backing.
Conclusion: ready to try these ideas for reindeer bulletin board?
From rustic kraft paper motifs to interactive classroom displays, these ideas for reindeer bulletin board projects are designed to be flexible, budget-friendly, and fun to build. Pick a theme, gather a few basic supplies, and set aside an afternoon to create a display that brings cheer and function to your space. If you liked these project ideas, check out more DIY projects or get room-by-room inspiration on our home design ideas page. Share your finished board photos and join the conversation—let’s make this holiday season one to remember!