Have you ever stood in front of a plain doorway and imagined it as the focal point of the room—but then walked away because you didn’t know where to start? Whether you’re tackling a weekend DIY or planning a full home refresh, the right door trim can totally change the feel of a space without breaking the bank. This guide dives into practical ideas for door trim, step-by-step tips, and real-world design inspiration so you can pick a look, gather tools, and get to work.
Why door trim matters: small detail, big impact
Door casing and molding frame the transition between rooms, hide gaps between drywall and door frames, and provide an opportunity to add architectural interest. The right trim can make builder-grade doors feel custom, support your design theme (modern, Craftsman, farmhouse), and even increase perceived home value.
How to choose the right style for your home
Start by matching the trim style to your home’s architecture:
- Modern/minimal: Flat stock trim with a 1/4” reveal for clean lines.
- Craftsman: Wide casing, plinth blocks, and a simple header cap.
- Farmhouse: Shiplap-inspired casings or chunky nominal boards with distressed paint.
- Traditional: Crowned headers and rosettes for an elegant look.
10 door trim ideas for every style and budget
Below are practical door molding ideas—use them as-is or mix and match elements to create a custom look.
1. Simple flat casing (Budget-friendly)
A single flat board on each side and across the top is the quickest upgrade. Paint in high-gloss or matte depending on your style. Great for renters or quick refreshes.
2. Craftsman-style casing (Classic & durable)
Use wide side casings, plinth blocks at the base, and a thicker head casing with a small crown. Adds a built-in look that fits period homes.
3. Layered trim with backband (Decorative depth)
Add a backband molding over simple casing to create shadow lines and depth without complex carpentry.
4. Full-frame header with crown (Formal look)
Bring in crown molding across the top for a dramatic effect—best for formal rooms like dining rooms or entryways.
5. Rosettes and corner blocks (Quick detail)
Swap mitered corners for rosettes or corner blocks to avoid precise 45° cuts and add Victorian charm.
6. Stained natural wood trim (Warm & timeless)
Choose oak, maple, or poplar and stain to show grain. Great for rustic or mid-century modern interiors.
7. Wide plank trim (Farmhouse vibe)
Use wide 1×6 or 1×8 boards to create a farmhouse or cottage look—paint or stain depending on the finish.
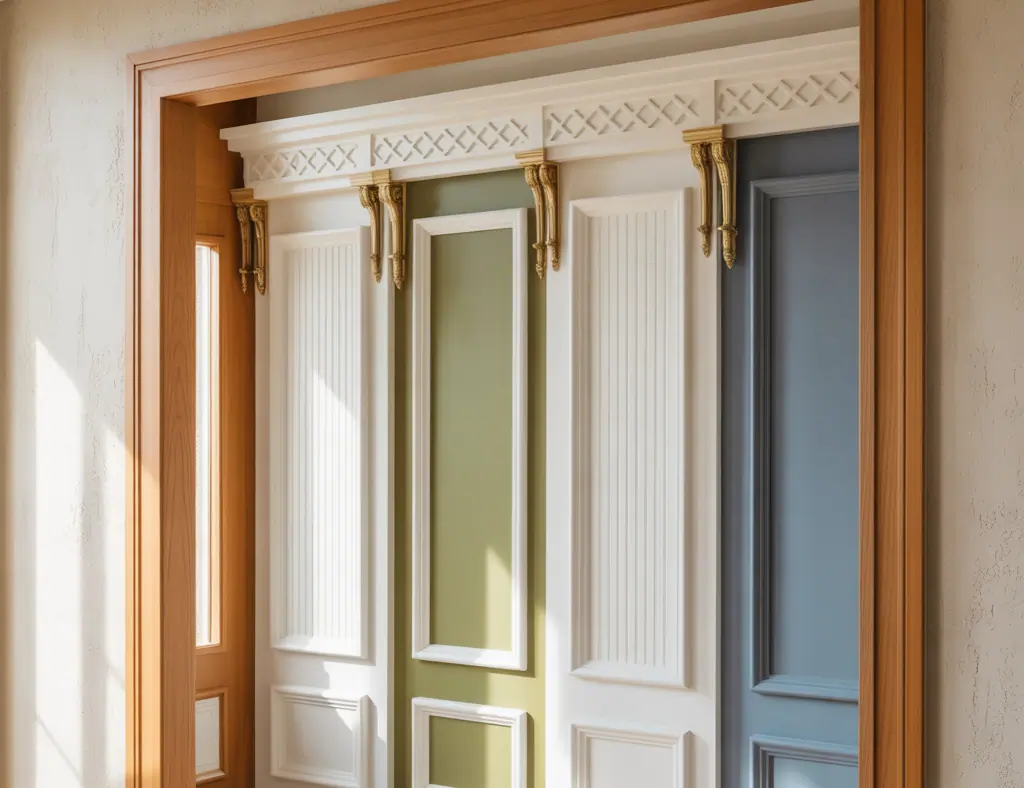
8. Recessed trim with contrasting paint (Contemporary)
Create a recessed reveal by installing casing inside a larger frame. Paint the recess a contrasting color for dramatic effect.
9. Decorative crown and keystone (High-end detail)
Add a keystone or ornamental center piece to the head casing for a high-end, architectural statement.
10. Radiused or arched trim for curved openings
Use flexible trim or segmented pieces to frame arched doorways—beautiful for Mediterranean or traditional homes.
Step-by-step: a simple DIY door trim upgrade
This project assumes you’re replacing plain trim with a new casing style (time: 2–4 hours per door for beginners).
- Measure door height and width; add coverage for reveal and overlap (buy extra material).
- Remove old trim carefully with a pry bar; save any reusable pieces.
- Prep the jamb: sand rough spots, fill holes, and apply primer if needed.
- Cut side casings to length; use a miter saw for accuracy. Leave head casing for last.
- Install plinth blocks (if using) at the bottom of each side casing.
- Fit and attach side casings with finishing nails; check for plumb with a level.
- Cut head casing to length and make miter or butt joints; attach securely.
- Caulk seams and nail holes; sand lightly once dry.
- Prime and paint (or stain and finish) for a polished look.
Practical tips and common challenges
- Measure twice, cut once—imprecise cuts are the most common DIY mistake.
- For uneven walls, use a backer strip or shim behind the casing to create a flat plane.
- Use adhesive like construction glue plus nails for a secure bond, especially on hollow-core doors.
- Consider pre-primed MDF for painted trim (economical) and poplar for stained finishes.
- In moisture-prone areas (bathrooms), use PVC or polyurethane trim to resist warping.
Design inspiration: matching trim to rooms
Pick trim treatments that enhance the room’s purpose and scale.
- Small rooms: choose slimmer trim to avoid overwhelming the space.
- Large rooms: wide casings and elaborate heads add proportion.
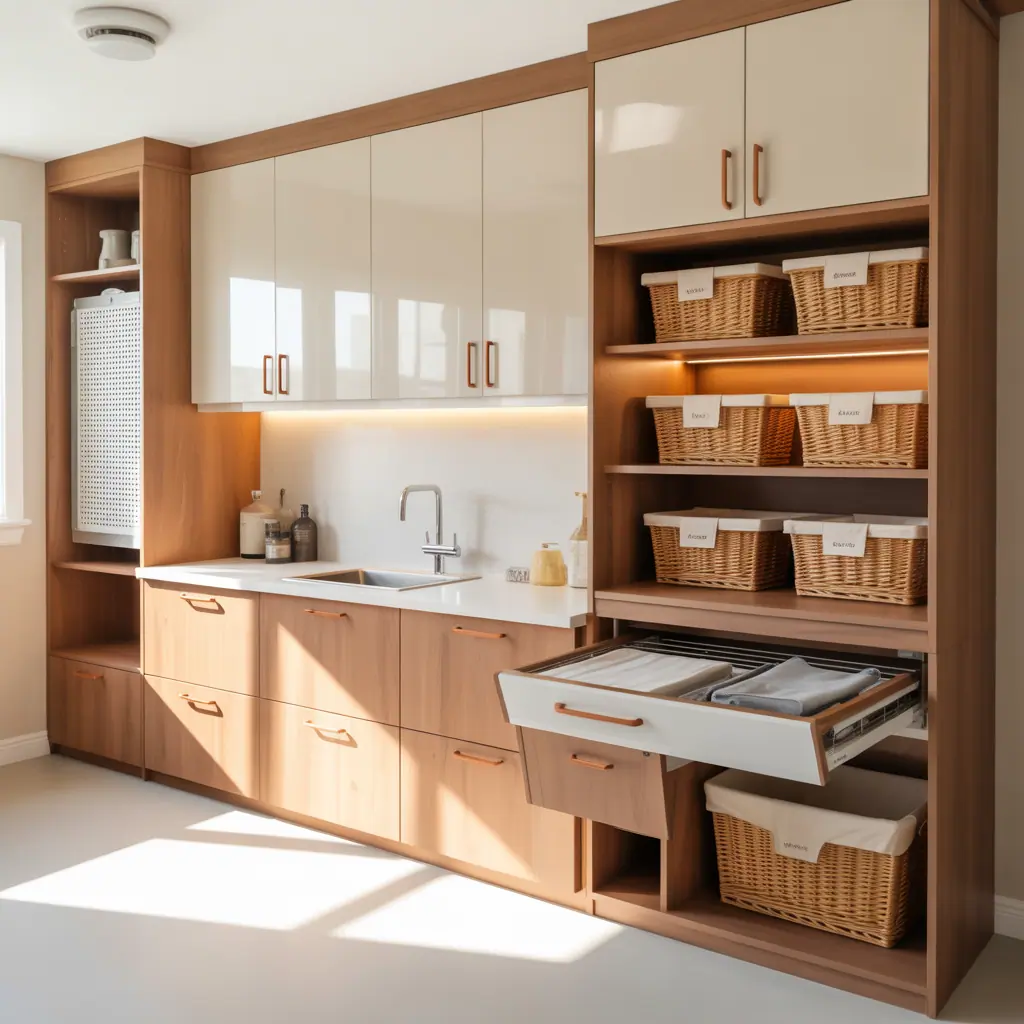
- Kitchens: durable, wipeable paint finishes; consider coordinating with cabinet molding for cohesion.
- Bedrooms: softer styles and warmer stains for comfort.
Tools and materials checklist
- Miter saw, finishing nailer or hammer and nails
- Measuring tape, level, pencil
- Wood filler, caulk, sandpaper
- Primer and paint or stain and topcoat
- Trim boards (MDF, pine, poplar, or polyurethane)
Ideas for door trim: maintenance and long-term care
Keep trim looking fresh by touching up paint annually, re-caulking gaps, and cleaning dust from crevices. For stained finishes, apply a new topcoat every few years to protect wood grain.
Frequently Asked Questions
Q: How much does it cost to replace door trim?
A: Costs vary by material and complexity. Basic flat casing with MDF can be under $30 per door in materials; wood and elaborate profiles can run $100–$300 per door. Labor adds more if you hire a pro.
Q: Can I install trim myself if I don’t own a miter saw?
A: Yes. You can have boards cut at a hardware store, use corner blocks to avoid mitering, or rent a miter saw for a weekend. Accuracy is key, so use guides and clamps if cutting by hand.
Q: What trim style is best for a modern home?
A: Modern homes favor simple, flat casings with minimal profile, often painted the same color as the wall or in a bold contrasting color for a statement. Keep lines clean and avoid ornate details.
Final thoughts — pick a project and get started
Ideas for door trim are some of the most rewarding DIY projects: they’re affordable, impactful, and doable in a weekend. Whether you choose a sleek modern casing, a Craftsman surround, or layered moldings with backband, the right trim elevates your entire home. Ready to try it? Browse more DIY projects for tool lists, check similar looks in home design ideas, or coordinate your trim with related kitchen upgrades for a cohesive look throughout your home.
Call to action: Pick one door, order your materials this weekend, and share a before-and-after photo—your space will thank you.